27
Scanning with CaptureOnTouch Lite
CaptureOnTouch Lite is a scanning application that comes pre
installed in the scanner. It can be used on a computer that does not
have the scanner driver installed.
You can follow the instructions on the screen to scan a document and
save the scanned images in any file format.
Scanning Procedure
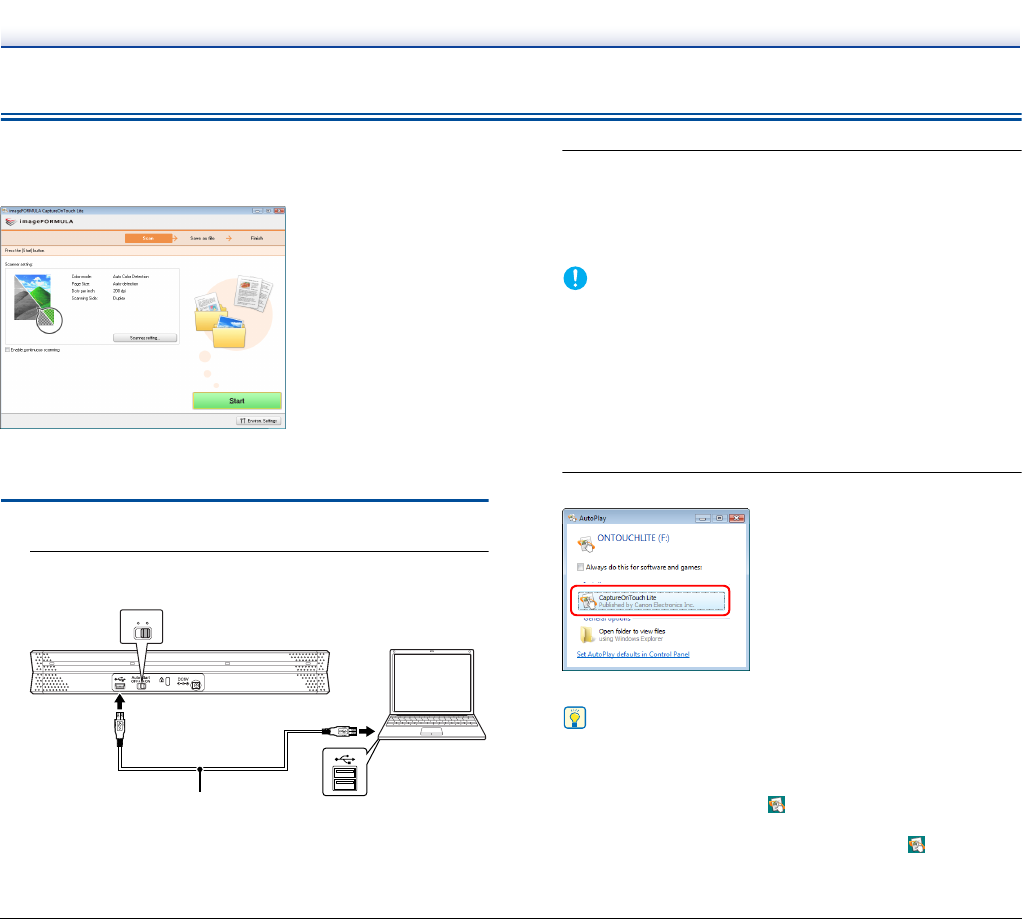
1
Set the Auto Start switch at the rear panel of the scanner
to ON and then connect the scanner to the computer.
If necessary, connect the power supply USB cable.
2
Open the feed tray, turn ON the scanner, and then load
the document.
For details, see “Loading a Document” on p. 24.
When you open the feed tray, the power indicator on the scanner
lights and the auto play screen appears.
IMPORTANT
• When scanning with CaptureOnTouch Lite, do not close the
feed tray until you have finished saving image files.
• If you are using Windows XP or Windows 2000 and you set the
Auto Start switch to ON before connecting the scanner to the
computer, a message requesting that you restart your
computer may appear when you turn ON the scanner. You can
continue normal use even if you click [No] and do not restart the
computer.
3
Click [CaptureOnTouch Lite].
CaptureOnTouch Lite starts, and the main screen appears.
Hint
• The auto play screen may not appear in some operating
environments. In such cases, open the [ONTOUCHLITE] drive
in Windows Explorer, for example, and start the application
directly by double-clicking (ONTOUCH.exe).
Depending on your operating system, the drive name may not
be [ONTOUCHLITE]. Open the drive on which
(ONTOUCH.exe) is located, and start the application directly.
Auto Start
OFF ON
USB cable


