5
BEFORE THE
FIRST USE
Remove all packaging materials and any
labels or stickers from your grill. Be sure
all parts (see Features and Benefits) have
been included before discarding any
packaging materials. You may want to
keep the box and packing materials in the
event that the unit has to be shipped in
the future.
Before using your Cuisinart
®
Griddler
®
Deluxe for the first time, wipe the base,
cover and controls with a damp cloth.
Thoroughly clean cooking plates, drip tray
and scraping tool; all are dishwasher safe.
Refer to Assembly Instructions below for
plate removal.
ASSEMBLY
INSTRUCTIONS
Place base on a clean, flat surface where
you intend to cook, with the controls
directly in front of you.
To insert the cooking plates:
1. Choose the side(s) you intend to cook
on. The two cooking plates each have
two sides:
a. Grill side: ribbed surface intended for
grilling steaks, hamburgers, chicken,
seafood and vegetables. Also can be
used for panini and other toasted
sandwiches.
b. Griddle side: smooth surface
intended for cooking bacon and eggs,
pancakes and French toast. Also can
be used for panini and other toasted
sandwiches.
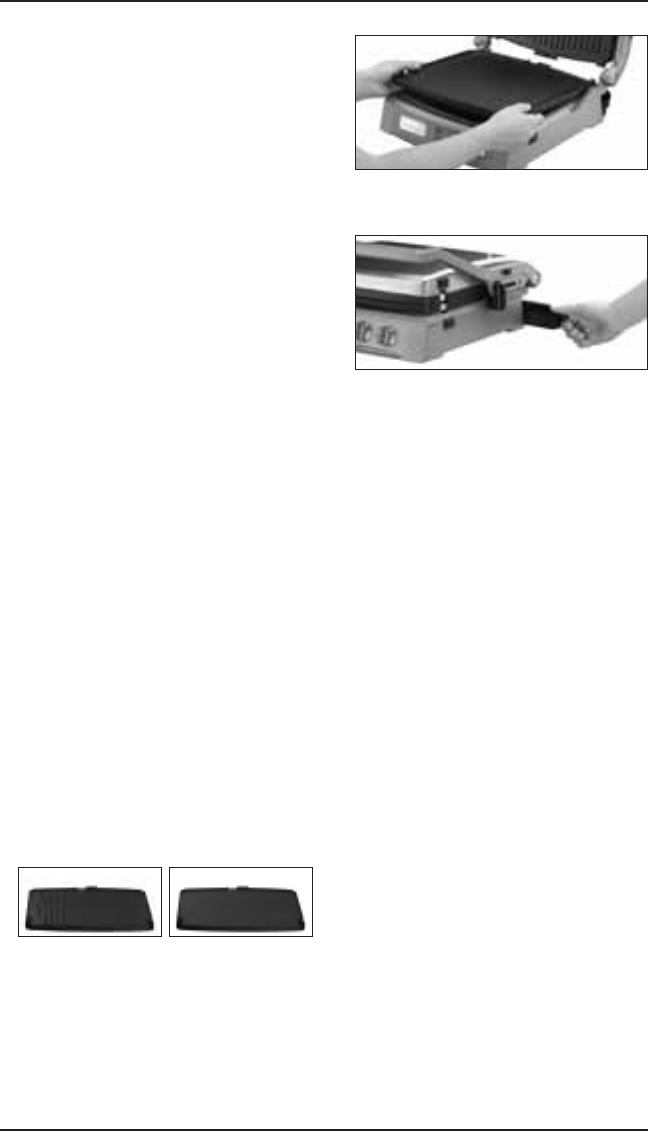
2. Locate the metal brackets at the back
of the housing. Tilt the back end of the
plate and line up the cutouts at the
back of the plate with the metal
brackets. Slide the plate underneath
the brackets and push down the front
end of the plate. It will snap into place.
Insert the second plate into the upper
housing as you did with the first plate.
3. Slide the drip tray into the base at the
rear of the unit from the right side.
4. Plug the cord into a standard
electrical outlet.
5. Just follow the instructions below
to position the unit, and you’re ready
to cook!
GRIDDLER
®
DELUXE
POSITIONS
STORAGE Position – Upper plate/cover
rests flat on the lower plate/base and
cover height adjuster is in Lock position.
PREHEAT Position – Upper plate/
cover rests flat on the lower plate/
base and cover height adjuster is in
Unlock position.
OPEN COOKING Position –
To cook on lower plate only: Lift the
handle so upper plate/cover is vertical.
Plate does not “float” in this position.
CLOSED COOKING Position –
To Contact Grill or Panini Press: Start
with unit in Open Cooking position.
Lower top carefully until plate contacts
food. Hinge will automatically release the
plate, allowing it to “float” and rest evenly
on food. If necessary, press down slightly
on front of upper plate/cover wearing
oven mitt to release hinge.
To Top Melt: Start with unit in Open
Cooking position. Wearing an oven mitt,
press down slightly on front of upper
plate/cover to release hinge, allowing
plate to “float.” Lower it to close to the
b.a.
