14
Adjusting the Image Quality
The quality of the screen images can be adjusted as follows.
When the accessory EPSON cinema filter is attached to the projector and the "EPSON Cinema Filter"
command is set to "ON", the images are adjusted to the optimum tint for movie theatre images.
If a computer is connected and the projector is being used for a presentation at such times, images will
appear darker than normal, so remove the EPSON cinema filter and change the "EPSON Cinema Filter"
setting to "OFF".
Procedure
1
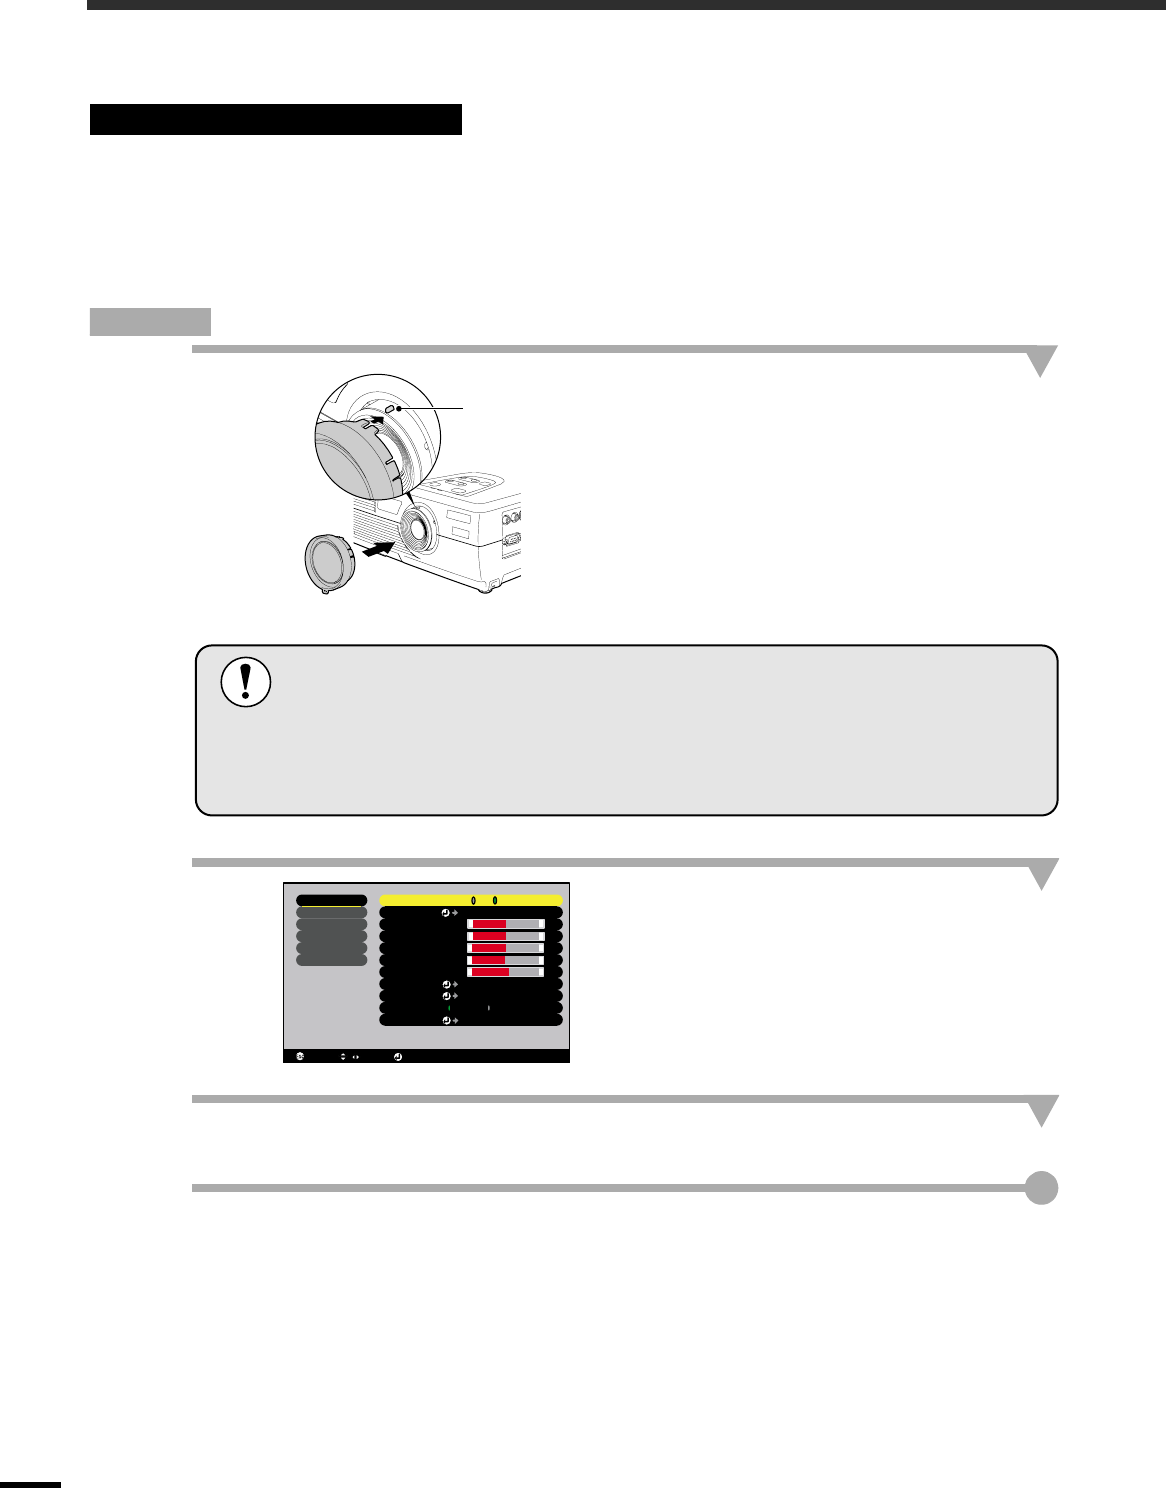
Attach the accessory EPSON cinema
filter.
Align the projection on the focus ring with the
notch in the EPSON cinema filter and attach the
EPSON cinema filter.
2
Press the [Menu] button on the remote
control, and then select "EPSON
Cinema Filter" from the "Video" menu.
For details on this operation, refer to "Using the
Configuration Menus". (p.27)
3
Select "ON" and then press the [Enter] button.
4
After changing the setting, press the [Menu] button to exit the configuration
menu.
Using the EPSON Cinema Filter
Projection
•
••
•
The EPSON cinema filter should always be installed so that the notch is aligned
with the projection on the focus ring. If the EPSON cinema filter is not installed
correctly, unevenness or lack of focus may occur in the projected images.
•
••
•
Do not touch the glass surfaces of the EPSON cinema filter or the projector's lens
when attaching the EPSON cinema filter. If fingerprints or smears get on the glass
surfaces, it will reduce the clarity of projection.
Video
Audio
Setting
Advanced
About
Reset All
: Return : Select
/
: Set
Video Signal
Color Mode
Select [Theatre ]
Position
Adjust
Brightness
Contrast
0
0
Color 0
Tint
Sharpness 0
Aspect Ratio
Reset
Execute
+
-
+
-
0
+
-
Select [Auto ]
4: 3 16: 9
+
-
+
-
:
:
:
:
:
:
:
ON OFF
EPSON Cinema Filter


