Mounting the RO module
Step 10 Determine the best location for the RO Module to be
mounted and allow for future system maintenance.
Use a Phillips screwdriver and secure the screws 5
3/4” apart and 16” from the bottom of the cabinet.
Note: There will be (2) Blue, (1) Green and (1) Black
coming from the module. Do not cut these tubes at
this time.
Connecting to the faucet
Step 11 Connect blue tube from in-line filter over to the faucet
shank. Place the brass nut onto the tube, followed by the plastic
sleeve (tapered end pointing to the end of tube) and then place
the brass insert into the end of the tube.
Step 12 Insert the blue tube into the end of the faucet shank and use a
wrench to tighten the brass nut securely.
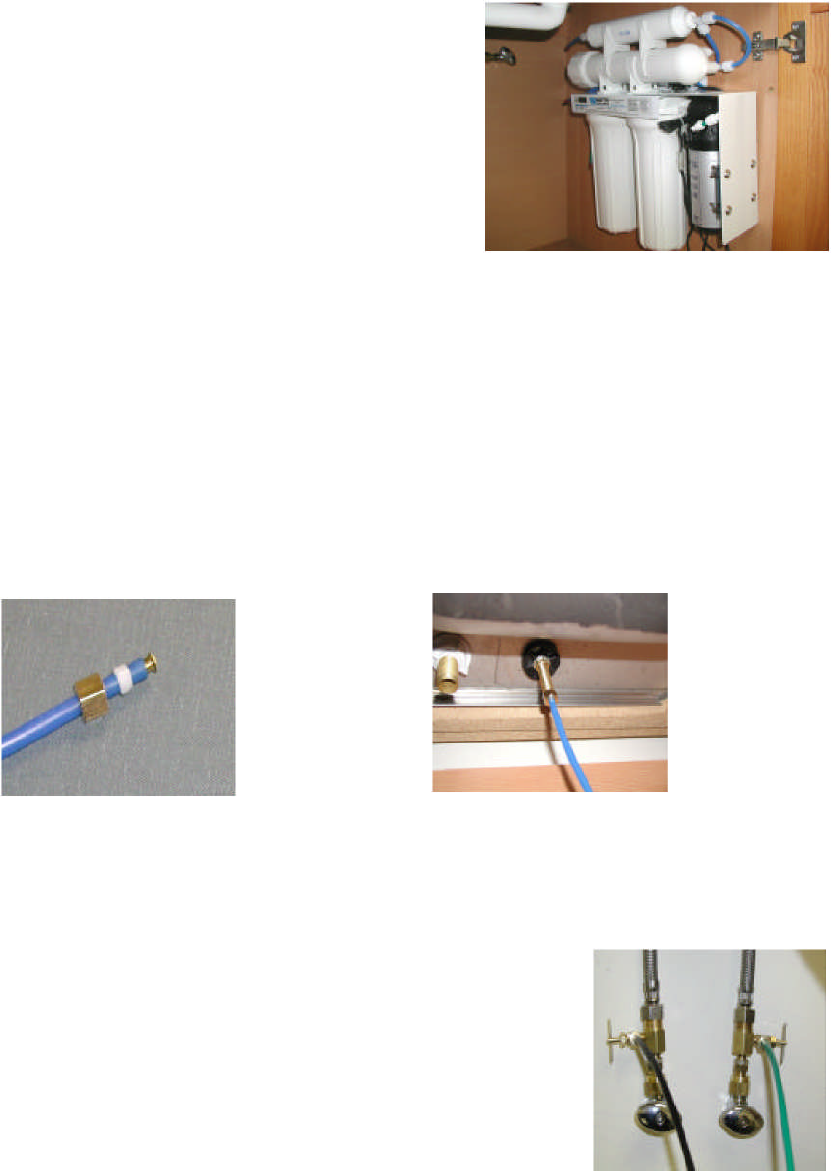
Connect the hot and cold water supply line valves
Step 13 Insert the Green tube into the Cold water needle valve fitting 1/4”
tube compression fitting until it stops. Slide the Nut and Plastic
Sleeve down to where you can thread them onto the male pipe
threads. Use a 1/2” wrench to securely tighten.
Step 14 Insert the Black tube into the Hot water needle valve fitting
1/4” tube compression fitting until it stops. Slide the Nut and
the Plastic Sleeve down to where you can thread them onto the
male pipe threads. Use a 1/2” wrench to securely tighten.


