12 Getting Started Guide
EN
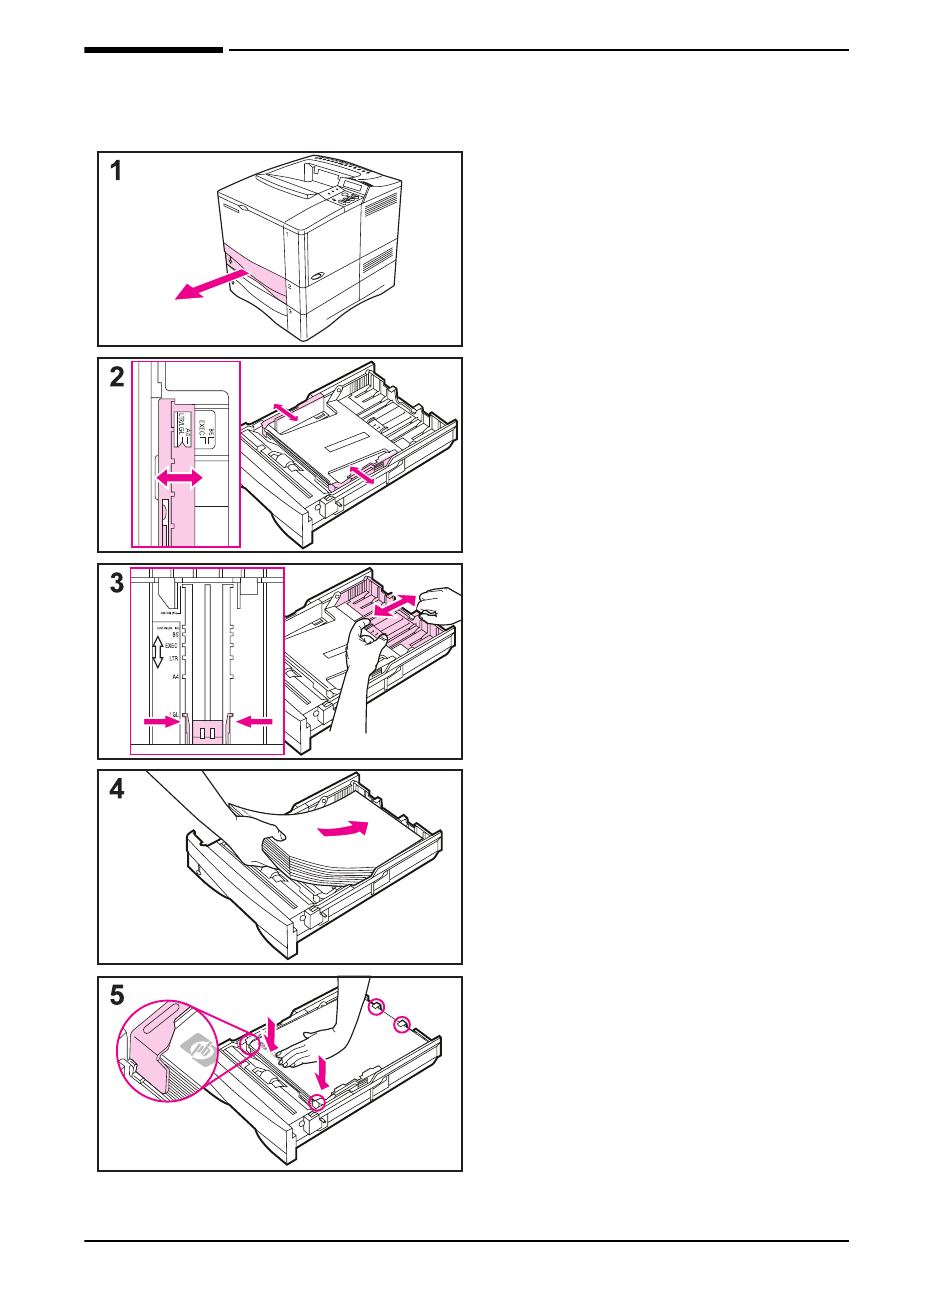
Step 7. Load Trays
Trays 2 and 3
Trays 2 and 3 are 250-sheet trays. For
supported sizes of paper, see the
printer user’s guide.
1
Pull the tray completely out of the
printer.
2
If the tray is not already set to the
desired paper size, snap the left and
right guides into place to match the
width of the paper.
3
Locate the release tabs (indicated
by the two arrows).
Squeeze the blue tabs to release
them from the slots while sliding the
back section of the tray to the
desired paper size. Make sure the
tabs lock into the correct slots.
4
Load paper into the tray.
5
Make sure the paper is flat in the tray
at all four corners and below the tabs
on the guides. Gently slide the tray
back into the printer.
The printer automatically senses the
size of paper if the tray is adjusted
correctly.
Repeat these steps for Tray 3.


