19
Recording
Features
Record One Programme
While Watching Another
SELECT PRESET TO WATCH
1
Once recording is in progress, all you need to do is to
set the preset controls on the TV for the station you
wish to view.
● The programme selected with the TV’s preset controls
appears on the TV screen while the one selected with
the recorder's TV PROG. buttons is recorded on the
tape.
12
45
3
6
8
0
7
9
2
4
q
Elapsed Recording Time
Indication
You can check the exact time of a recording.
SET COUNTER DISPLAY
1
Press DISPLAY until a counter reading appears on the
dispay panel.
RESET COUNTER
2
Press C. (COUNTER) RESET before starting recording or
playback.
● The counter is reset to “0:00:00” and shows the exact
elapsed time as the tape runs.
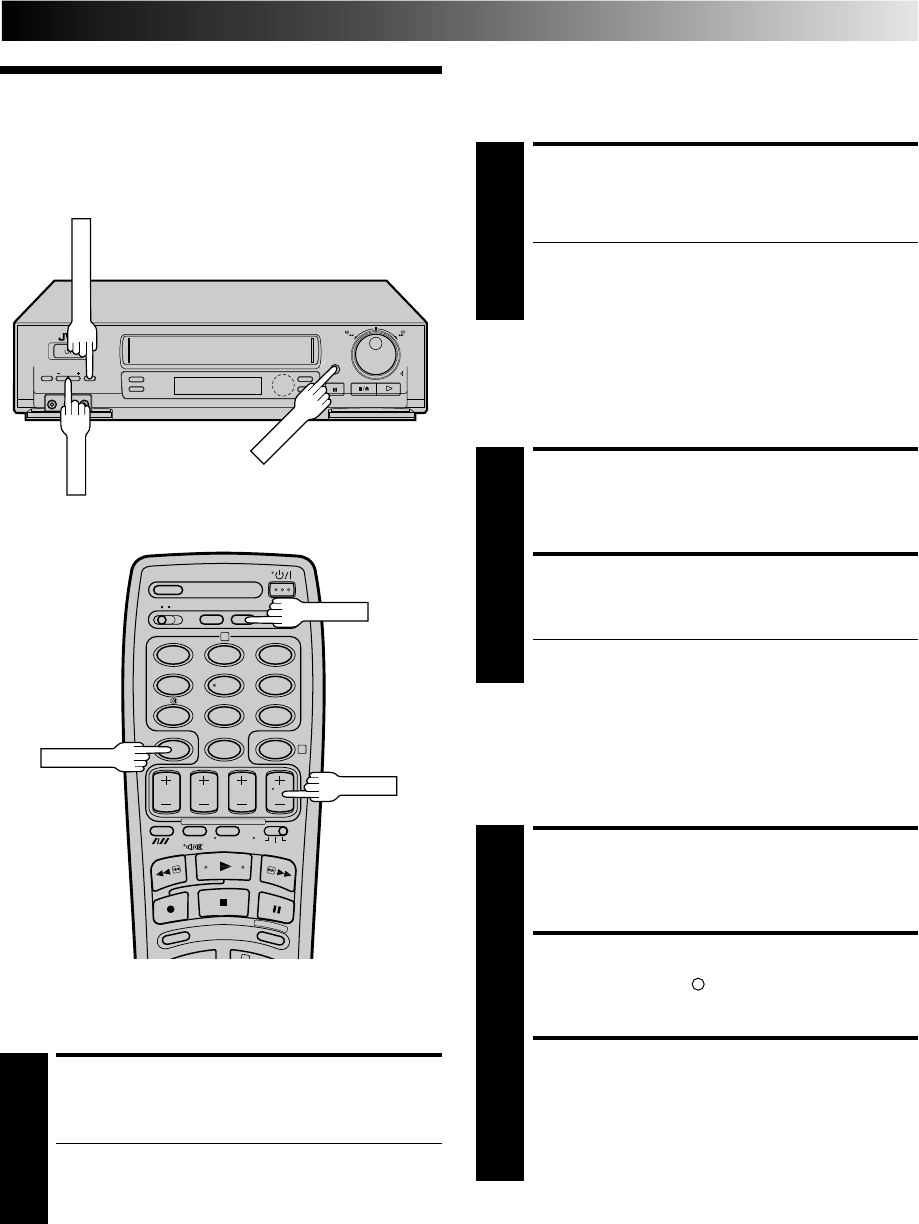
TV PROG.
DISPLAY
C.RESET
Instant Timer Recording (ITR)
This easy method lets you record for from 30 minutes to 6 hours
(selectable in 30-min. increments), and shuts the recorder off
after recording is finished.
START RECORDING
1
Press RECORD on the recorder.
ENGAGE ITR MODE
2
Press RECORD again. " " blinks and 0:30 appears on
the front display panel.
SET RECORDING
DURATION
3
If you want to record for more than 30 minutes, press
RECORD to extend the time. Each press extends
recording time by 30 minutes.
NOTE:
You can only perform ITR using the RECORD button on the
recorder's front panel.
Tape Remaining Time
DISPLAY REMAINING TIME
1
Press DISPLAY until the time remaining on the tape
appears.
● By pressing the DISPLAY button, you can change the
display to show the counter reading, preset position,
clock time* or tape remaining time.
* Preset position is not displayed during playback.
NOTE:
Depending on the type of tape used, there may be times when
the tape remaining time reading may not appear right away, or
is not correct. "- - : - -" may sometimes appear, or the display
may blink on occasion.
