25
Operations for USB MEMORY
Resuming playback
When Resume Playback is set to “ON” (see page
31) and you stop playback by the following
operations, the position where playback has
been stopped is stored. (
“RESUME” appears on
the display window.)
• Turning off the power (see page 16)
• Pressing 7 once
• Changing the source (see page 16)
To start playback from the stored position
• Press USB MEMORY 6 on the remote control or iPod/
USB MEMORY CONTROL ‹/8 on the center unit.
• Select
“USB MEMORY” as the source again if you
changed the source.
To clear the stored position
Press 7 again.
• Disconnecting the USB mass storage class device also
clears the stored position.
Zooming in
7During playback or while paused
1 Press ZOOM.
Each time you repeat the procedure, the
scene magnification changes.
2 While zoomed in, press 2/3/5/
Y to move zoom-in area.
To return to normal playback
Press ZOOM repeatedly, to select “OFF”.
NOTE
• The number of the magnification steps varies depending on
the file type.
• During slide-show playback of JPEG, zooming in is not
available. In such a case, press
USB MEMORY 6 to pause
slide-show playback, then zoom in.
•During playback,
2/3/5/Y may not work in step 2.
Changing the VFP setting
The VFP (Video Fine Processor) function
enables you to adjust the picture character
according to the type of programming, picture
tone or personal preference.
7During playback
1 Press VFP.
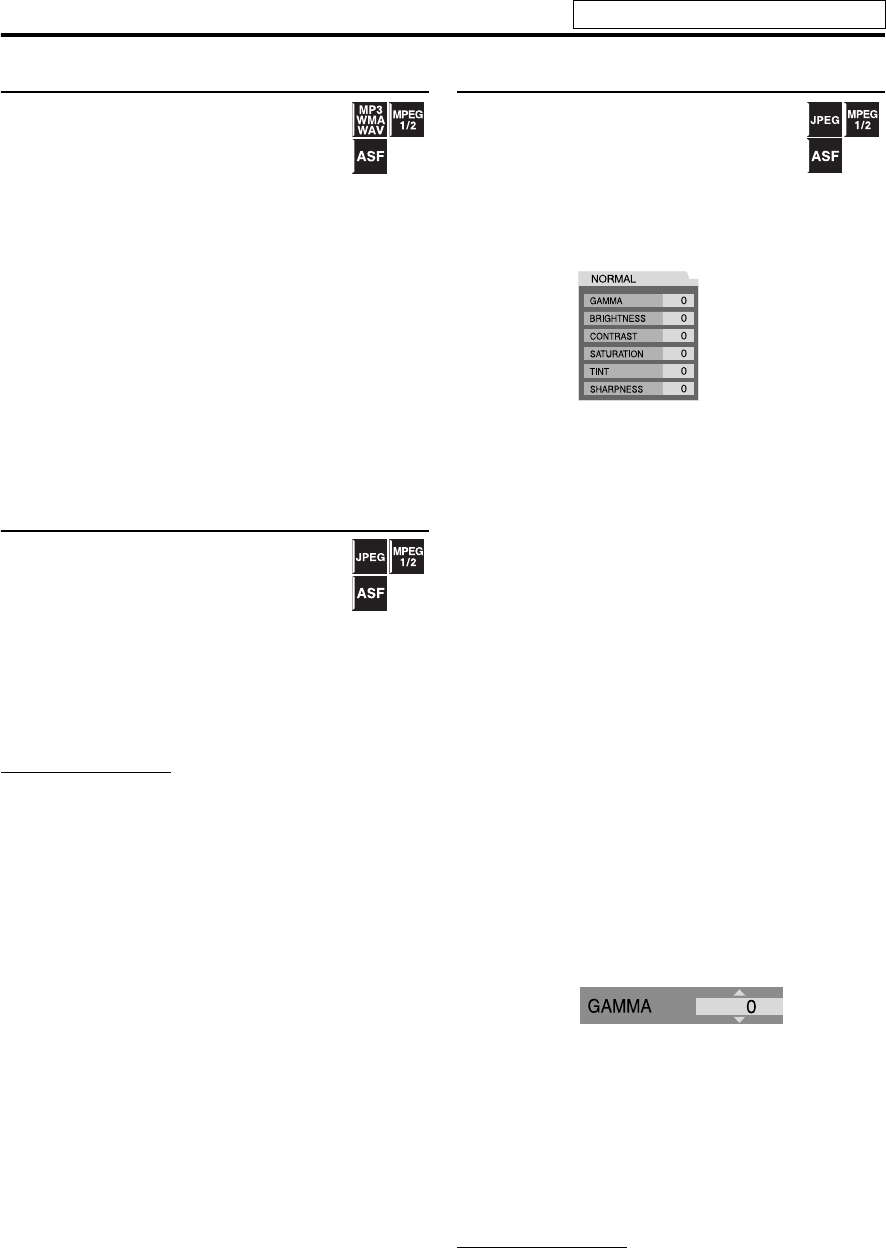
The current VFP settings appear on the TV screen.
2 Press 2/3 repeatedly to select
the VFP mode.
• NORMAL: Normally select this.
• CINEMA: Suitable for movies.
When you select “NORMAL” or “CINEMA,” press VFP
to complete the setting.
• USER 1 and USER 2: You can adjust parameters that
affect picture appearance.
Only when selecting “USER 1” or “USER 2” in step 2,
proceed to perform the following operation;
3 Press 5/Y repeatedly to select a
parameter you want to adjust.
Adjust gradually and confirm picture appearance
results are as preferred.
• GAMMA: Control brightness of neutral tints while
maintaining brightness of dark and bright portions
(–3 to +3).
• BRIGHTNESS: Control screen brightness (–8 to +8).
• CONTRAST: Control screen contrast (–7 to +7).
• SATURATION: Control screen color depth (–7 to
+7).
• TINT: Control screen tint (–7 to +7).
• SHARPNESS: Control screen sharpness (–8 to +8).
4 Press ENTER.
5 Press 5/Y to change the setting.
6 Press ENTER.
The current VFP settings appear again.
7 Repeat steps 3 to 6 to adjust other
parameters.
8 Press VFP.
NOTE
• If the setting display disappears in the middle of the
procedure, the setting at that time will be stored.
Example:
Example:
See page 21 for button locations.
TH-L1[U].book Page 25 Friday, July 13, 2007 2:22 PM
