12 2. INSTALLATION
2-2. Getting Ready for Operation
Try each setting procedure if necessary in the following cases.
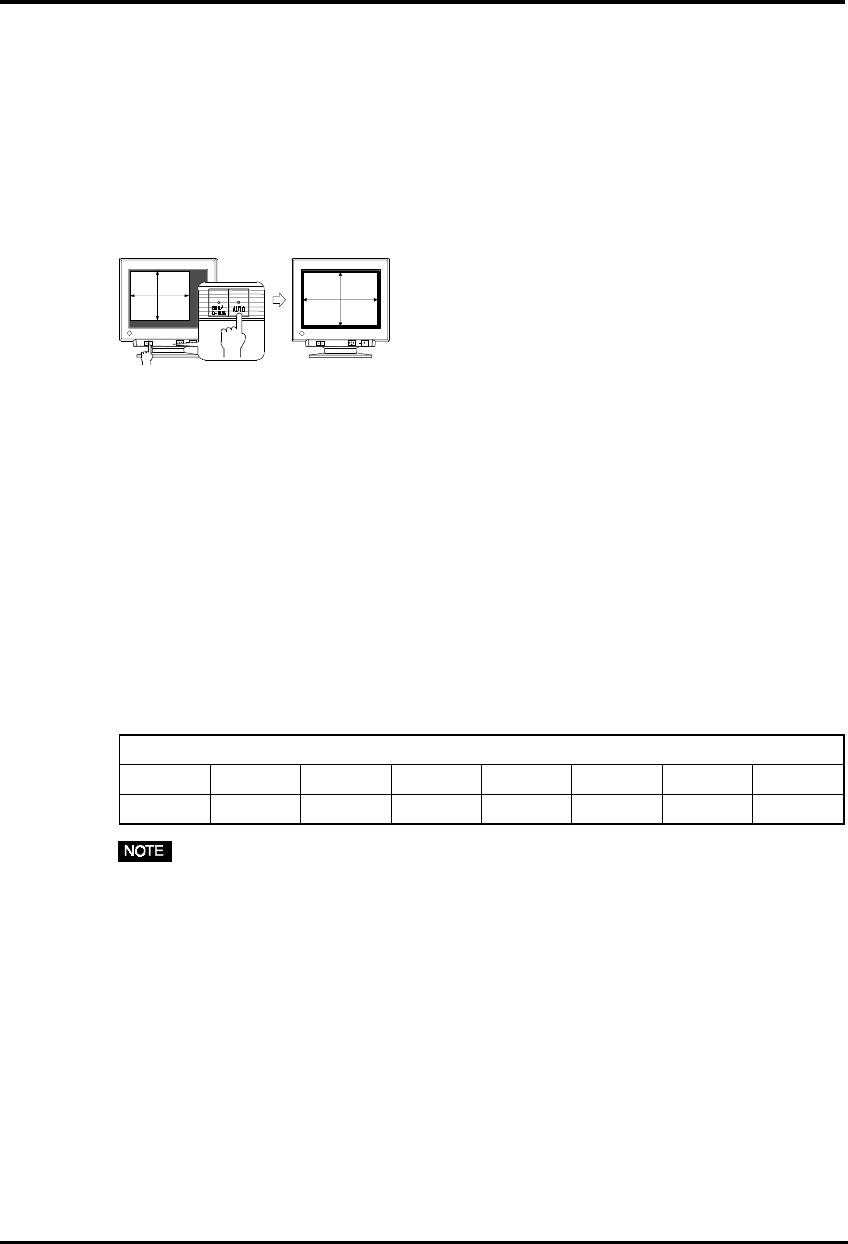
1. The display image size and/or position is incorrect
ÆÆ
ÆÆ
Æ Press the AUTO-SIZING button on the front panel.
The AUTO-SIZING function centers the displayed image, aligning the image’s
borders with respect to the monitor frame. In general, press the AUTO-SIZING
button whenever changing the graphics board or the resolution
p.25)
, or when
image size and/or position is incorrect.
2. The display area is too large or too small
ÆÆ
ÆÆ
Æ Readjust the refresh rates.
Readjust the preferred refresh rates in accordance with the following look-up-
table. Refer to the PC or graphics board manuals on how to change the refresh
rates.
[The maximum (non-interlaced) vertical refresh rates for the model]
• About Plug & Play of the monitor
When your computer and display support VESA DDC, the suitable resolution
and the refresh rate are set by just plugging your display into the computer
without any manual settings.
When your computer system supports Plug & Play, the Display Information
File is not required except for installing the Color Profile.
3. Further adjustment is required
ÆÆ
ÆÆ
Æ Adjust the screen using the ScreenManager (See page 14).
)zH(etarhserfeRlacitreVmumixaM
084x046006x008867x42014201x08210021x00610821x00610441x02916351x8402
061061061121401796808


