174
5
Editing and Printing Images
8
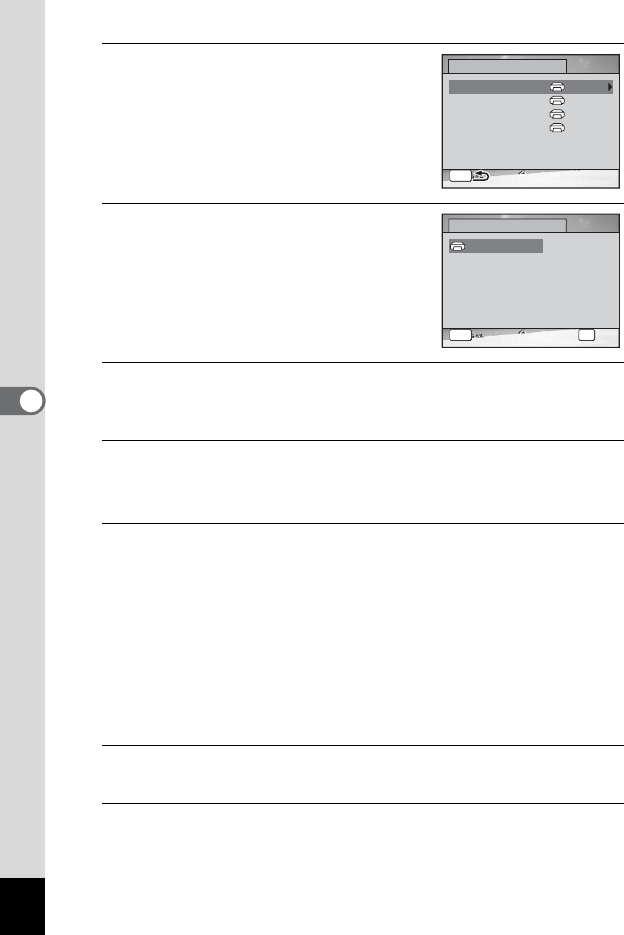
Select [Paper Size] and press the
four-way controller (5).
The [Paper Size] screen appears.
9
Use the four-way controller
(
2345
) to choose the paper size.
You can only choose the size that is
supported by your printer.
10
Press the 4 button.
The [Paper Size] setting is saved, and the screen returns to the print
settings screen.
11
Use the four-way controller (23) to select [Paper Type]
and press the four-way controller (5).
A pull-down menu appears.
12
Use the four-way controller (23) to select the paper
type and press the 4 button.
The [Paper Type] setting is saved, and the screen returns to the print
settings screen. Set [Quality] and [Border Status] in the same way as
in Steps 11 and 12.
If you select [_ Setting] for each print setting, images are printed
according to the settings made on the printer.
Paper Type with more E supports higher quality paper.
Quality with more E indicates higher print quality.
A confirmation dialog appears after each item has been set.
13
Press the 3 button.
The screen returns to the confirmation dialog.
14
Press the 4 button.
The image is printed according to the settings.
Press the 3 button to cancel printing.
PictBridge
MENU
Paper Size
Paper Type
Border Status
Quality
Setting
Setting
Setting
Setting
Cancel
Cancel
MENU OK
OK
OK
2L
L
100×150
A4
A3
4”×6”
8”×10”
11”×17”
Paper Size
Card
Postcard
Letter
Setting


