1 If you want to make an analogue or digital line-in recording,
connect to your recording source to the OPTICAL /LINE
IN jack on your Jukebox.
➔ The recording source screen is automatically displayed.
●
To make a microphone recording,you will need to press
MENU/ HOLD to select the Record Mode menu.
2 Use the
4
or
3
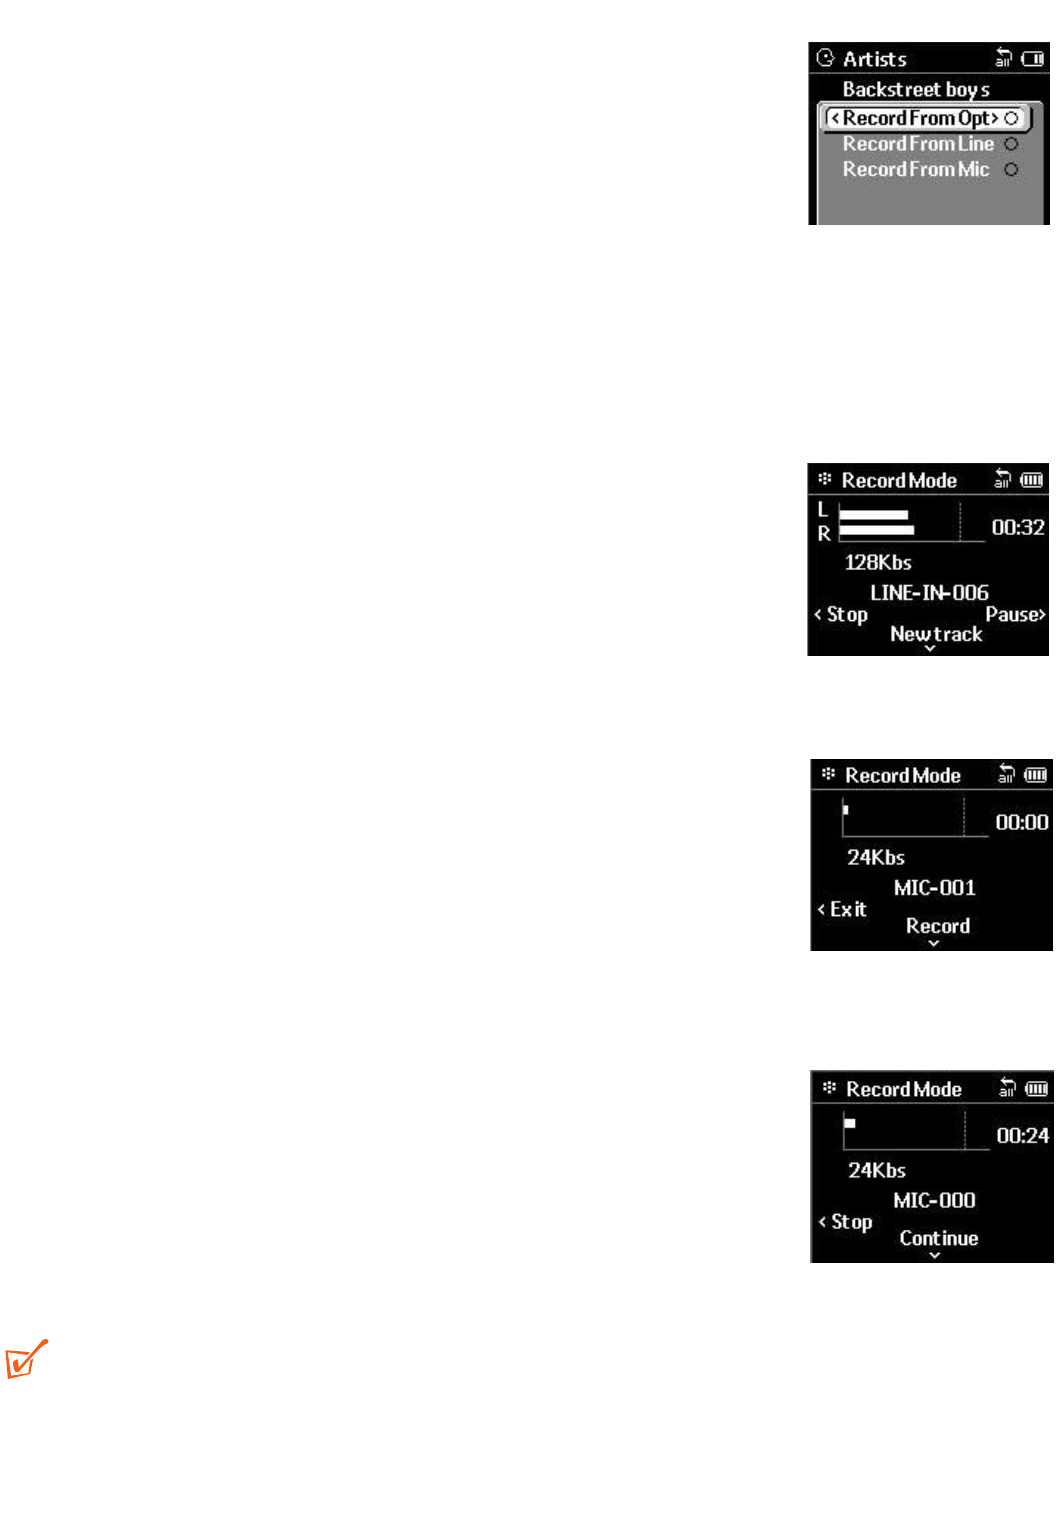
and 2 controls to scroll and select your type of recording source:
– Record Optical for an Optical source
– Record Line for a Line-in source
– Record Mic for built-in microphone source
➔ Record Mode screen is displayed.
To start recording
During recording, the display shows a VU meter indicating the left
(L) and right (R) channel input levels, recording bitrate in Kbs,
recording source and track number, and the soft key controls for
Stop and Pause.
For Line-in and Optical
1 Use a connection cable (not supplied) to connect the
OPTICAL OUT/ LINE OUT jack on your audio recording
source to the OPTICAL/ LINE IN jack on your Jukebox.
2 Press play on your connected audio source.
3 Press
4
to start recording on your Jukebox.
For microphone recordings
●
Press 4 to start recording on your Jukebox.
To pause and continue recording
●
Press
2
to pause recording on your Jukebox. Press 4 again to
resume.
To stop / end recording
1 Press 1 to end recording on your Jukebox.
2 Press 1 again to exit the recording function.
TIP:
– Recording is not possible when your Jukebox is connected via the USB.
– The remote control keys are disabled during recording mode.
Select your Recording Mode
26
HDD100_ENG 19/8/03 16:31 Page 26


