3
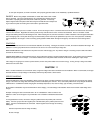
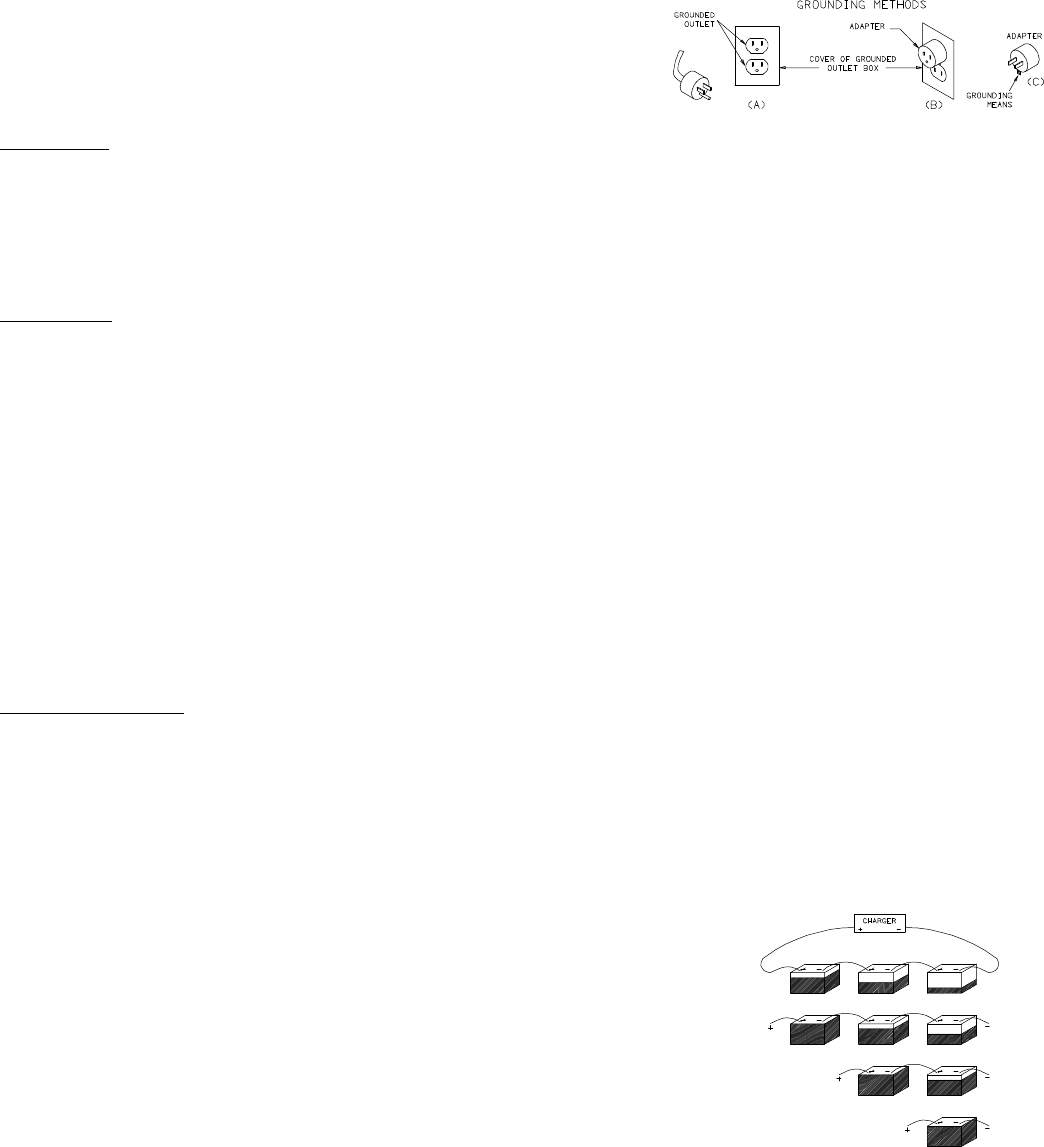
to a two-pole receptacle, as shown in sketch B, until a properly grounded outlet can be installed by a qualified electrician.
DANGER. Before using adapter as illustrated, be certain that center screw of outlet
plate is grounded. The green-colored rigid ear of lug extending from adapter must be
connected to a properly grounded outlet, make certain it is grounded. If necessary,
replace original outlet cover plate screw with a longer screw that will secure adapter ear
lug to outlet cover plate and make ground connection to grounded outlet.
MOUNTING:
The Battery Charger may be set on a table or a shelf. Do not set charger on floor. It should be mounted such that the air intake louvers are at least
18 inches from the floor. Regardless of how it is placed, the top and side louvers of the unit must not be blocked. This is a convection cooled
charger and blocking the louvers will damage the unit. When locating the unit, take into account the number of batteries to be recharged and location
of the recharging racks. Never place the charger such that battery acid or water may be spilled in the top of the unit. Never place the unit directly
over the batteries to be charged. Fumes caused by gassing batteries will be drawn through the charger by convection and cause damage to the
unit.
CONTROLS:
AMMETER: Indicates the amount of current that the batteries are receiving. The larger the amount of current, the faster the batteries will charge. All
batteries in a series group will receive the same amount of current. Do not exceed 6 amps charge rate.
MAIN POWER SWITCH: This switch turns the power off to the entire charging unit. Any time the charger is not being used, this switch should be
turned off to conserve energy.
CHARGE RATE SWITCH: These switches may be used to adjust the charging current the batteries will receive. An off position on these switches
will disconnect power from the clamps. One of these switches or the main power switch should be off whenever handling the output clamps.
If the charger is not going to be used for a period of time, turn the main power switch off to conserve energy. Turning off only a charge rate switch
will not have the same effect.
CAUTION ! ! !
When a number of batteries are connected in series, a high DC voltage exists at the terminals of the end batteries. When not connected, the charger
DC leads will have no output voltage but the battery terminal may still present a shock hazard.
SERIES CHARGING:
Connecting batteries in series (see illustration) allows a person to charge a number of batteries at one time using only one low current, high voltage
charger. The amount of charge that each battery receives is indicated by the ammeter. Thus, each battery will arrive in a fully charged condition at
a different time. Conditions that affect charging time are battery temperature, size, state of charge, type of battery, and other factors.
Six and twelve volt batteries may be intermixed when series charging. The total voltage of the batteries should not exceed the rated voltage of the
charger.
Example: A Charger is rated a nominal 36 cells. Six 12 volt batteries in series or twelve 6 volt
batteries in series can be charged or any combination of six and twelve volt batteries that total 36
cells.
To charge batteries in series, connect the charger's positive lead to the positive post of the first
battery. Connect a jumper from the negative post of the first battery to the positive post of the next
battery. Continue until all batteries are connected. Attach negative lead of charger to remaining
battery post.
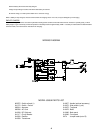
Dark area represents state of charge of battery.
At start of charge


