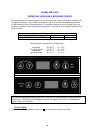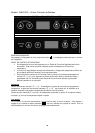
You can control the internal temperature of each side/zone independently by using the control panel
for that side.
You can press the left side UP and DOWN buttons/marks to control the internal temperature of each
respective side / zone.
The degrees indicators will appear in the display window.
SETTING THE TEMPERATURE CONTROL
• The temperature that you desire to set will increase 1ºF or 1ºC if you push the UP button/mark
once, on the contrary the temperature will decrease 1ºF or 1ºC if you push the DOWN
button/mark once.
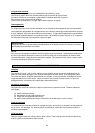
NOTE:
• If the unit is unplugged, power lost, or turned off, you must wait 3 to 5 minutes before restarting
the unit. If you attempt to restart before this time delay, the Wine Chiller will not start.
• When you use the wine chiller for the first time or restart the wine chiller after having been shut off
for a long time, there could be a few degrees variance between the temperature you select and
the one indicated on the LED readout. This is normal and it is due to the length of the activation
time. Once the wine chiller is running for a few hours everything will be back to normal.
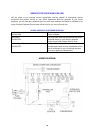
STORAGE
Many bottles may differ in size and dimensions. As such the actual number of bottles you may be able
to store may vary.
NOTE:
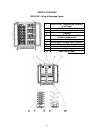
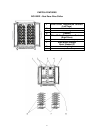
LEFT SIDE / ZONE: 21 Standard bottles
RIGHT SIDE / ZONE: 21 Standard bottles
TOTAL 42 Standard bottles
Bottle capacities are approximate maximums when storing traditional Bordeaux 750 ML bottles and
include bulk storage.
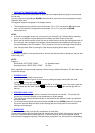
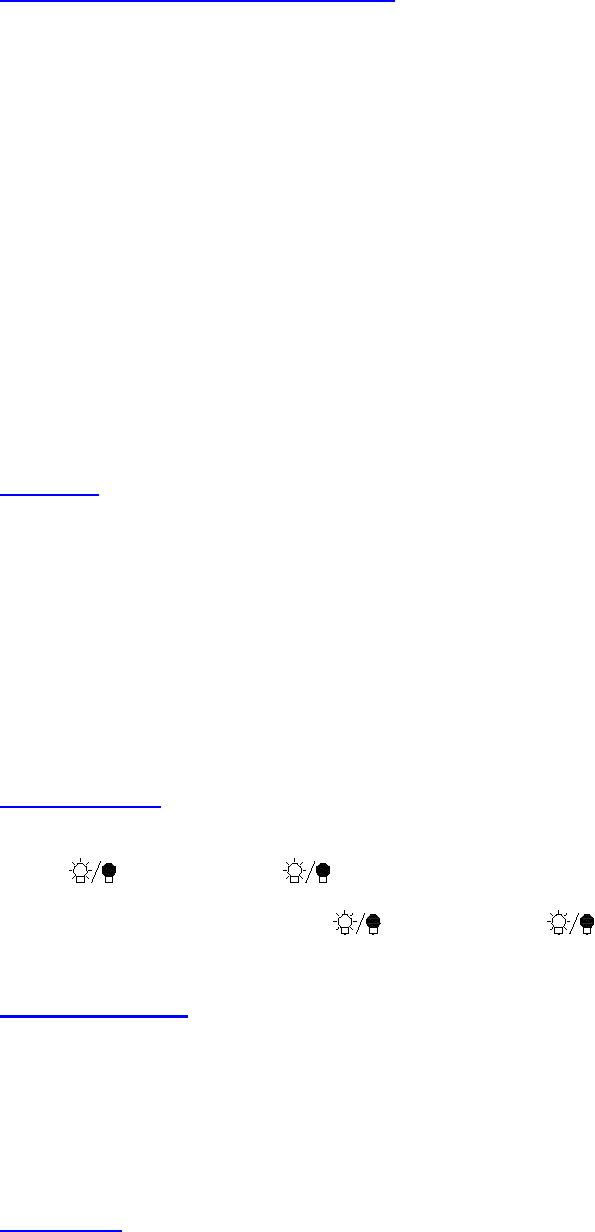
INTERIOR LIGHT
• Interior lights are available in both zones.
• You can turn the interior light on in each zone by pushing the button marked with the “bulb”
symbol
or touch the mark .
The lights will turn off automatically if it remains ON for 10 minutes or more. You have to push the
button marked with the “bulb” symbol
or touch the mark again and the light will turn
back on.
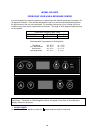
Control Panel Lock.
• Your Wine chiller is equipped with an automatic Control panel lock function. This function will
prevent any unwanted changes to your temperature or power settings.
• The lock function will activate automatically 12 seconds after the last time a button is pushed on
the control panel.
• To unlock the control panel lock press and hold the (UP) and the (DOWN) buttons for 3 seconds
the control panel will beep and blink once indicating that the control panel is active and the
settings can be changed.
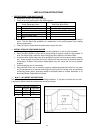
DOOR LOCK
Your unit is provided with a lock and key combination on each side..
The keys are located inside the plastic bag that contains the User’s Guide. Insert the key into the lock
and turn it counterclockwise to unlock the door. To lock the door do the reverse operation making
sure metal pin is engaged completely. Remove the key and place it in a secure place for safekeeping.