24
SERVICE (Cont.)
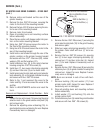
20. Remove the two #8-32 flat head screws securing
the motor cover (18) to the motor and housing
assembly (17) and remove the cover. Set aside for
reassembly.
21. Discard old motor and housing assembly.
22. Place new motor on it’s side and install motor cover
(18) using two #8-32 flat head screws.
23. Install upper burr (16) to the new motor and hous-
ing assembly (17) using two #10-32 binding head
screws.
24. Install spring retaining bushing (15) on motor
shaft.
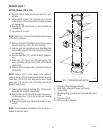
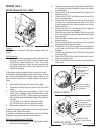
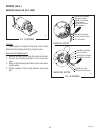
25. Refer to Fig. 11. Install burr housing divider (8) in
slot in the burr housing and secure with #8-32 cup
point setscrew (7), for Model LPG-2E only.
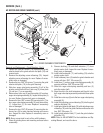
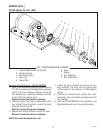
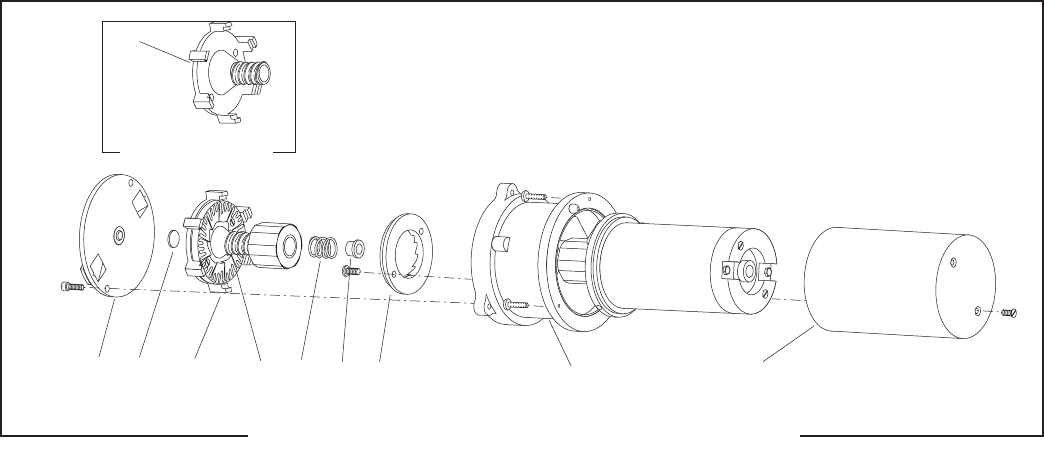
26. Refer to Fig. 12. Install rotor (12), lower burr (13) and
spring (14) as an assembly on the motor shaft.
27. Install load disc (11) flat side towards rotor.
28. Install burr housing cap (10), adjusting screw,
dechaffing spring plate and dechaffer support as an
assembly to the new motor and housing assembly
(17) using two #10-32 fillister head screws.
29. Set motor upright with burr housing at the bot-
tom.
NOTE: Steps 30 thru 33 apply only to Model LPG-2E.
30. Install solenoids and solenoid bracket (4) as an
assembly on the new motor.
31. Install spacer plate (3) making sure the hole in the
spacer plate aligns with the hole in the mounting
ring.
32. Install solenoid plunger with spring and slide plate
(2) as an assembly into the solenoid coil. Place slide
plate on the dowel in the mounting ring. Repeat for
the opposite side.
33. Install retaining ring w/hopper gasket (1) using
three #8-32 pan head screws and three #8-32 keps
nuts.
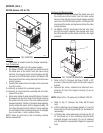
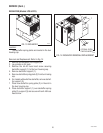
34. Refer to Fig.10. Install motor, solenoids and solenoid
components (2) in the hopper housing (3) using
three #10-32 truss head screws (1).
35. Reconnect wires for motor and solenoids. Refer to
wiring schematic.
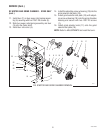
FIG. 12 ROTOR/AUGER, BURRS AND MOTOR COVER
10 11 12 13 14 15 16 17 18
P1051
MODEL LPG ONLY
13
MOTOR (Models LPG & FPG)
41545 122209


