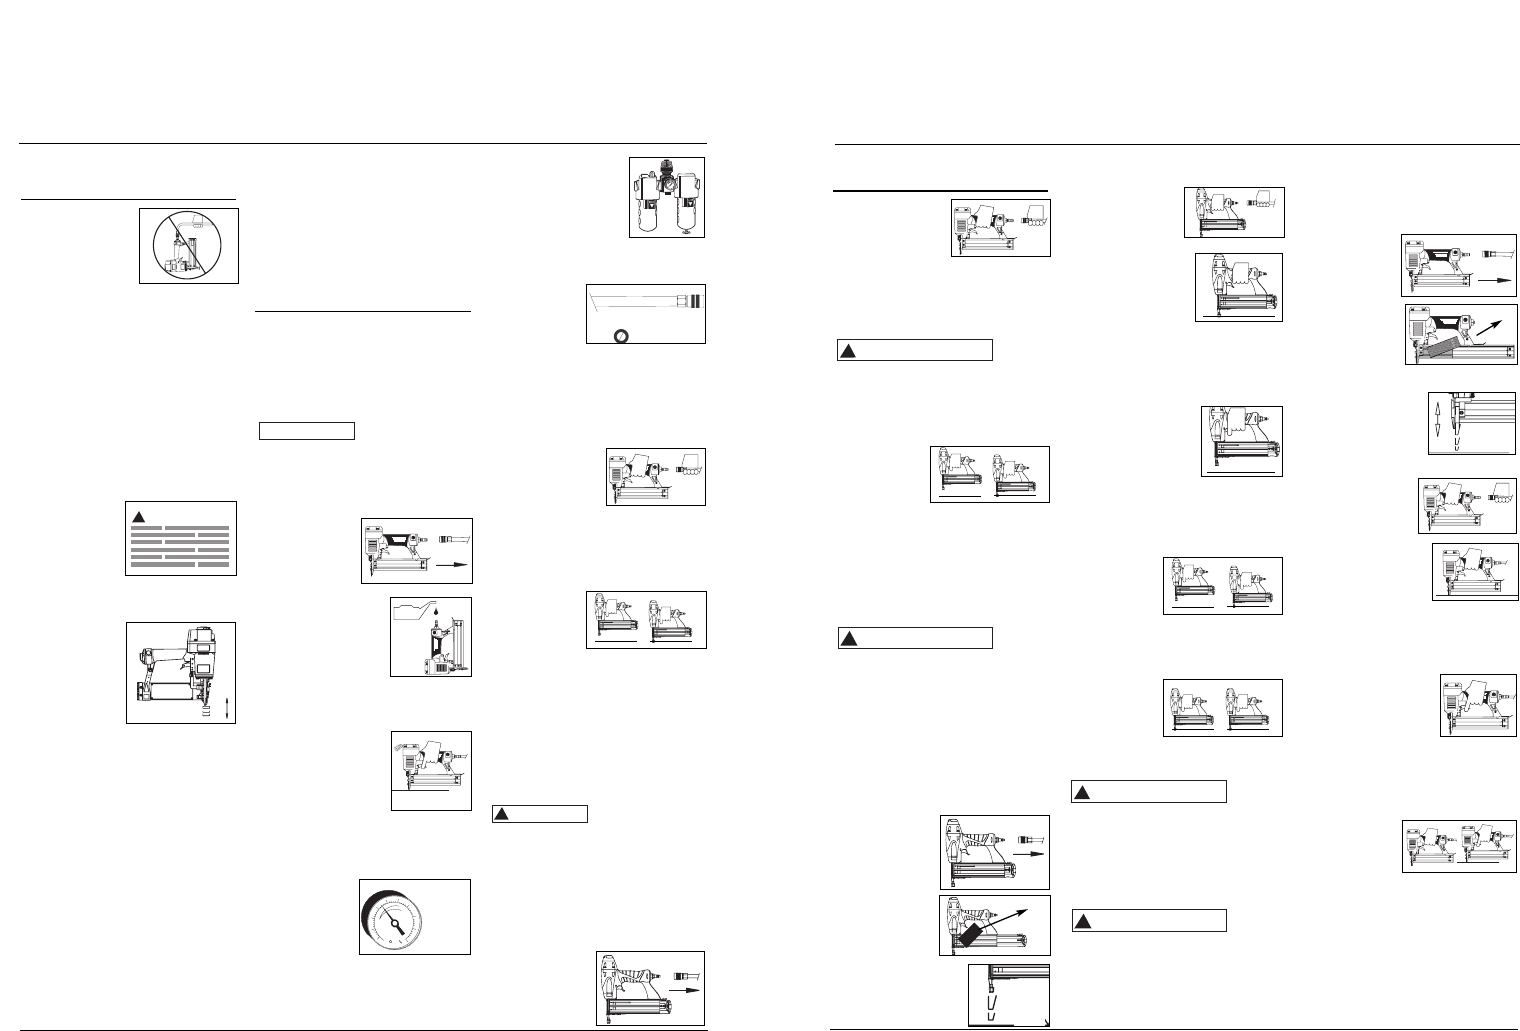
van libremente en ambos sentidos
sin atascarse o pegarse.
4. Reconecte la
herramienta a la
fuente de sumin-
istro de aire.
5. Presione el
Elemento de
Contacto de
Trabajo contra la
superficie de traba-
jo sin apretar el gatillo. La her-
ramienta NO DEBE OPERAR. No
use la herramienta si opera sin apre-
tar el gatillo. Se pueden producir
lesiones personales.
6. Remueva la her-
ramienta de la
superficie de traba-
jo. El Elemento de
Contacto de Trabajo
tiene que volver a su
posición original. La herramienta
NO DEBE OPERAR. No use la her-
ramienta si opera mientras está lev-
antada de la superficie de trabajo.
7. Apriete el
gatillo y pre-
sione el
Elemento de
Contacto de
Trabajo contra la superficie de tra-
bajo. La herramienta NO DEBE hac-
erse funcionar.
8. Presione el
Elemento de
Contacto de
Trabajo con-
tra la superfi-
cie de trabajo. Apriete el gatillo. La
herramienta DEBE OPERAR.
Una
herramienta que funciona de manera
inadecuada no debe usarse. No active
la herramienta a menos que esté
colocada firmemente contra la pieza de
trabajo.
COMO CHEQUEAR EL ELEMENTO DE
CONTACTO
Chequée
el fun-
cionamiento del mecanismo del ele-
mento de contacto antes de cada uso.
El elemento de contacto se debe
desplazar libremente, sin pegarse, a lo
largo del área de desplazamiento. El
resorte del elemento de contacto debe
!
PRECAUCION
!
ADVERTENCIA
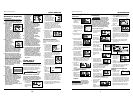
General Safety
Information (Continued)
● Never carry the
tool by the air
hose or pull the
hose to move the
tool or a compres-
sor. Keep hoses
away from heat,
oil and sharp edges. Replace any
hose that is damaged, weak or
worn. Personal injury or tool dam-
age could occur.
● Always assume the nailer contains
nails. Respect the tool as a working
implement; no horseplay. Always
keep others at a safe distance from
the work area in case of accidental
discharge of nails. Do not point the
tool toward yourself or anyone
whether it contains fasteners or not.
Accidental triggering of the nailer
could result in death or serious per-
sonal injury.
● Do not operate
or allow anyone
else to operate
the tool if any
warnings or
warning labels
are not legible.
Warnings or warning labels are locat-
ed on the tool magazine and body.
● Always check
that the Work
Contact
Element (WCE)
is operating
properly. A nail
could acciden-
tally be driven
if the WCE is
not working properly. Personal
injury may occur (See “Checking the
Work Contact Element” Section).
● Disconnect air supply and release
tension from the pusher before
attempting to clear jams because
fasteners can be ejected from the
front of the tool. Personal injury
may occur.
● Avoid using the tool when the mag-
azine is empty. Accelerated wear on
the tool may occur.
● Clean and check all air supply hoses
and fittings before connecting the
tool to an air supply. Replace any
damaged or worn hoses or fittings.
Tool performance or durability may
be reduced.
Cómo usar la
Herramienta (Cont.)
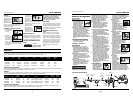
4. Use un regulador
de presión (de 0
bar-8,27 bar) en
el compresor. Se
necesita un
regulador de presión para controlar
la presión de operación de la
herramienta entre 4,14 bar y 6,90
bar.
MODO DE OPERACIÓN
Siempre
cer-
ciórese de saber en que modo va a
operar la clavadora antes de comenzar
a usarla. De lo contrario, le podría oca-
sionar la muerte o heridas graves.
MODO DE SECUENCIA SINGULAR
Este sistema
requiere que
oprima el gatillo
cada vez que
vaya a clavar un
sujetador. Para clavar el elemento de
contacto debe tocar la superficie de
trabajo y el operador debe oprimir el
gatillo.
Debe soltar el gatillo antes de clavar
otro sujetador.
CÓMO USAR LA HERRAMIENTA DE
DISPARO SECUENCIAL
Cheque
el
funcionamiento del mecanismo del
elemento de contacto antes de cada
uso. El elemento de contacto se debe
desplazar libremente, sin pegarse, a lo
largo del área de desplazamiento. El
resorte del elemento de contacto debe
regresar el elemento de contacto a su
posición original totalmente extendido.
No use la herramienta si el mecanismo
del elemento de contacto no está fun-
cionando adecudamente. Podría oca-
sionarle heridas.
1. Desconecte la
herramienta de
la fuente de
suministro de
aire.
2. Saque todos los
sujetadores del
cargador (Vea
la Sección
Carga-
Descarga).
3. Cerciórese de que el
gatillo y el elemento
de contacto se mue-
!
PRECAUCION
!
ADVERTENCIA
regresar el elemento de contacto a su
posición original totalmente extendido.
No use la herramienta si el mecanismo
del elemento de contacto no está fun-
cionando adecudamente. Podría oca-
sionarle heridas.
1.
Desconecte la
herramienta de
la fuente de su-
ministro de
aire.
2. Saque todos
los sujetadores
del cargador
(Vea la Sección
Carga-
Descarga)
3. Cerciórese de que
el gatillo y el ele-
mento de contacto
se muevan libre-
mente en ambos
sentidos sin atascarse o pegarse.
4. Reconecte la
herramienta a la
fuente de sumi-
nistro de aire.
5.
Presione el Elemento
de Contacto de
Trabajo contra la
superficie de trabajo
sin apretar el gatillo.
La herramienta NO DEBE OPERAR.
No use la herra-mienta si opera sin
apretar el gatillo. Se pueden pro-
ducir lesiones personales.
6. Remueva la her-
ramienta de la super-
ficie de trabajo. El
Elemento de
Contacto de Trabajo
tiene que volver a su posición origi-
nal. La herramienta NO DEBE
OPERAR. No use la herramienta si
opera mientras está levantada de la
superficie de trabajo.
7. Apriete el
gatillo y pre-
sione el
Elemento de
Contacto de
Trabajo contra la superficie de tra-
bajo. La herramienta DEBE OPER-
AR.
Modelo HDN23200
5-Sp
Manual de Instrucciones
2. An oiler can be used
to provide oil circula-
tion through the tool.
A filter can be used
to remove liquid and
solid impurities which
can rust or “gum up” internal parts
of the tool.
3. Use 3/8” air
hoses with a
minimum
working pres-
sure of 150
psi. Use 1/2” air hoses for 50’ run or
longer. For better performance,
install a 3/8” quick plug (1/4” NPT
threads) with an inside diameter of
.315" (8mm) on the tool and a 3/8”
quick coupler on the air hose.
4. Use a pressure
regulator on the
compressor, with
an operating
pressure of 0 -125
psi. A pressure regulator is required
to control the operating pressure of
the tool between 60 and 100 psi.
SINGLE SEQUENTIAL MODE
This mode
requires the trig-
ger to be pulled
each time a fas-
tener is driven.
The tool can be actuated by depressing
the WCE against the work surface fol-
lowed by pulling the trigger.
The trigger must be released to reset
the tool before another fastener can be
driven.
OPERATING A SEQUENTIAL TRIP
NAILER
Check the opera-
tion of the Work
Contact Element (WCE) trip mechanism
before each use. The WCE must move
freely without binding through its
entire travel distance. The WCE spring
must return the WCE to its fully extend-
ed position after being depressed. Do
not operate the tool if the WCE trip
mechanism is not operating properly.
Personal injury
may occur.
1. Disconnect the
air supply from
the tool.
!
CAUTION
● Air compressors providing air to the
tool should follow the requirements
established by the American
National Standards Institute
Standard B19.3-1991; Safety
Standard for Compressors for
Process Industries. Contact your air
compressor manufacturer for
information.
Operating The Tool
LUBRICATION
This tool requires lubrication before
using the tool for the first time and
before each use. If an inline oiler is
used, manual lubrication through the
air inlet is not required on a daily basis.
The work surface
can become dam-
aged by excessive lubrication. Proper
lubrication is the owner’s responsibil-
ity. Failure to lubricate the tool proper-
ly will dramatically shorten the life of
the tool and void the warranty.
1. Disconnect the
air supply from
the tool to add
lubricant.
2. Turn the tool so the
air inlet is facing up.
Place 4-5 drops of 30
W non-detergent oil
into air inlet. Do not
use detergent oils,
oil additives, or air tool oils. Air tool
oils contain solvents which will dam-
age the tool's internal components.
3. After adding oil, run
tool briefly. Wipe off
any excess oil from
the cap exhaust.
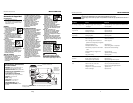
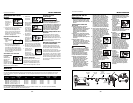
RECOMMENDED HOOKUP
The illustration below shows the
recommended hookup for the tool.
1. The air com-
pressor must
be able to
maintain a
minimum of
60 psi when
the tool is being used. An inade-
quate air supply can cause a loss of
power and inconsistent driving.
NOTICE
Model HDN23200
Operating Instructions
4
150 PSI WP
3/8” I.D.
60 psi
Min.
100 psi
Max.
movemiento
1
2
!
WARNING
OIL
OIL
movemiento
1
2


