


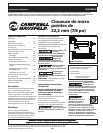

5
CHN10500
OPERATING INSTRUCTIONS
(Continued)
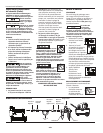
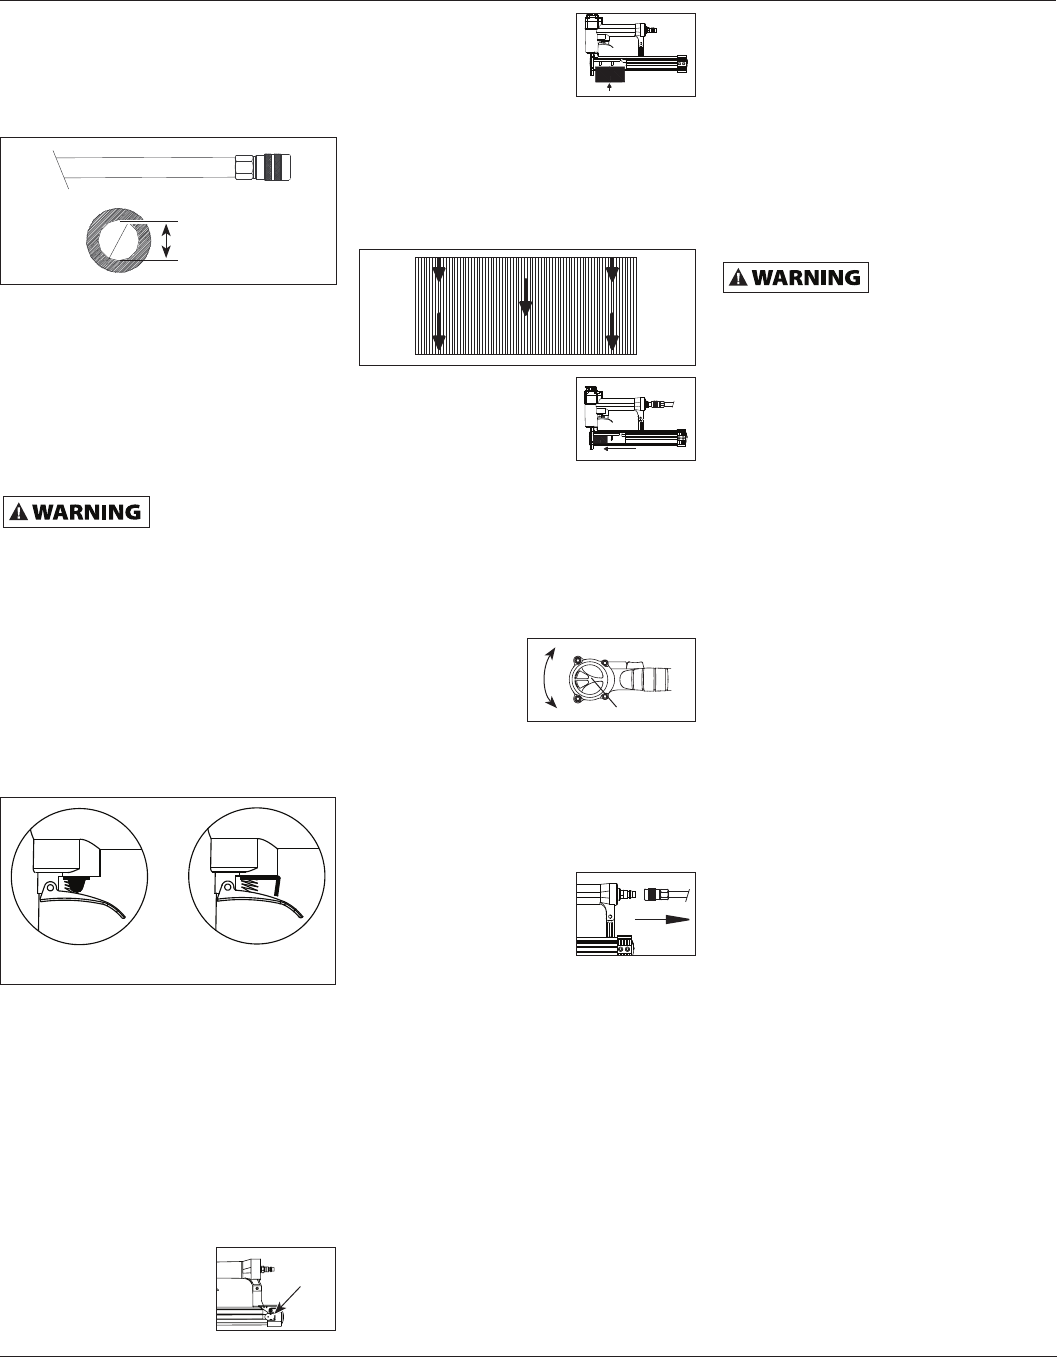
is greater. Use 1/4 inch air hose for
runs up to 50 feet. Use 3/8 inch air
hoses for 50 foot run or longer.
4. Use a pressure regulator on the
compressor, with an operating
pressure of 0 psi - 125 psi. A pressure
regulator is required to control
the operating pressure of the tool
between 60 psi and 100 psi.
OPERATIONAL MODE
Always know the
operational mode of
the tool before using. Failure to know
the operational mode could result in
death or serious personal injury.
TRIGGER ONLY MODE (WITH
TRIGGER LOCK)
The tool is a single-actuator device. This
mode requires that, with the trigger
lock not positioned in the safe mode,
only a pull of the trigger will fire a
fastener.
After verifying there are no fasteners
in the tool, safety check the operation
of the activated trigger lock to prevent
the tool from firing a fastener before
storage. Always disconnect from
compressed air when not in use.
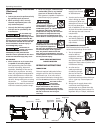
LOADING/UNLOADING THE TOOL
1. Always disconnect the tool from
the air supply before loading
fasteners.
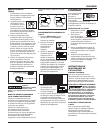
2. Push the latch button.
Pull back on the
magazine cover fully.
3. Insert a stick of
fasteners into the
magazine under the
automatic nail length
plate. Make sure
pointed ends of pins are resting on
bottom ledge of magazine when
loading. Make sure pins are not dirty
or damaged. Pins are marked for
direction of loading.
4. Push the magazine
cover forward until
latch engages.
5. Always unload all fasteners before
removing tool from service.
Unloading is the reverse of loading,
except always disconnect the air
supply before unloading.
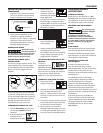
ADJUSTING THE DIRECTION OF THE
EXHAUST
The tool is
equipped with an
adjustable direction
exhaust deflector. This is intended to
allow the user to change the direction
of the exhaust. Simply twist the
deflector to any direction desired.
CLEARING A JAM FROM THE TOOL
1. Disconnect the air
supply from the tool.
2. Remove all nails from the magazine
(see "Loading/ Unloading The
Nailer"). Failure to do so will cause
the nails to eject from the front of
the nailer.
3. Completely remove the two (2) small
nose screws and the top nose plate
to reveal the jammed fastener.
4. Using caution not to bend or
damage the driver blade, use a pick
or some other pointed object to pry
free and clear the jammed fastener.
USER-MAINTENANCE
INSTRUCTIONS
TECHNICAL SERVICE
Please call our Tool Hotline at 1-800-
543-6400 with any questions regarding
the operation or repair of this tool or
for additional copies of this manual.
FASTENER AND REPLACEMENT
PARTS
Use only 23 gauge
headless micropins
(or equivalent - see Fastener
Interchange Information). Tool
performance, safety and durability
could be reduced if improper fasteners
are used. When ordering replacement
parts or fasteners, specify by part
number.
TOOL REPAIR
Only qualified personnel should repair
the tool and they should use genuine
Campbell Hausfeld replacement parts
and accessories, or parts and accessories
which perform equivalently.
DRIVER BLADE CARE AND
REPLACEMENT
In order to properly drive the
tiny micropins and leave a nearly
undetectable hole, the tips of the driver
blades end in a fine point and are
therefore quite vulnerable to abuse and
extended use.
To maximize the life of the blade,
closely examine fasteners for defects.
Do not use defective or improper
fasteners. Also load fasteners in the
proper orientation; the pin points and
the arrows always point toward the
wood surface. Drive fasteners into wood
products only (see "Loading/ Unloading
The Nailer").
Even with good care, extended use
of the tool may eventually lead to tip
failure. Replacement driver assemblies
can be purchased by calling 1-800-
543-6400 and refer to part number
SKN12600AV.
Latch
Button
150 psi or greater
3/8 inch I.D.
Rotate
LockUnlock
www.chpower.com