SKU 99637 For technical questions, please call 1-800-444-3353. Page 11
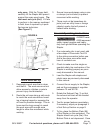
only once. With the Trigger held,
carefully lift the Stapler and press it
against the scrap wood again. The
tool must not cycle (re). If it fails
to perform in the manner explained
in bold, have it repaired by a quali-
ed service technician.
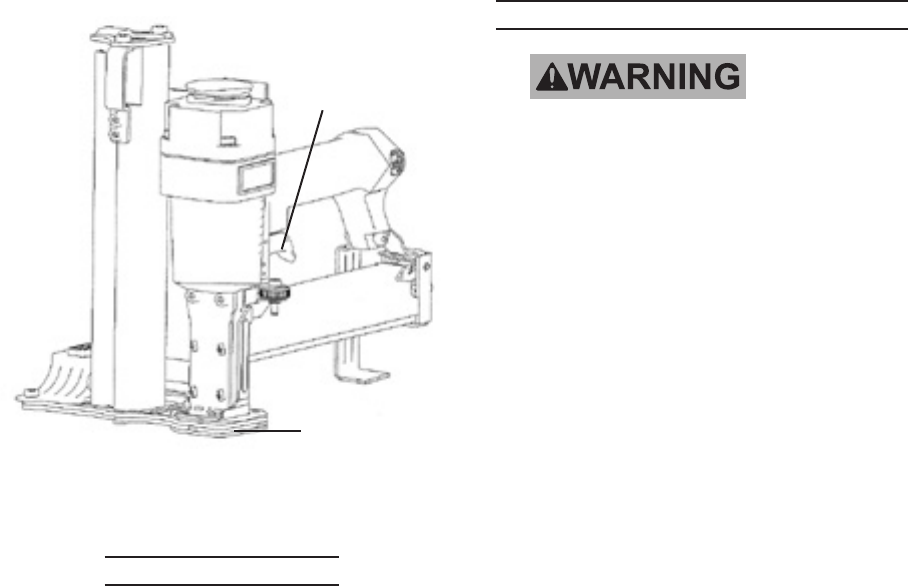
(See Figure F.)
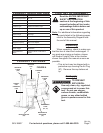
FIGURE A
TRIGGER
(39)
BOTTOM PLATE
(95)
Work Area Set Up
1. Designate a work area that is clean
and well-lit. The work area must not
allow access by children or pets to
prevent injury and distraction.
2. Route the air hose along a safe route
to reach the work area without creat-
ing a tripping hazard or exposing the
air hose to possible damage. The air
hose must be long enough to reach
the work area with enough extra
length to allow free movement while
working.
3. Secure loose workpieces using a vise
or clamps (not included) to prevent
movement while working.
4. There must not be hazardous ob-
jects (such as utility lines or foreign
objects) nearby that will present a
hazard while working.
General Operating Instructions
ALWAYS wear
ANSI-approved
safety impact goggles and heavy
duty work gloves when operating the
Stapler.
1. If an automatic oiler is not used, add
a few drops of Pneumatic Tool Oil
to the airline connection before use.
Add a few drops more after each
hour of continual use.
2. Check to make sure the single se-
quential safety trip mechanism of the
Stapler is working properly as previ-
ously discussed in this manual.
3. Load the Stapler with staples and
plastic caps as previously discussed
in this manual.
4. Connect the air supply to the Stapler,
and set the compressor’s regulator
between 70 and 90 PSI.
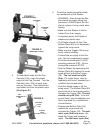
5. Rotate the Exhaust Cap (1) so that
the exhaust air blast will be directed
away from the operator.
6. Test for proper fastener penetration.
If necessary, adjust per paragraph 2
of tool Set-up Section on page 9.
7. To re, place the Bottom Plate (95)
of the Stapler on the workpiece. The
Stapler should not cycle (re) if the
Bottom Plate is not depressed. Once
REV 08k


