Scorpion™ Storm FXGB User Manual 10 12/12/2011
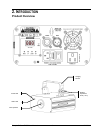
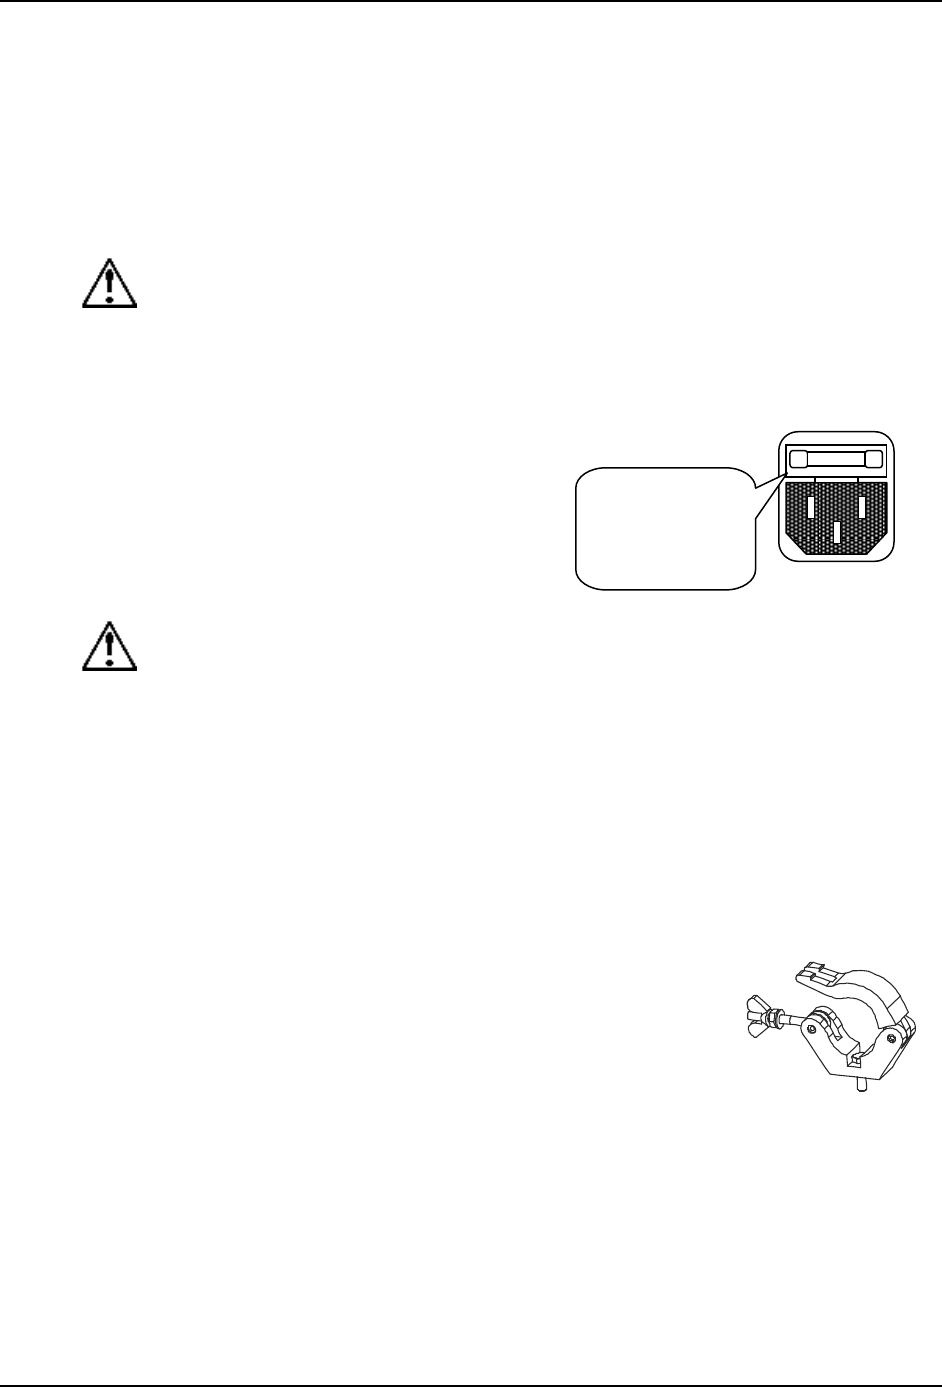
The fuse is located
inside this
compartment.
Remove using a flat
head screwdriver.
Hanging Clamp
Note!
Clamp is sold separately.
3. SETUP
AC Power
This fixture has an auto-switching power supply that can accommodate a wide range of input
voltages. The only thing necessary to do before powering on the unit is to make sure the line
voltage you are applying is within the range of accepted voltages. This fixture will accommodate
100~240 VAC, 50/60 Hz.
Always connect the product to a switched circuit. Never connect the product to a rheostat
(variable resistor) or dimmer circuit, even if the rheostat or dimmer channel is used only as a 0 to
100% switch.
Fuse Replacement
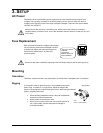
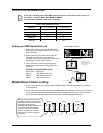
With a flat head screwdriver, wedge the fuse holder
out of its housing. Remove the damaged fuse from
its holder and replace with exact same type fuse.
Insert the fuse holder back in its place and
reconnect power.
Disconnect the power cord before replacing a fuse and always replace with the same type fuse.
Mounting
Orientation
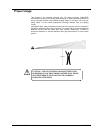
This fixture may be mounted in any safe position, provided there is adequate room for ventilation.
Rigging
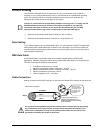
It is important never to obstruct the fan or vents pathway. Mount the
fixture using, a suitable C or O type clamp. Adjust the angle of the
fixture by loosening both knobs and tilting the fixture. After finding the desired
position, retighten both knobs.
When selecting installation location, take into consideration
access and routine maintenance.
Safety cables must always be used.
Never mount in places where the fixture will be exposed to
rain, high humidity, extreme temperature changes or
restricted ventilation.


