SKU 99702 For technical questions, please call 1-800-444-3353. Page 11
Work Piece and Work Area Set Up
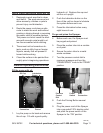
Designate a work area that is clean 1.
and well-lit. The work area must not
allow access by children or pets to
prevent injury and distraction.
Route the power cord along a safe 2.
route to reach the work area without
creating a tripping hazard or exposing
the power cord to possible damage.
The power cord must reach the work
area with enough extra length to al-
low free movement while working.
There must not be hazardous ob-3.
jects, such as utility lines or foreign
objects, nearby that will present a
hazard while working.
Clean the surface to be painted thor-4.
oughly prior to beginning operations.
General Operating Instructions
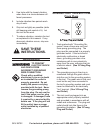
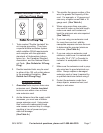
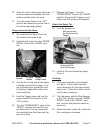
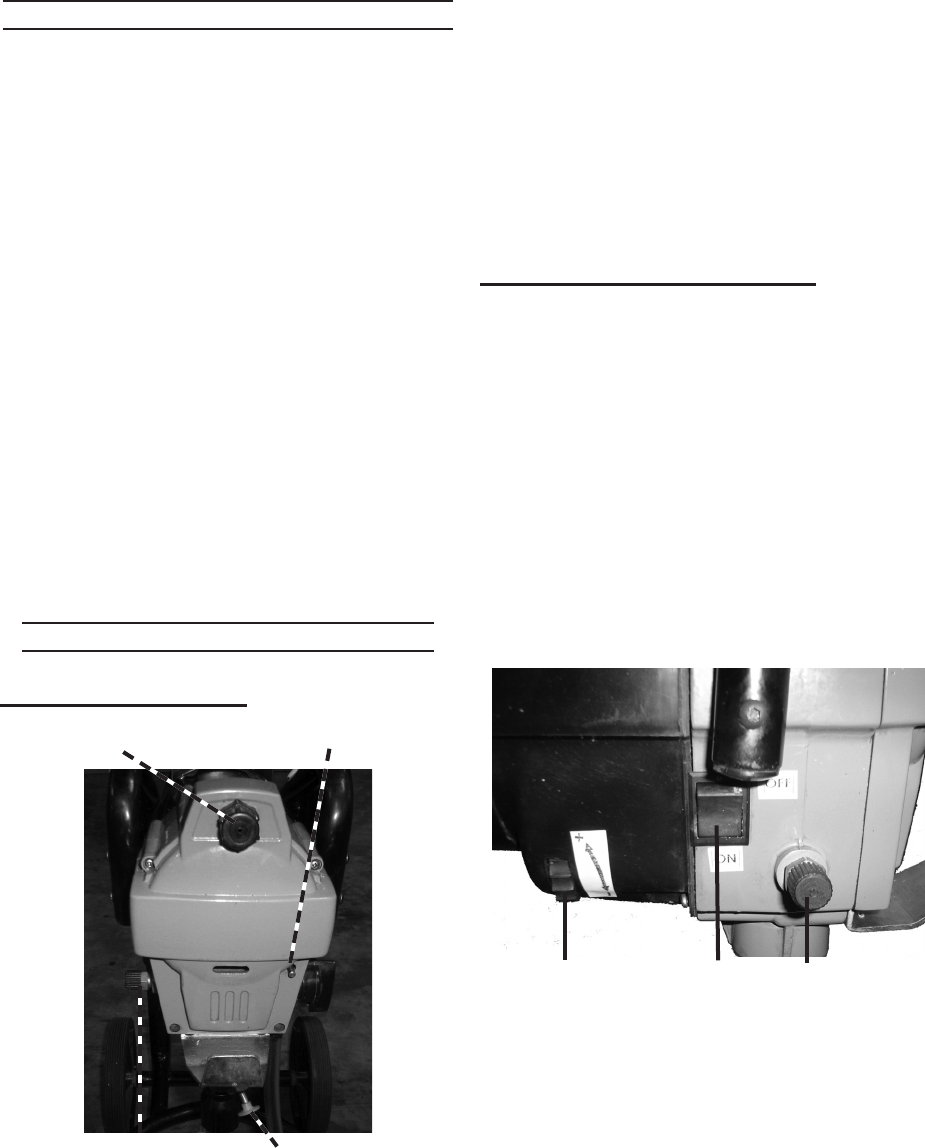
Fill the pump with oil:
Oil Cap
Lubrication
Button
Hose
Connection
Priming
Button
1.
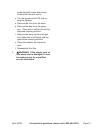
the oil cap. Fill with a good quality
hydraulic oil. Replace the cap and
set the unit upright.
Push the lubrication button on the 2.
face of the unit ten times to lubricate
the system before each use.
Press the lubrication button every 3.
eight hours of use.
Purge and prime the Sprayer:
Before each use; the Sprayer must 4.
be purged and primed.
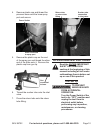
Place the suction tube into a contain-5.
er of paint.
Secure the return tube to a metal 6.
waste container.
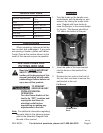
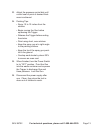
Turn the pressure control dial to 7.
maximum pressure and turn the
“PRIME/SPRAY” knob to the “PRIME”
position.
Pressure
Control
Dial
Power
Switch
Hose
Connection
8. Push the Priming Button several
times.
Plug the power cord of the Sprayer 9.
into a grounded 120V electric outlet
and push the power switch of the
Sprayer to the “ON” position.
REV 08j


