SWITCH
Animportantnewfeature of your sander is the switch
design. It has multi-finger controlfor use when operatingat
differentangles or sandingpositionsand to helpreduce
fatigue.
It also has a lock-onfeature in the switchfor added utility
and convenienceon extendedwork requirements.
Carefullyread and understandthe following instructionsfor
correctoperationofthe switchbeforeconnectingyour
senderto powersupply.
To Activate Switch:
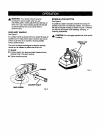
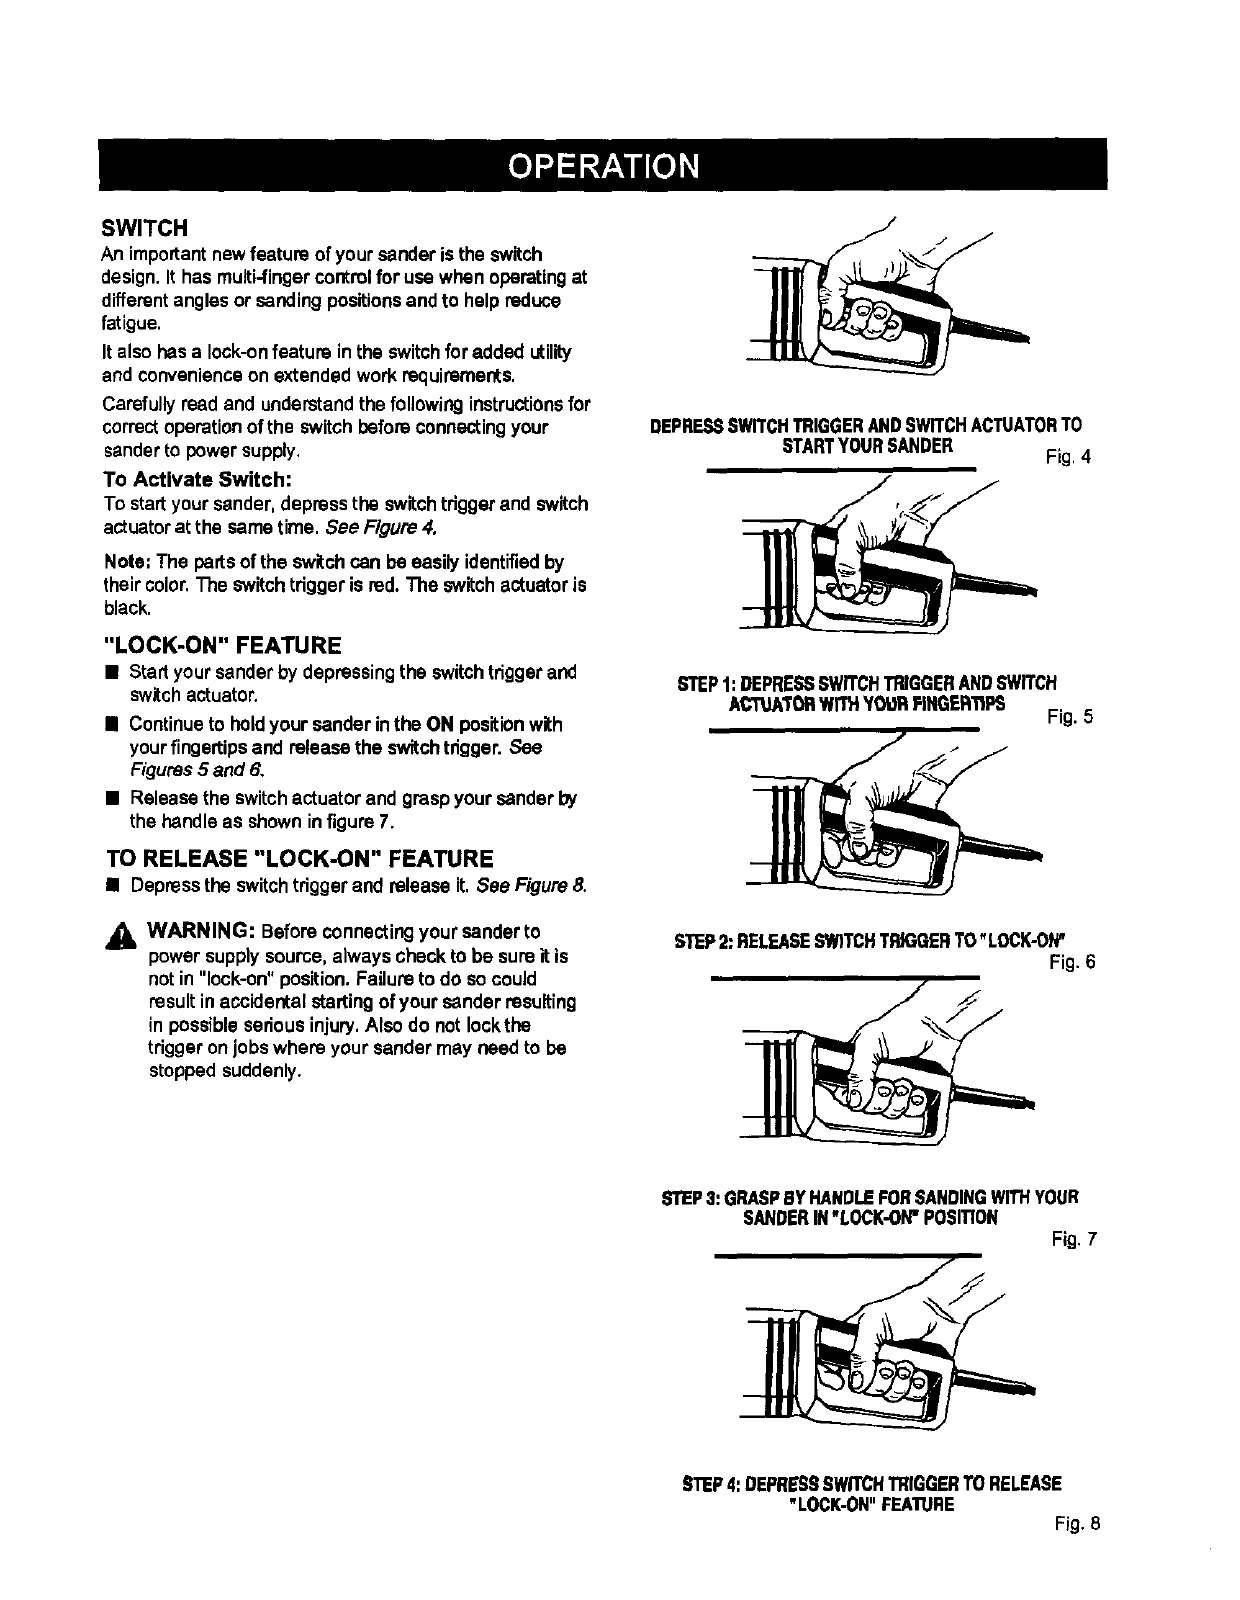
To startyour sander, depressthe switch triggerand switch
actuatorat the sametime. See Figure 4.
Note: The partsof the switchcan be easily identifiedby
their color.The switch trigger is red. The switch actuator is
black.
"LOCK-ON" FEATURE
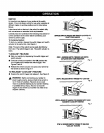
• Startyour sanderby depressingthe switch triggerand
switchactuator.
• Continueto holdyour sanderinthe ON positionwith
your fingertipsand release the switchtrigger. See
Figures5 and 6.
• Release the switchactuatorand graspyour sander by
the handleas shown infigure7.
TO RELEASE "LOCK-ON" FEATURE
• Depress the switch trigger and release it. See Figure8.
,_ WARNING: Before connectingyour sender to
power supplysource, always check to be sure itis
not in"lock-on" position.Failuretodo so could
result inaccidental startingof your sander resulting
in possible seriousinjury.Also do not Iockthe
trigger on jobs where yoursander may need to be
stopped suddenly.
DEPRESSSWITCHTRIGGERANDSWITCHACTUATORTO
STARTYOURSANDER Fig.4
STEP1:DEPRESSSWITCHTRIGGERANDSWITCH
ACTUATORwn1._YO'u'RPINGER'IIPS
Fig. 5
STEP2:RELEASESWITCHTflJGGERTO"LOCK-ON"
Fig.6
STEP3:GRASPBYHANDLEFORSANDINGwrrl.IYOUR
SANDERIN"LOCK-ON"POSITION
Fig.7
STEP4:DEPRESSSWITCHTRIGGERTORELEASE
"LOCK-ON"FEATURE
Fig. 8


