


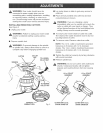

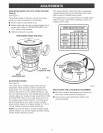
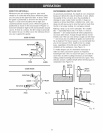
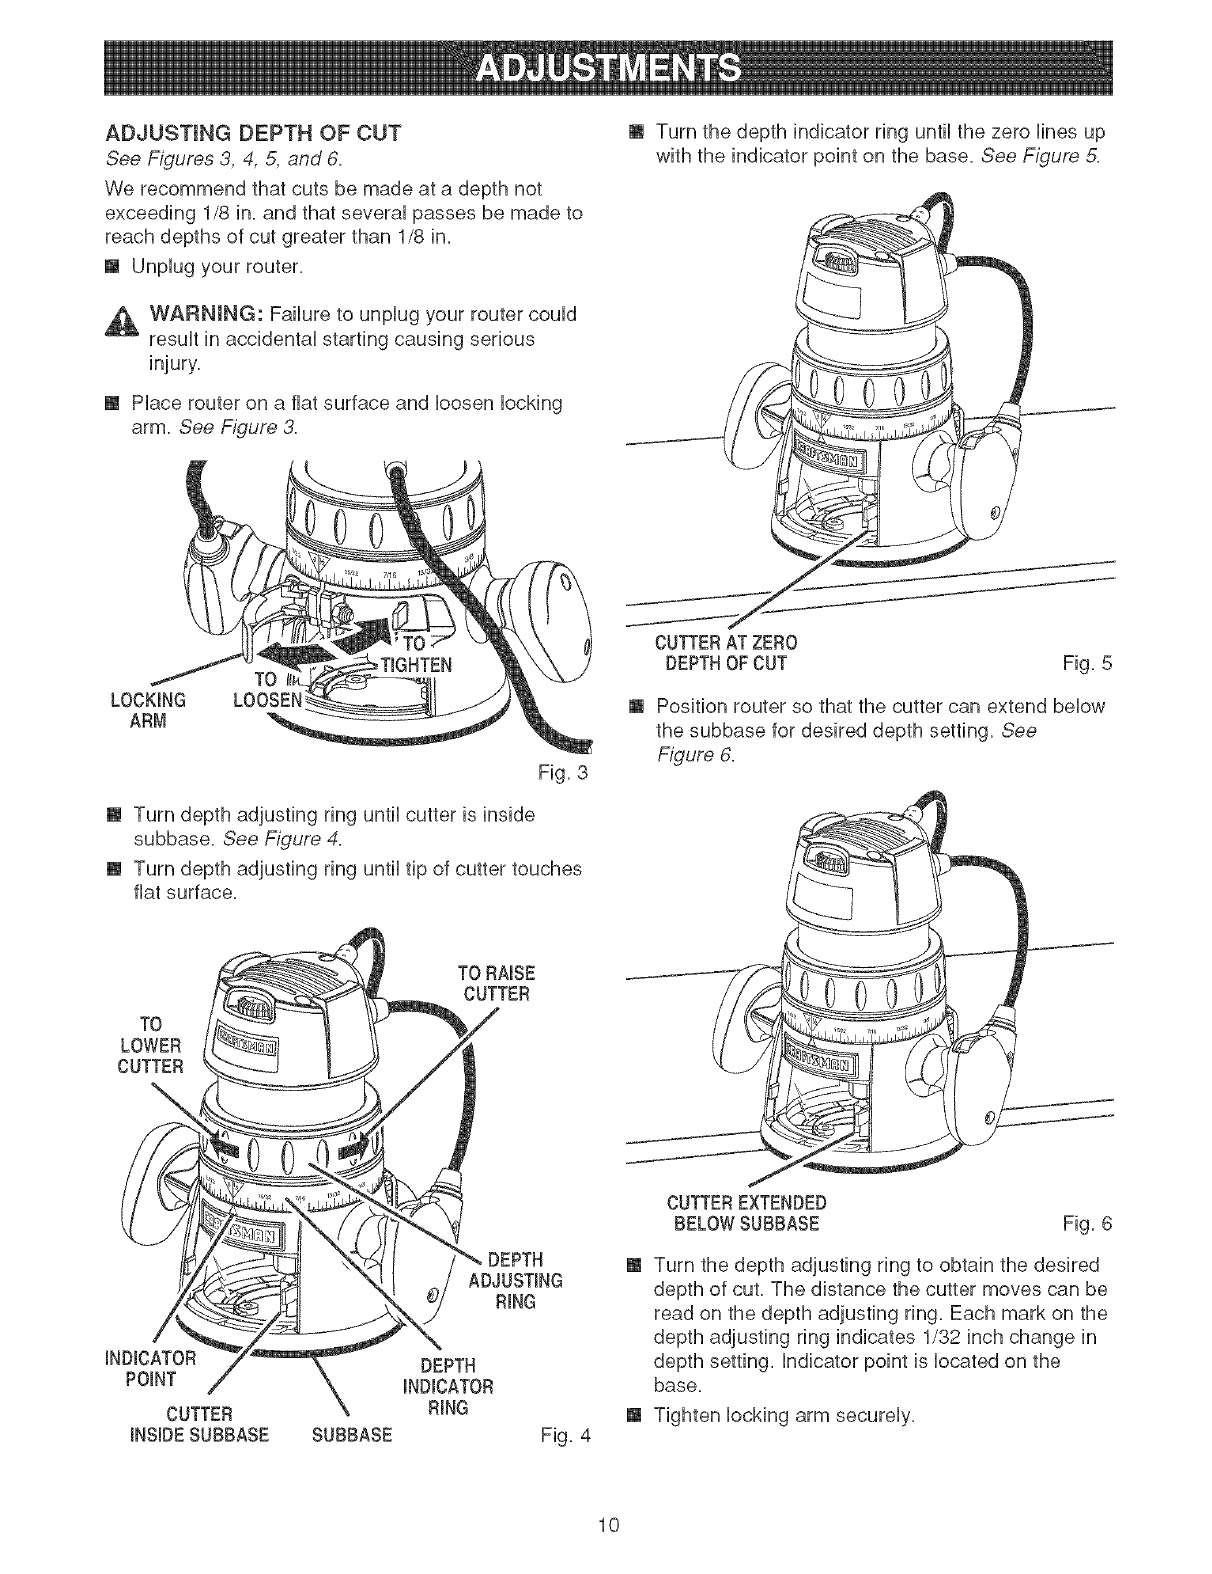
ADJUSTmNGDEPTHOFCUT
See Figures 3, 4, 5, and 6.
We recommend that cuts be made at a depth not
exceeding 1/8 in. and that several passes be made to
reach depths of cut greater than 1/8 in.
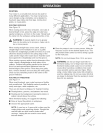
[] Unplug your router.
_ WARNING: Failure to unplug your router could
result in accidental starting causing serious
[] Turn the depth indicator ring until the zero fines up
with the indicator point on the base. See F_gure 5.
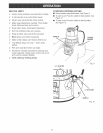
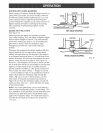
[] Place router on a fiat surface and loosen locking
arm. See Figure 3.
LOCKING LOOSEN
ARM
Fig. 3
[] Turn depth adjusting ring until cutter is inside
subbase. See Figure 4.
[] Turn depth adjusting ring until tip of cutter touches
fiat surface.
CUTTERAT ZERO
DEPTHOFCUT Fig. 5
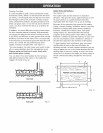
[] Position router so that the cutter can extend below
the subbase for desired depth setting. See
Figure 6.
TO
LOWER
CUTTER
\
iNDICATOR
POINT
CUTTER
iNSiDESUBBASE SUBBASE
TO RAISE
CUTTER
DEPTH
ADJUSTING
RiNG
DEPTH
iNDiCATOR
RiNG
Fig. 4
CUTTEREXTENDED
BELOWSUBBASE Fig. 6
[] Turn the depth adjusting ring to obtain the desired
depth of cut. The distance the cutter moves can be
read on the depth adjusting ring. Each mark on the
depth adjusting ring indicates 1/32 inch change in
depth setting, indicator point is located on the
base.
[] Tighten locking arm securely.
10