Maintenance
NOTE: Any service procedure not covered in the
maintenance schedule should be performed by qualified
service personnel.
The air compressor should be turned off, unplugged from
the power source, air bled from the tank and allowed
time to cool before any maintenance is performed.
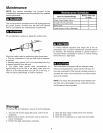
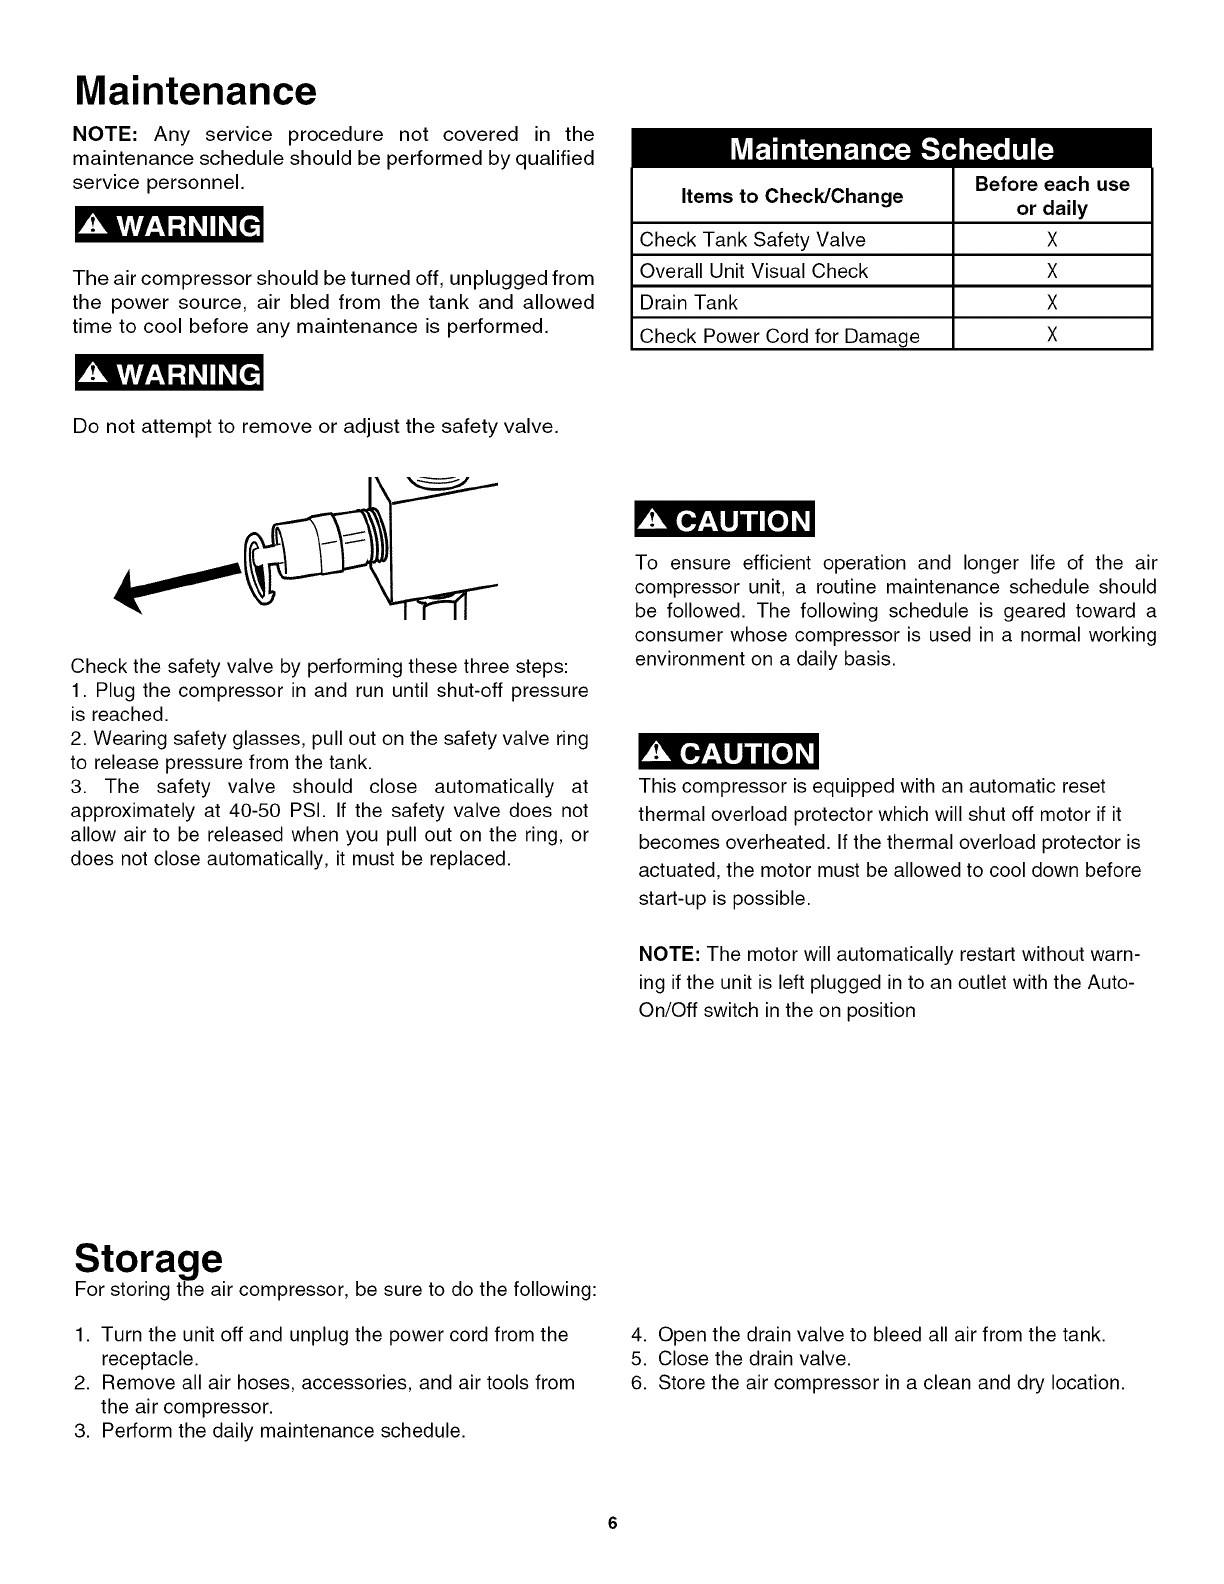
Items to Check/Change
Check Tank Safety Valve
Overall Unit Visual Check
Drain Tank
Check Power Cord for Damage
Before each use
or daily
X
X
X
X
Do not attempt to remove or adjust the safety valve.
Check the safety valve by performing these three steps:
1. Plug the compressor in and run until shut-off pressure
is reached.
2. Wearing safety glasses, pull out on the safety valve ring
to release pressure from the tank.
3. The safety valve should close automatically at
approximately at 40-50 PSI. If the safety valve does not
allow air to be released when you pull out on the ring, or
does not close automatically, it must be replaced.
To ensure efficient operation and longer life of the air
compressor unit, a routine maintenance schedule should
be followed. The following schedule is geared toward a
consumer whose compressor is used in a normal working
environment on a daily basis.
This compressor is equipped with an automatic reset
thermal overload protector which will shut off motor if it
becomes overheated. If the thermal overload protector is
actuated, the motor must be allowed to cool down before
start-up is possible.
NOTE: The motor will automatically restart without warn-
ing if the unit is left plugged in to an outlet with the Auto-
On/Off switch in the on position
Storage
For storing the air compressor, be sure to do the following:
1. Turn the unit off and unplug the power cord from the
receptacle.
2. Remove all air hoses, accessories, and air tools from
the air compressor.
3. Perform the daily maintenance schedule.
4. Open the drain valve to bleed all air from the tank.
5. Close the drain valve.
6. Store the air compressor in a clean and dry location.


