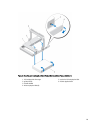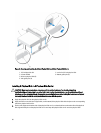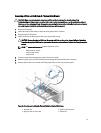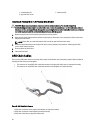
Removing The SAS Chain Cable(s)
CAUTION: Many repairs may only be done by a certified service technician. You should only perform
troubleshooting and simple repairs as authorized in your product documentation, or as directed by the online or
telephone service and support team. Damage due to servicing that is not authorized by Dell is not covered by your
warranty. Read and follow the safety instructions that came with the product.
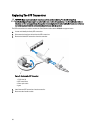
1. Remove the cooling fan module from one side on the back of the chassis.
CAUTION: If you are hot swapping the SAS cable chains, ensure that you complete the procedure on one side
within ten minutes to avoid over heating of the storage enclosure.
CAUTION: Ensure that you are removing the SAS cable chain for the failed physical-disk drawer. Removing
the SAS cable chain for the incorrect physical-disk drawer causes loss of data access and causes virtual
disks to appear degraded in the MD Storage Manager.
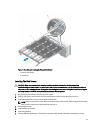
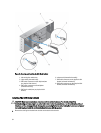
2. Locate and identify the SAS chain cables for the failed physical-disk drawer.
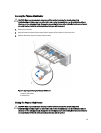
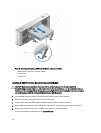
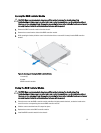
3. To remove the chain cable mounting bracket from the midplane, insert your finger into the release tab (oriented
vertically), and pull the mounting bracket completely out of the storage enclosure.
4. To remove the chain cable mounting bracket from the physical disk drawer, insert your finger into the release tab
(oriented horizontally), and pull the mounting bracket completely out of the storage enclosure.
5. Install the cooling fan module.
6. Repeat the above mentioned steps for the SAS cable chain on the other side.
33


