10
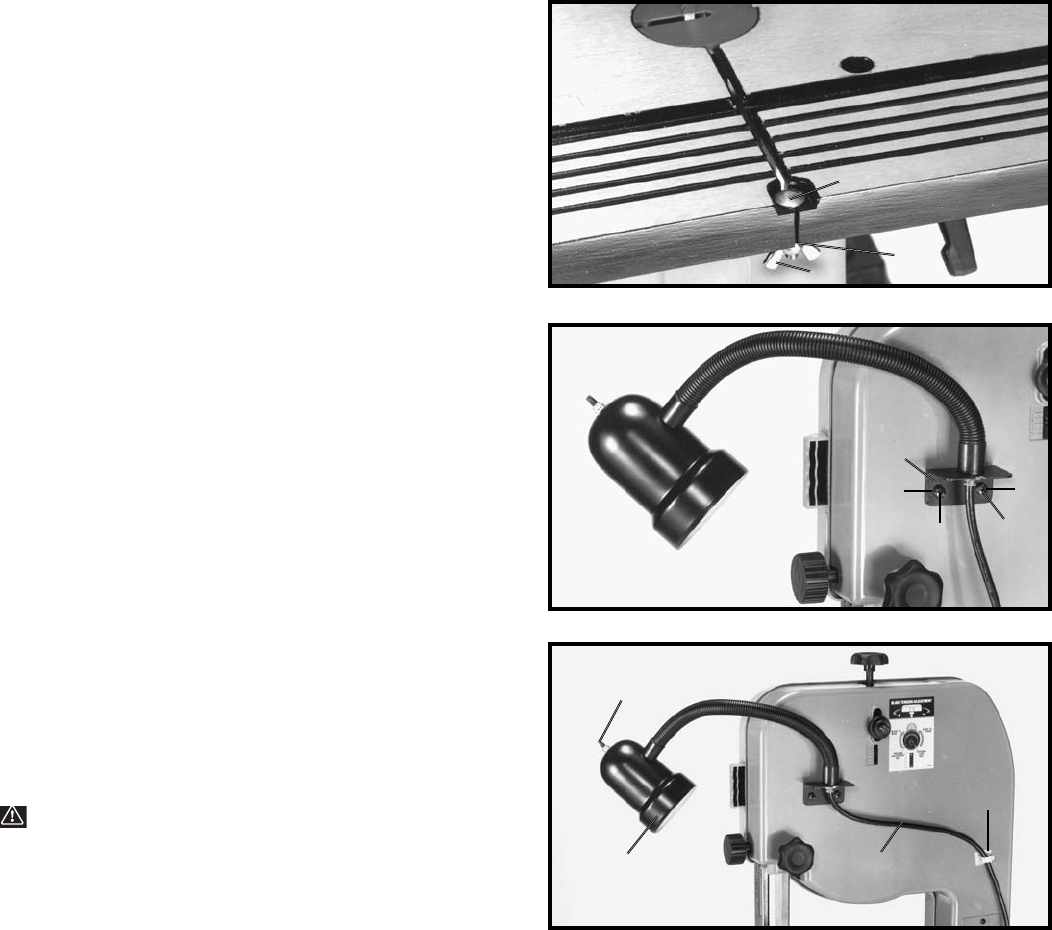
ASSEMBLING TABLE
ALIGNMENT SCREW
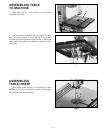
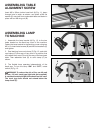
Insert M6 x 30mm button head bolt (A) Fig. 11, down
through hole in table, as shown, and place a M6 flat
washer (C) onto bolt from underneath table and fasten in
place with an M6 wing nut (B).
ASSEMBLING LAMP
TO MACHINE
1. Assemble the lamp bracket (A) Fig. 12, to the two
holes located on the back top cover of the machine.
Fasten the lamp bracket to the back top cover using two
M6 x 12 sheet metal screws (B) and M6 lockwashers (C)
and tighten.
2. Peel backing from cord clamp (C) Fig. 13, and stick
cord clamp (C) onto rear of top cover in a position that
will redirect lamp cord (D) out of the way of the band saw
table. Then assemble cord (D) to cord clamp (C) as
shown.
3. The flexible lamp operates independently of the
band saw. To turn the lamp “ON” and “OFF”, rotate
switch (E) Fig. 13.
WARNING: To reduce the risk of fire, use 40 watt
or less, 120 volt, track type light bulb (not supplied).
A standard household light bulb should not be used.
The track type bulb should not extend below the
lamp shade (F).
Fig. 11
Fig. 12
Fig. 13
B
A
A
B
B
E
F
D
C
C
C
C


