


7
6. Re-attach blade to upper blade holder. (See the
section “CHANGING BLADES”, begin with instruction
#6).
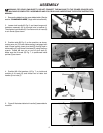
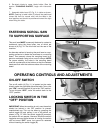
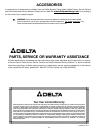
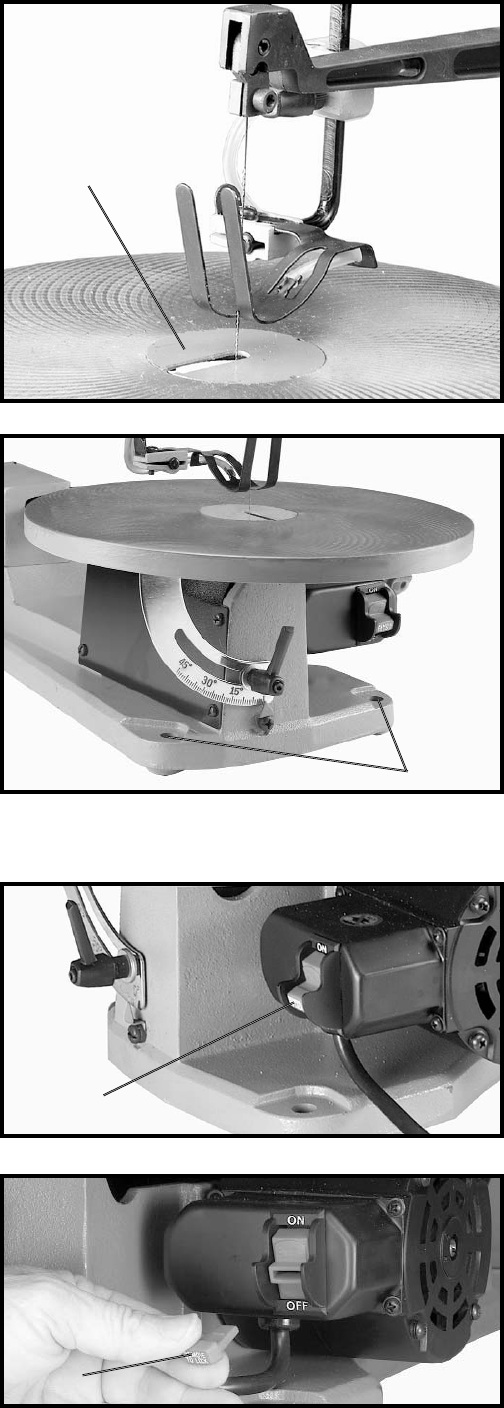
7. Assemble table insert (C) Fig. 9, in table as shown.
NOTE: Opening in table insert (C) should be positioned
toward the front for normal work with the table in the
level position and should be positioned toward the right
when tilting the table.
Fig. 9
C
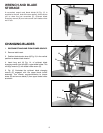
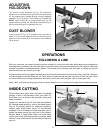
FASTENING SCROLL SAW
TO SUPPORTING SURFACE
This scroll saw MUST be securely fastened to a stand or
workbench using the three holes, two of which are
shown at (A) Fig. 10. The third hole is at the rear of the
machine.
An alternate method of securing the scroll saw to a sup-
porting surface is to fasten the scroll saw to a mounting
board. Then securely clamp the mounting board to a
stand or workbench using two or more C-clamps. NOTE:
For proper stability, the holes in the mounting board
must be countersunk at the bottom so that the fastener
heads are flush with the bottom surface of the mounting
board.
A
Fig. 10
OPERATING CONTROLS AND ADJUSTMENTS
Fig. 11
A
Fig. 12
B
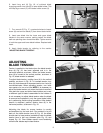
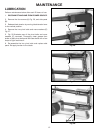
ON-OFF SWITCH
The on-off switch (A) Fig. 11, is located on the motor
directly under the right hand side of the table. To turn the
saw “ON”, move the switch (A) up to the “ON” position.
To turn the saw “OFF”, move the switch down to the
“OFF” position.
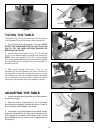
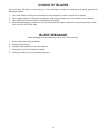
LOCKING SWITCH IN THE
“OFF” POSITION
IMPORTANT: When the machine is not in use, the switch
should be locked in the OFF position to prevent
unauthorized use. This can be done by grasping the
switch toggle (B) and pulling it out of the switch, as
shown in Fig. 12. With the switch toggle (B) removed,
the switch will not operate. However, should the switch
toggle be removed while the saw is running, the switch
can be turned “OFF” once, but cannot be restarted
without inserting the switch toggle (B).