


10
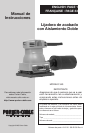
Fig. 3
ASSEMBLY
NOTE: This tool is shipped completely assembled. No assembly time or
tools are required.
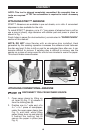
A T20 Torx screwdriver is required to install accessory
pads.
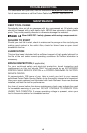
Fig. 1
A
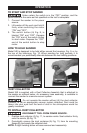
ATTACHING STIKIT™ ABRASIVE
STIKIT™ Abrasives are available in pre-cut sheets, or in rolls. A convenient
dispenser is also available for the rolls.
To install STIKIT™ abrasive, cut a 4
1
/4" long piece of abrasive from a roll (or
use a pre-cut sheet), align abrasive with sander pad and press in place as
shown in Fig. 1.
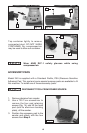
Punch holes in paper (for dust extraction), as instructed in "PAPER PUNCH"
section of this manual.
NOTE: DO NOT store Sander with an abrasive disc installed. Heat
generated by the sanding operation increases the adhesive bond between
the disc and pad. If disc is left on pad for an extended time after use, it can
become difficult to remove. If sanding disc is difficult to remove, use the
sander on a piece of scrap wood for one to two minutes to warm the paper.
This should make removal easier.
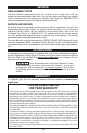
Fig. 2
B
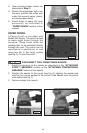
1. Open paper clamp by lifting up
on lever (A) Fig. 2 to release it
from the locking tab (B).
2. Position one 4
1/
2
" wide end, of a
4
1/
2
" x 5
1/
2
" piece of sandpaper,
under the open paper clamp (see
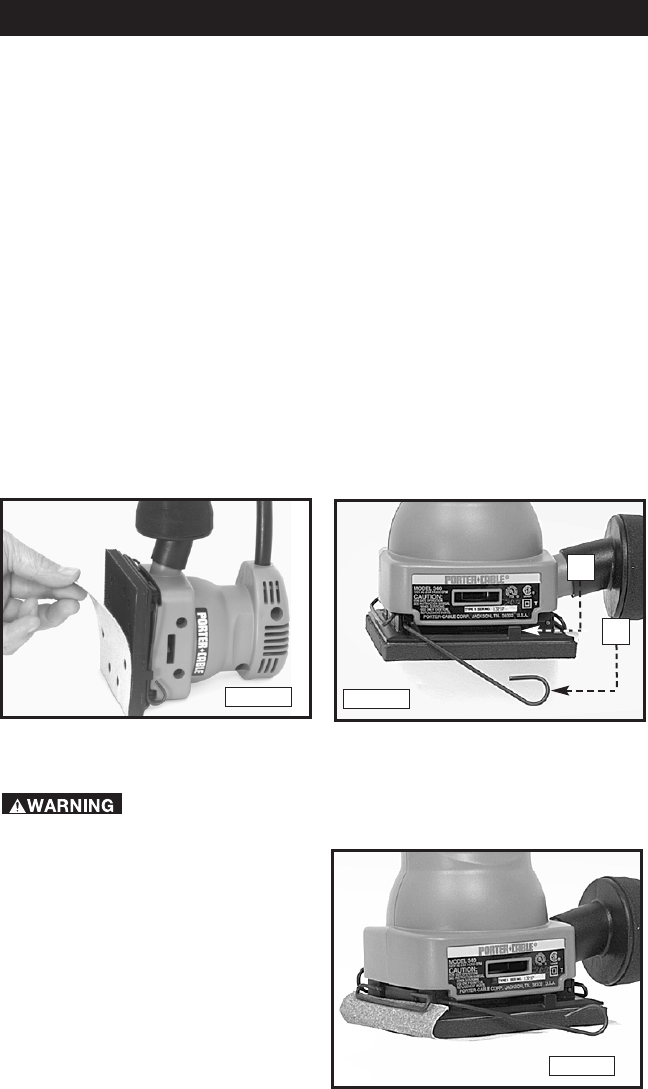
Fig. 3), and hold, while lifting
paper clamp lever up and placing
it behind the locking tab to
secure the paper in place (see
Fig. 4).
ATTACHING CONVENTIONAL ABRASIVE
DISCONNECT TOOL FROM POWER SOURCE.