English
6
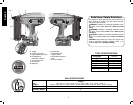
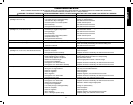
Recommended Minimum Wire Size
for Extension Cords
Total Length of Cord
25 ft. 50 ft. 75 ft. 100 ft. 125 ft. 150 ft. 175 ft.
7.6 m 15.2 m 22.9 m 30.5 m 38.1 m 45.7 m 53.3 m
Wire Size AWG
18 18 16 16 14 14 12
• Do not place any object on top of charger or place
the charger on a soft surface that might block the
ventilation slots and result in excessive internal
heat. Place the charger in a position away from any
heat source. The charger is ventilated through slots in
the top and the bottom of the housing.
• Do not operate charger with damaged cord or plug
— have them replaced immediately.
• Do not operate charger if it has received a sharp
blow, been dropped, or otherwise damaged in any
way. Take it to an authorized service center.
• Do not disassemble charger; take it to an authorized
service center when service or repair is required.
Incorrect reassembly may result in a risk of electric
shock, electrocution or fire.
• Disconnect the charger from the outlet before
attempting any cleaning. This will reduce the risk
of electric shock. Removing the battery pack will not
reduce this risk.
• NEVER attempt to connect 2 chargers together.
• The charger is designed to operate on standard
household electrical power (120 Volts). Do not
attempt to use it on any other voltage. This does not
apply to the vehicular charger.
Using Automatic Tune-Up™ Mode
The automatic Tune-Up™ Mode equalizes or balances the
individual cells in the battery pack allowing it to function at
peak capacity. Battery packs should be tuned up weekly
or after 10 charge/discharge cycles or whenever the pack
no longer delivers the same amount of work. To use the
automatic Tune-Up™, place the battery pack in the charger
and leave it for at least 8 hours. The charger will cycle
through the following modes.
1. The red light will blink continuously indicating that the
1-hour charge cycle has started.
2. When the 1-hour charge cycle is complete, the light
will stay on continuously and will no longer blink. This
indicates that the pack is fully charged and can be used
at this time.
3. If the pack is left in the charger after the initial 1-hour
charge, the charger will begin the Automatic Tune-Up
mode. This mode continues up to 8 hours or until the
individual cells in the battery pack are equalized. The
battery pack is ready for use and can be removed at
any time during the Tune-Up mode.
4. Once the Automatic Tune Up mode is complete, the
charger will begin a maintenance charge; the red
indicator will remain lit.
SAVE THESE INSTRUCTIONS
FOR FUTURE USE
Chargers
Your tool uses a DEWALT Charger. Your battery can
be charged in D
EWALT 1 Hour Chargers, 15 Minute
Chargers or Vehicular 12 volt charger. Be sure to read all
safety instructions before using your charger. Consult the
chart on the back cover of this manual for compatibility of
chargers and battery packs.
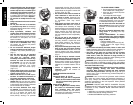
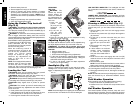
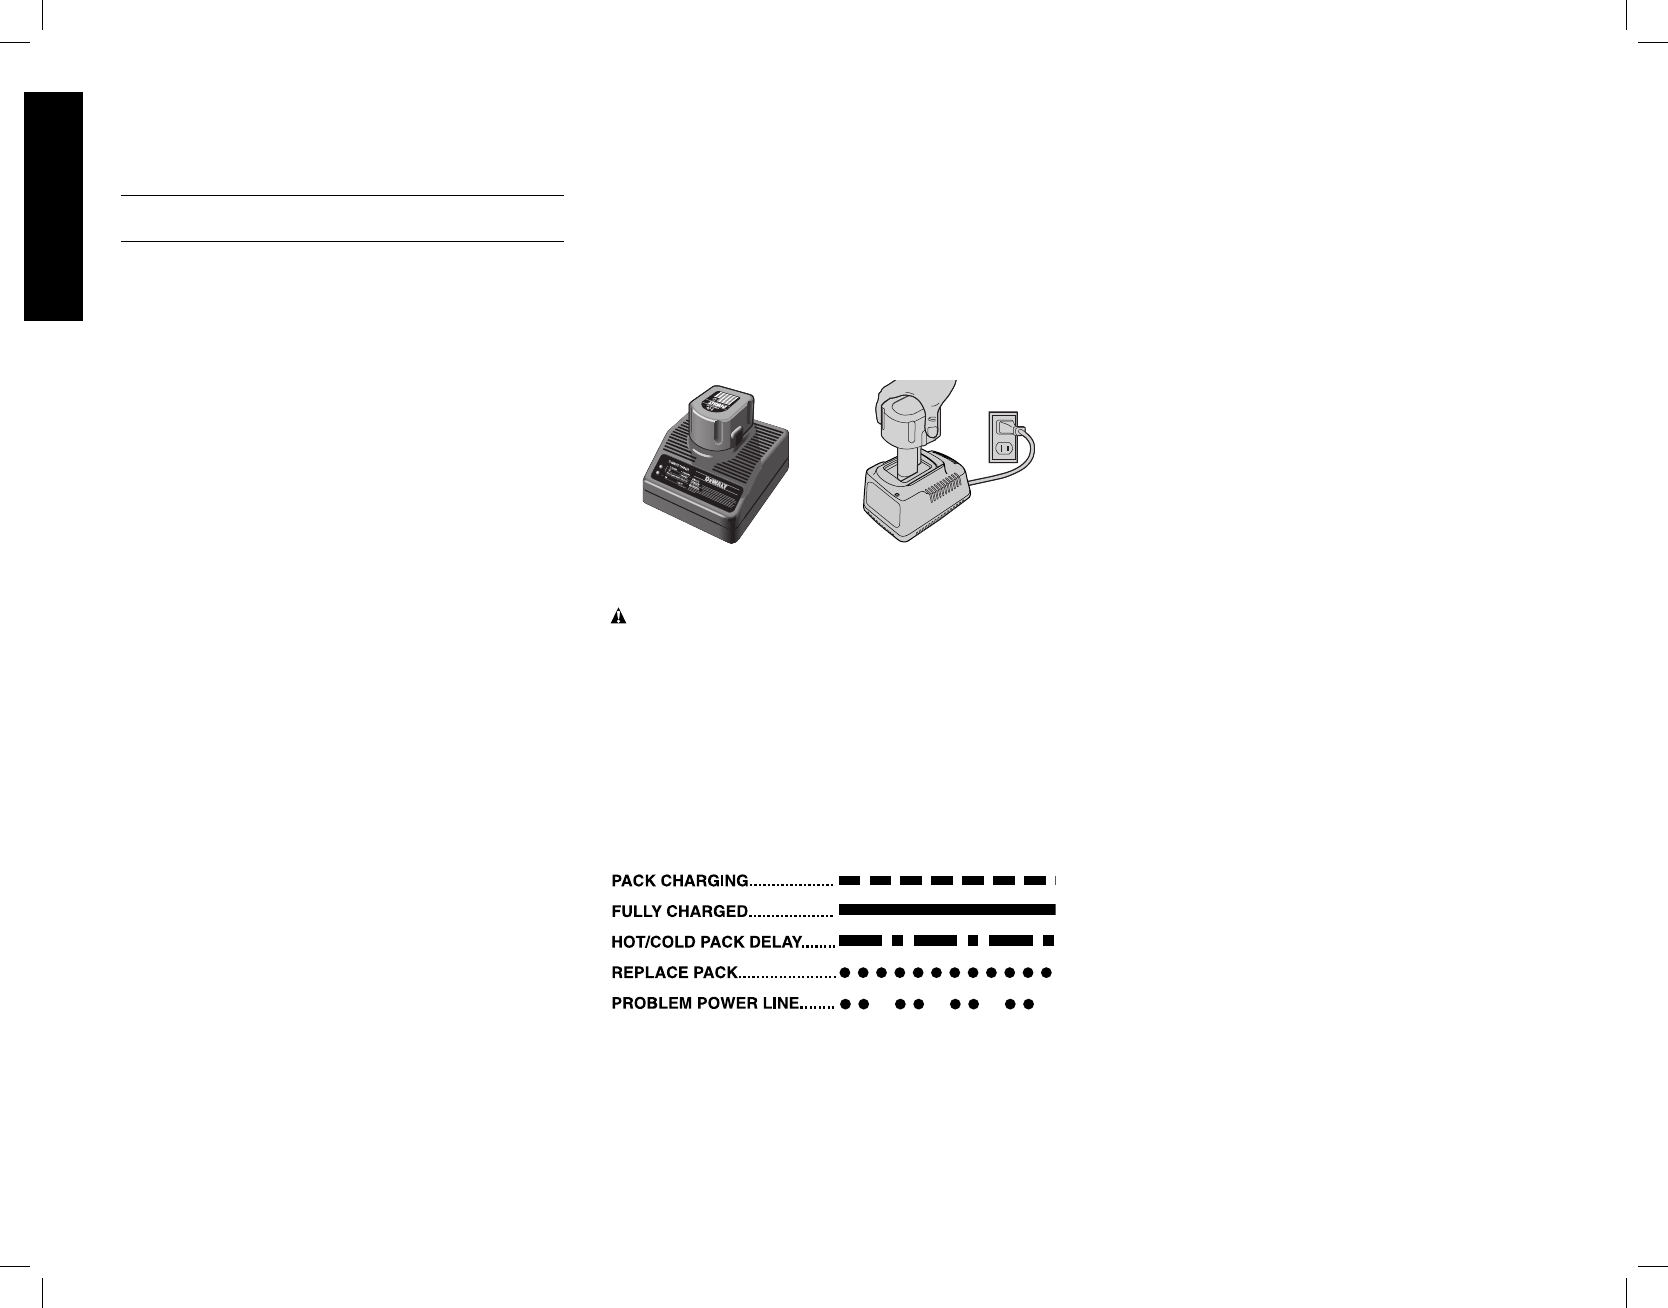
FIG. 2
15 MINUTE CHARGER
1 HOUR CHARGER
Charging Procedure
DANGER: Electrocution hazard. 120 volts are present at
charging terminals. Do not probe with conductive objects.
1. Plug the charger into an appropriate outlet before
inserting battery pack.
2. Insert the battery pack into the charger. The red
(charging) light will blink continuously indicating that
the charging process has started (Fig. 2).
3. The completion of charge will be indicated by the red
light remaining ON continuously. The pack is fully
charged and may be used at this time or left in the
charger.
Indicator Light Operation
Charge Indicators
Some chargers are designed to detect certain problems
that can arise with battery packs. Problems are indicated
by the red light flashing at a fast rate. If this occurs, re-insert
battery pack into the charger. If the problem persists, try
a different battery pack to determine if the charger is OK.
If the new pack charges correctly, then the original pack
is defective and should be returned to a service center or
other collection site for recycling. If the new battery pack
elicits the same trouble indication as the original, have the
charger tested at an authorized service center.
HOT/COLD PACK DELAY
Some chargers have a Hot/Cold Pack Delay feature: when
the charger detects a battery that is hot, it automatically
starts a Hot Pack Delay, suspending charging until the
battery has cooled. After the battery has cooled, the
charger automatically switches to the Pack Charging
mode. This feature ensures maximum battery life. The red
light flashes long, then short while in the Hot Pack Delay
mode.
PROBLEM POWER LINE
Some chargers have a Problem Power Line indicator. When
the charger is used with some portable power sources
such as generators or sources that convert DC to AC, the
charger may temporarily suspend operation, flashing the
red light with two fast blinks followed by a pause. This
indicates the power source is out of limits.
LEAVING THE BATTERY PACK IN THE CHARGER
The charger and battery pack can be left connected with
the red light glowing indefinitely. The charger will keep the
battery pack fresh and fully charged.
NOTE: A battery pack will slowly lose its charge when
kept out of the charger. If the battery pack has not been
kept on maintenance charge, it may need to be recharged
before use. A battery pack may also slowly lose its charge
if left in a charger that is not plugged into an appropriate
AC source.
WEAK BATTERY PACKS: Chargers can also detect a
weak battery. Such batteries are still usable but should
not be expected to perform as much work. In such cases,
about 10 seconds after battery insertion, the charger will
beep rapidly 8 times to indicate a weak battery condition.
The charger will then go on to charge the battery to the
highest capacity possible.
Important Charging Notes
1. Longest life and best performance can be obtained if
the battery pack is charged when the air temperature is
between 65°F and 75°F (18°- 24°C). DO NOT charge
the battery pack in an air temperature below +40°F
(+4.5°C), or above +105°F (+40.5°C). This is important
and will prevent serious damage to the battery pack.
2. The charger and battery pack may become warm to
touch while charging. This is a normal condition, and
does not indicate a problem.
3. If the battery pack does not charge properly:
a. Check current at receptacle by plugging in a lamp or
other appliance.
b. Check to see if receptacle is connected to a light
switch which turns power off when you turn out the
lights.


