


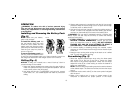
HAMMERDRILLING (FIG. 5)
CAUTION: When the mode collar is in the drill/hammerdrill mode,
the drill will not clutch out regardless of the position of the torque
adjustment collar (E).
Rotate the mode control collar (F) so the hammer symbol is aligned
with the arrow.
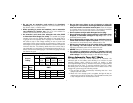
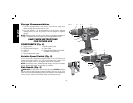
Torque Adjustment Collar (Fig. 3–5)
Your tool has an adjustable torque screwdriver mechanism for driving
and removing a wide array of fastener shapes and sizes. Circling the
torque adjustment collar (E) are numbers. These numbers are used to
set the clutch to deliver a torque range. The higher the number on the
collar, the higher the torque and the larger the fastener which can be
driven. To select any of the numbers, rotate until the desired number
aligns with the arrow.
Three-Speed Gearing (Fig. 3–5)
The three-speed feature of your tool allows you to shift gears for greater
versatility. To select speed 1 (highest torque setting), turn the tool off
and permit it to stop. Slide the gear shifter (G) all the way forward.
Speed 2 (middle torque and speed setting) is in the middle position.
Speed 3 (highest speed setting) is to the rear.
NOTE: Do not change gears when the tool is running. Always allow
the drill to come to a complete stop before changing gears. If you have
trouble changing gears, make sure that the gear shifter is engaged in
one of the three speed settings.
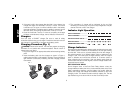
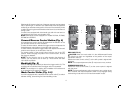
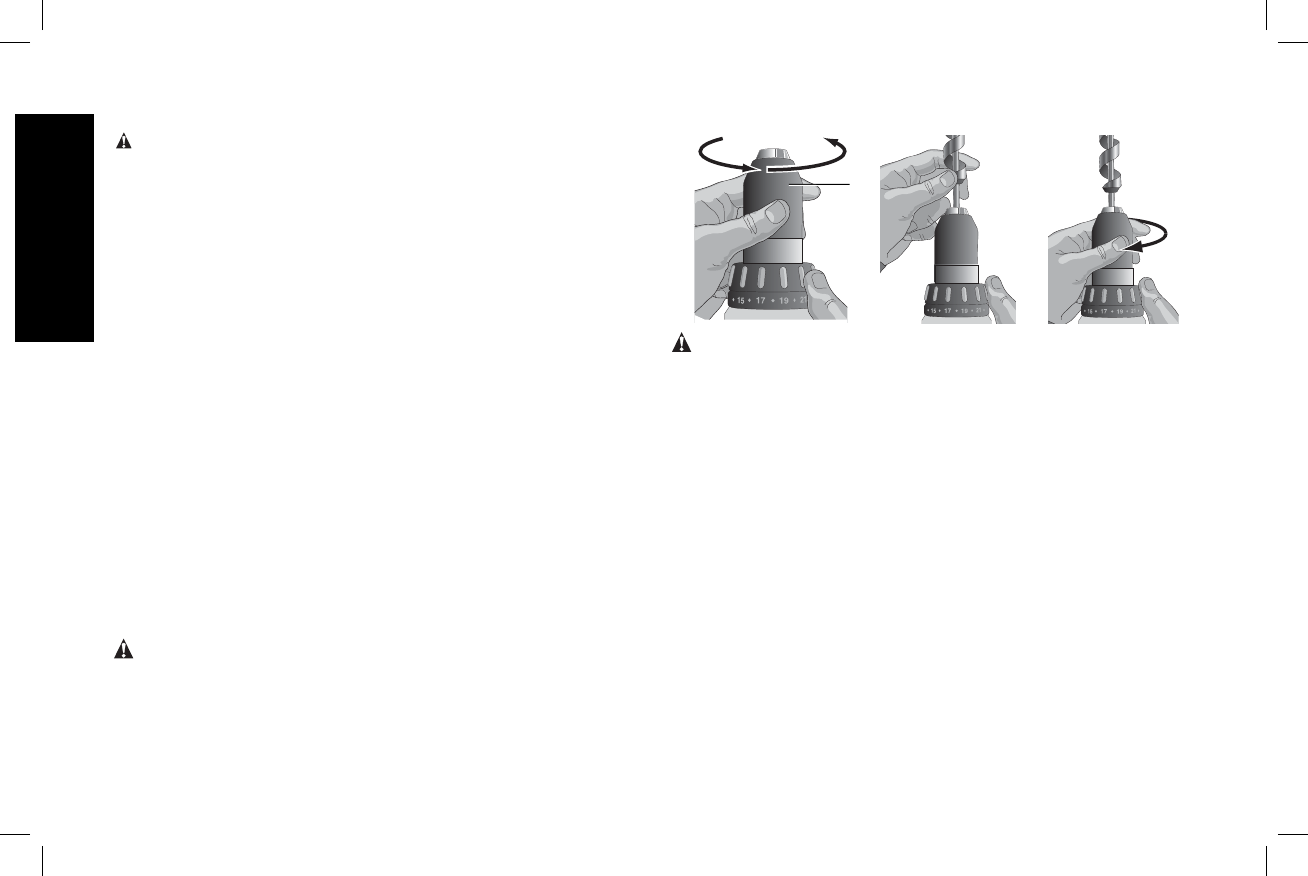
Keyless Single Sleeve Chuck (Fig. 6–8)
WARNING: Do not attempt to tighten drill bits (or any other
accessory) by gripping the front part of the chuck and turning the
tool on. Damage to the chuck and personal injury may result. Always
lock off trigger switch and disconnect tool from power source when
changing acces sories.
FIG. 6
FIG. 7
FIG. 8
D
WARNING: Always ensure the bit is secure before starting the
tool. A loose bit may eject from tool causing possible personal injury.
Your tool features a keyless chuck with one rotating sleeve for one-
handed operation of the chuck. To insert a drill bit or other accessory,
follow these steps.
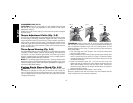
1. Lock the trigger in the OFF position. Turn off tool and disconnect
tool from power source.
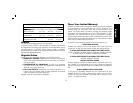
2. Grasp the sleeve of the chuck (D) with one hand and use the other
hand to secure the tool as shown in Figure 5. Rotate the sleeve
counterclockwise (as viewed from the front) far enough to accept
the desired accessory.
3. Insert the accessory about 3/4" (19 mm) into the chuck and
tighten securely by rotating the chuck sleeve clockwise with one
hand while holding the tool with the other hand. Continue to
rotate the chuck sleeve until several ratchet clicks are heard to
ensure full gripping power.
To release the accessory, repeat Steps 1 and 2 above.
Be sure to tighten chuck with one hand on the chuck sleeve and one
hand holding the tool for maximum tightness.
English
12