


English
13
protect you under all circumstances. Your safety depends
on following all warnings and precautions as well as proper
operation of the saw. Check lower guard for proper closing
before each use as outlined in Additional Safety Rules
for Circular Saws. If the lower blade guard is missing or not
working properly, have the saw serviced before using. To
assure product safety and reliability, repair, maintenance and
adjustment should be performed by an authorized service
center or other qualified service organization, always using
identical replacement parts.
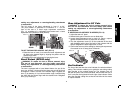
Blades
WARNING: To minimize the risk of eye injury, always use eye
protection. Carbide is a hard but brittle material. Foreign objects in
the workpiece such as wire or nails can cause tips to crack or break.
Only operate saw when proper saw blade guard is in place. Mount
blade securely in proper rotation before using, and always use a
clean, sharp blade.
CAUTION: Do not cut ferrous metals (steel), masonry, glass,
Hardiplank® (or similar masonry-type planking), cement board or
tile with this saw.
Do not use abrasive wheels or blades. A dull blade will cause slow,
inefficient cutting, overload on the saw motor, excessive splintering,
and could increase the possibility of kickback. Please refer to the
following table to determine the correct size replacement blade for
your model saw.
Model Diameter Arbor
DC300 7-1/4" 5/8"
DC310 6-1/2" 5/8"
Use only D
EWALT general purpose cutting, smooth wood cutting,
or non-carbide plywood/vinyl cutting blades.
If you need assistance regarding blades, please call 1-800-4-
D
EWALT (1-800-433-9258).
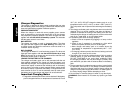
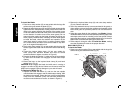
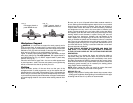
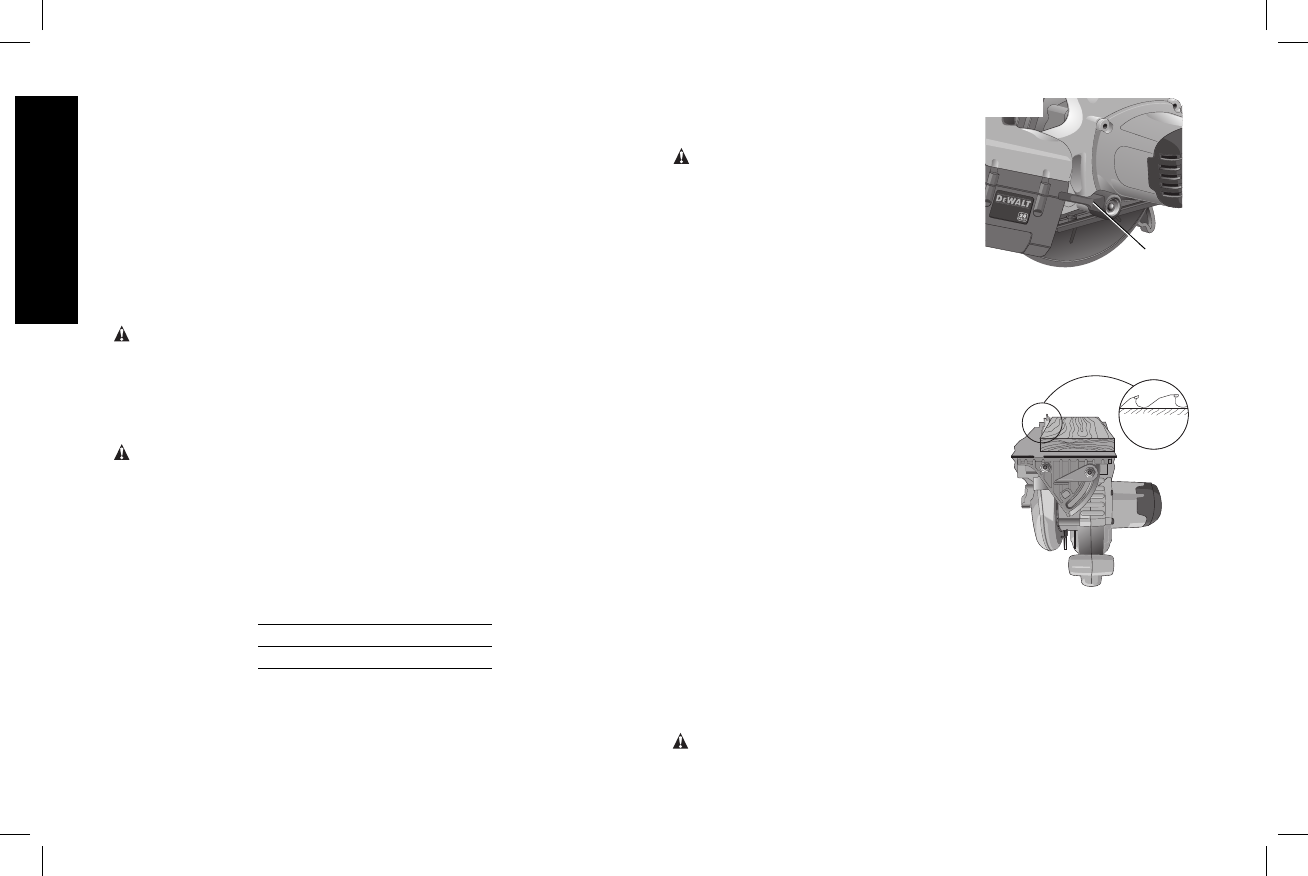
Cutting Depth
D
FIG. 9
Adjustment
WARNING: To reduce the risk of
serious personal injury, turn tool off
and disconnect tool from battery
pack before making any adjustments
or removing/installing attachments
or accessories.
1. Hold the saw firmly and loosen
(clockwise) the depth adjustment lever (Fig. 9, D) and move
shoe to obtain the desired depth of cut.
2. Make sure the depth adjustment lever has been retightened
(counterclockwise) before operating saw.
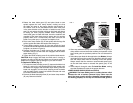
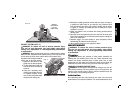
For the most efficient cutting action,
FIG. 10
set the depth adjustment so that one
tooth of the blade will project below the
material to be cut. This distance is from
the tip of the tooth to the bottom of the
gullet in front of it. This keeps blade
friction at a minimum, removes sawdust
from the cut, results in cooler, faster
sawing and reduces the chance of
kickback. A method for checking for
correct cutting depth is shown in
Figure 10. Lay a piece of the material
you plan to cut along the side of the blade, as shown, and observe
how much tooth projects beyond the material.
NOTE: When using carbide-tipped blades, make an exception to
the above rule and allow only one-half of a tooth to project below
the material to be cut.
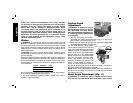
Bevel Angle Adjustment (Fig. 11)
WARNING: To reduce the risk of serious personal injury,
turn tool off and disconnect tool from battery pack before