


6
English
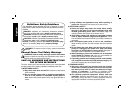
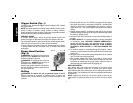
2. Loosen the side handle (G).
3. Fit the depth adjustment rod (H) through the hole in the side
handle clamp.
H
FIG. 3
G
4. Adjust the drilling depth as shown in Figure 3.
5. Tighten the side handle.
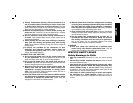
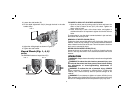
Keyed Chuck (Fig. 1, 4, 5)
DWD024
The DWD024 features a keyed chuck (D).
FIG. 4 FIG. 5
TO INSERT A DRILL BIT OR OTHER ACCESSORY
1. Open the chuck jaws by turning collar by hand and insert the
shank of the bit about 19 mm (3/4") into chuck. Tighten the
chuck collar by hand.
2. Place chuck key in each of the three holes, and tighten in
clockwise direction. It’s important to tighten chuck with all three
holes.
To release the bit, turn the chuck counterclockwise in just one hole,
then loosen the chuck by hand.
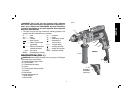
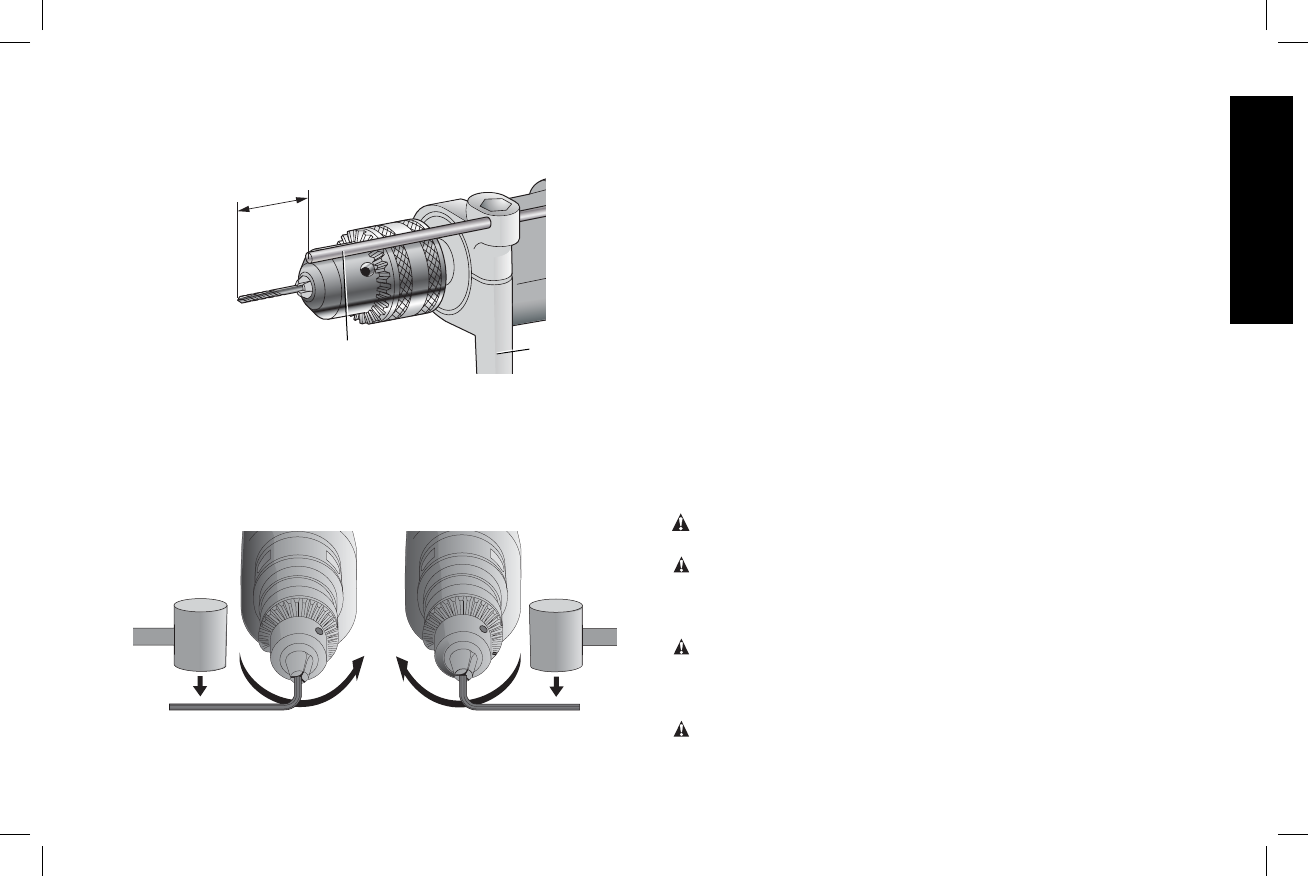
REMOVAL OF KEYED CHUCK (FIG. 4)
Tighten the chuck around the shorter end of a hex key. Using a soft
hammer, strike the key sharply in the counterclockwise direction
when viewed from the front of the tool. This will loosen the chuck so
that it can be removed by hand.
KEYED CHUCK INSTALLATION (FIG. 5)
Screw the chuck on by hand as far as it will go. Insert the shorter
end of a hex key and strike it in the clockwise direction with a soft
hammer.
OPERATION
WARNING: Always observe the safety instructions and applicable
regulations.
WARNING: To reduce the risk of serious personal injury, turn
tool off and disconnect tool from power source before making
any adjustments or removing/installing attachments or
accessories.
WARNING: To reduce the risk of personal injury, ALWAYS
ensure workpiece is anchored or clamped firmly. If drilling thin
material, use a wood “back-up” block to prevent damage to the
material.
WARNING: Do not attempt to tighten or loosen drill bits (or any
other accessory) by gripping the front part of the chuck and turning
the tool on. Damage to the chuck and personal injury may occur.