


Operating Speeds & Accessories
Set the speed indicator to fit the job - To
achieve the best job results when working
with different materials, the speed of the
Moto-Tool should be regulated. Only a full
wave output speed control such as the
Dremel Models 217 and 219 should be used
with the Model 275. Model 285 and 395
Moto-Tool has an integral speed control and
an external speed control should never be
used with these tools.
To select the right speed for each job, use a
practice piece of material. Vary speed to
find the best speed for the accessory you are
using and the job to be done.
There are three basic types of Moto-Tools:
single speed, :wo-soeed and variable speed
models. On the single speed model, thereis
an ON-OFFswitcn. When the switch is on, the
tool runs at 28,000 F_PM. On the two-speed
model, there is a LO and HI switch. When the
switch indicator is on the low setting, the tool
runs at about 15,000 RPM. When the switch
indicator is on the high setting the tool runs
about 28,000 RPM. On the variable speed
model, there is a switch indicator; with a white
line on it. Slide to the number on the housing
to select the operating speed needed
from 5,000-- 30,000 R.P.M, You can referto
the charts on page 6 to determine the
proper speed, based on the material being
worked and the type of cutter or other
accessory being used. These charts enable
you tO select both the correct accessory and
the optimum speed at a glance.
If you have a single speed or two-speed
model, you wil be able to use many acces.-.
sories to do a wide assortment of jobs. For.
the majority of applications, all models of the
Moto-Tool should be used at top'speed.
Needs for Slower Speeds
However certam materials (some plastics,
for example) require a relatively slow speed
because at mgh speed me frtotion of the tool
generates neat and causes ti'le plastic to melt.
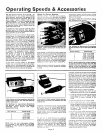
Most work is done at top spe_:l on all Moto-Tooi
models. Lower speeds are needed only for
certain tasks.
Slow speeds ( 15,000 R P M or less) usually are
best for polishing o_erations employing the
felt polisning accessories. They may also be
best for working on delicate projects as
"eggery" work, delic:_te wood cawing, and
fragile model parts. You should always do
polishing with wire brush accessories at slower
speeds and never higher than 15,000 RPM.
Higher speeds are better for cawing, cutting,
routing, shaping, cutting dadoes or rabbets
in wood.
Hardwoods, metals, and glass require high
speed operation, and drilling should also be
done at high speeds.
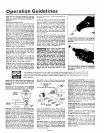
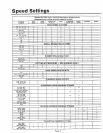
The speed of model 395 is controlled by setting
this indicator on the housing.
The Settings for Approximate Revolutions
Per Minute Moto-Tool Variable Speed Model
395.
Switch Setting Speed Range
1 4,500- 8,000 RPM
2 9,000-11,000 RPM
3 12.000-17,000 RPM
4 18,000-24,000 RPM
5 25,000-30,000 RPM
NOTE: Speed is affected by voltage changes°
A reduced incoming voltage will slow the
R.P.M. of the tool, especially at the lowest
setting. If your tool appears to be running
slow increase the speed setting accordingly.
I
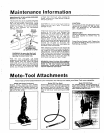
If you choose, dial the speed you need on the
single speed model 275 with this table-top
control accessory.
Dial Settings for Approximate Revolutions
Per Minute, using the No. 219 Manually
Operated Speed Control with single
speed Moto-Tools.
Dial Setting Speed Range
1 500 RPM
2 4,000 RPM
3 12,000 RPM
4 22,000 RPM
5 28,000 RPM
(Note: You can dial intermediate settings.
For example, a dial setting of 2-1/2 would
produce a motor speed of approximately
8,000 RPM.)
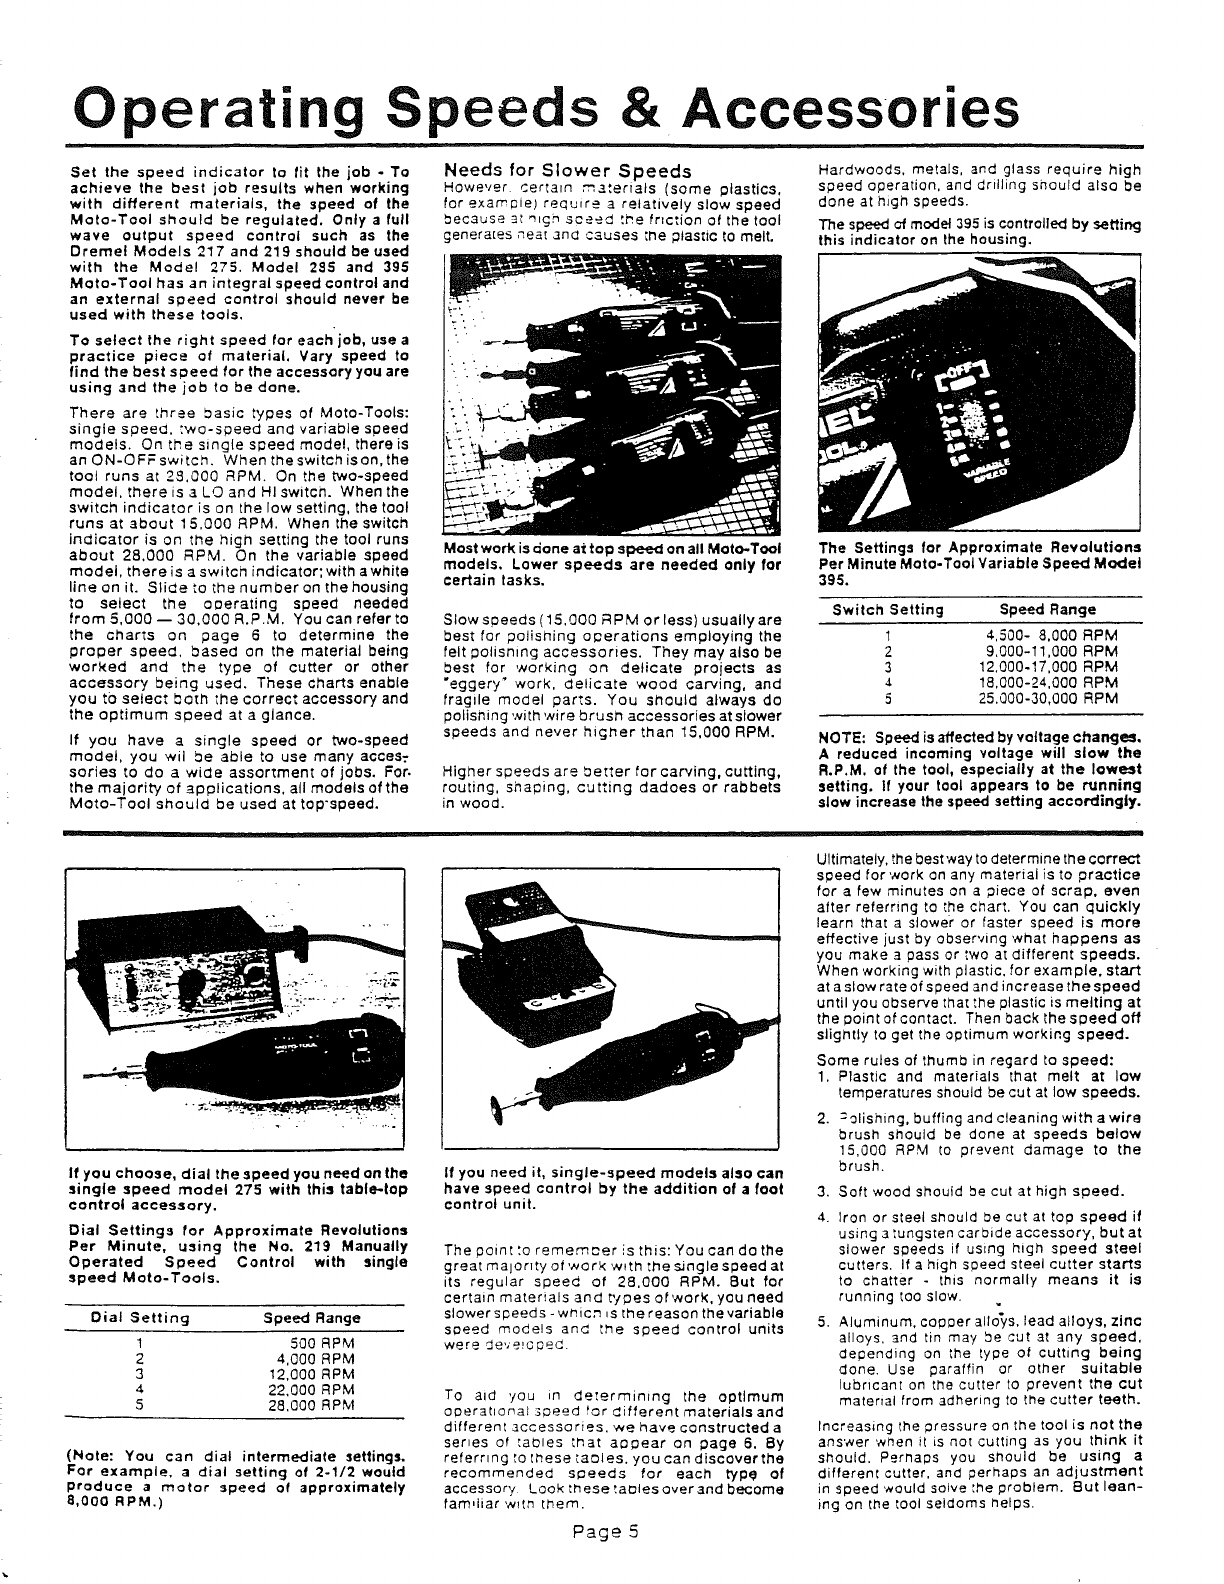
If you need it. single-speed models also can
have speed control by the addition of a foot
control unit.
The point to remember is this: You can do the
great malonty of work wtth the single speed at
its regular speed of 28,000 RPM. But for
certain materials and t'/pes of work, you need
slower speeds - which _sthe reason the variable
speed models and t_e speed control units
were de,,'e_c #e_.
To aid you in determining the optimum
ooera[_onalaoeed for gifferent materials and
different accessories. 'we have constructed a
series of to[ales tl_at acapear on page 6. By
referring to _nese tables, you can discover the
recommended speeds for each type of
accessory Looktheseta_lesoverandbecome
faro,liar w!tn [hem.
Page 5
Ultimately, the best way to determine the correct
speed for work on any material is to practice
for a few minutes on a piece of scrap, even
after referring to _he chart. You can quickly
learn that a slowe? or faster speed is more
effective just by observing what happens as
you make a pass or two at different speeds.
When working with plastic, for example, start
at a slow rate of speed and increase the speed
until you observe that the plastic is melting at
the point of contact. Then back the speed off
sligntly to get the optimum working speed.
Some rules of thumb in regard to speed:
1. Plastic and materials that melt at low
temperatures should be cut at low speeds.
2.
:olishing, buffing and cleaning with awire
brush should be done at speeds below
15,000 RPM Io prevent damage to the
brush.
3. Soft wood should be cut at high speed.
4. Iron or steel should be cut at top speed if
using atungsten carbide accessory, but at
slower speeds if using high speed steel
cutters. If a high speed steel cutter starts
to chatter - this normally means it is
running too slow.
5. Aluminum, coplber alloys, lead alloys, zinc
alloys, and tin may be cut at any speed,
depending on the type of cutting being
done• Use paraffin or omer suitable
lubricant on the cutter to prevent the cut
material from adhering to the cutter teeth.
Increasing the pressure on me tool is not the
answer when it is not cutting as you think it
should. Pernaps you should be using a
different cutter, and perhaps an adjustment
in speed would solve the problem. But lean-
ing on the tool seldoms helps.