


9. INSTRUCTIONS FOR USE
Always observe the safety instructions and Health and Safety Regulations.
Use only one hand to hold the tool, do not place your other hand over the air vents.
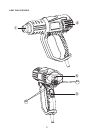
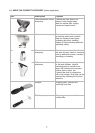
Prior to operation, fit the correct accessory to the heat gun nozzle ① for the application.
9.1 SWITCHING ON AND OFF
To switch the heat gun on, set control switch ③ to position 2. Some smoke may be emitted
after switching on; this does not indicate a problem.
To switch the heat gun off, adjust control switch ③ to position 1 - “cool down mode”. Let
the heat gun cool down for 10 minutes, then set control switch ③ to position 0 before
moving or storing it.
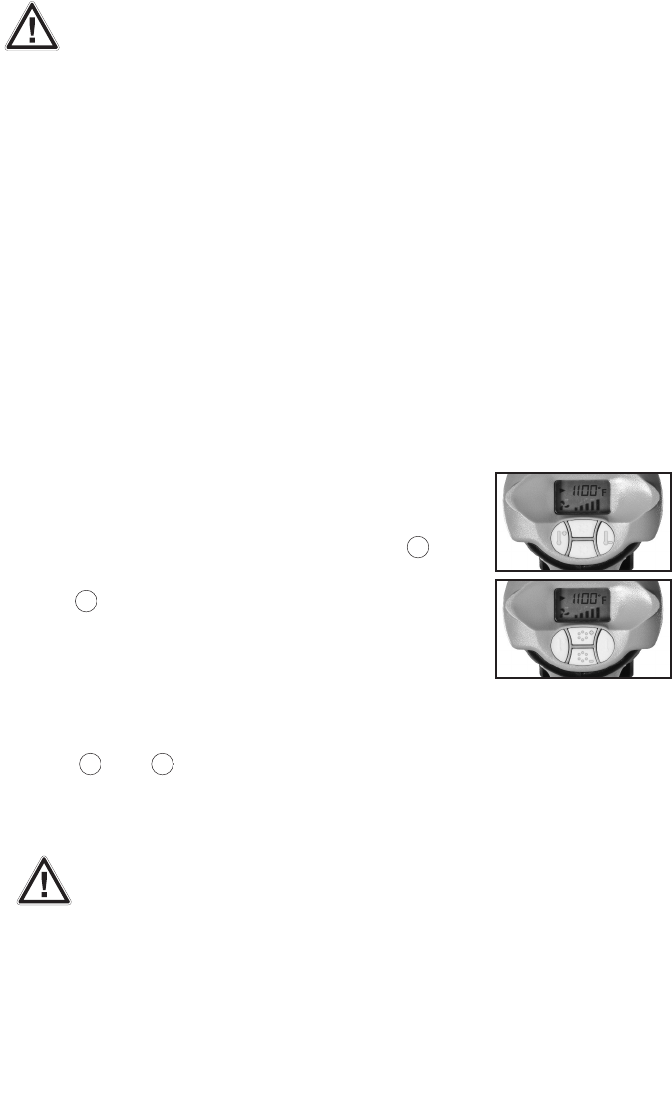
9.2 TEMPERATURE SETTING
Turn control switch ③ to position 2. The heat gun will start to blow
warm air.
Temperature can be adjusted in increments of 20˚F from 120˚F to
1200˚F by pressing the temperature adjusting buttons
4b . The
LCD digital display ⑤ will display the temperature in °F.
Air speed can be adjusted by pressing the air flow adjusting
buttons 4a . The LCD digital display will display the air speed
>..with bar icons.
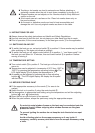
9.3 BEFORE STRIPPING PAINT
Fit the appropriate accessory to the nozzle ① for area to be
worked.
Switch the tool on to position 2 using the control switch ③.
Set temperature to appropriate heat setting using the temperature and air flow adjusting
buttons 4b and 4a respectively.
Direct the hot air onto the paint to be removed.
When the paint softens, scrape the paint away using the appropriate scraper.
Do not strip metal window frames as the heat may be conducted onto the
glass and crack it. When stripping other window frames use the glass
protection nozzle.
To prevent igniting the surface do not keep the tool directed at one spot
too long.
Avoid collecting paint on the scraper accessory as it may ignite. If
necessary, carefully remove paint debris from the scraper accessory using
a knife.
8
Touching a hot nozzle can lead to serious burns. Before attaching or
replacing a nozzle allow the unit to cool down completely by turning it off.
Dropped nozzles can set objects on fire. Nozzles must be firmly fitted and
secure on the unit.
A hot nozzle can set a surface on fire. Place hot nozzles down only on
fire-proof surfaces.
An incorrect or defective nozzle can lead to heat accumulation and
damage the unit. Use only original nozzles as shown in the table.