3E
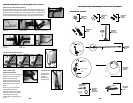
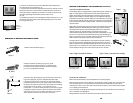
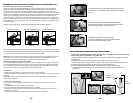
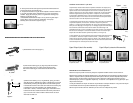
INSTALLING THE PUMP HANDLE
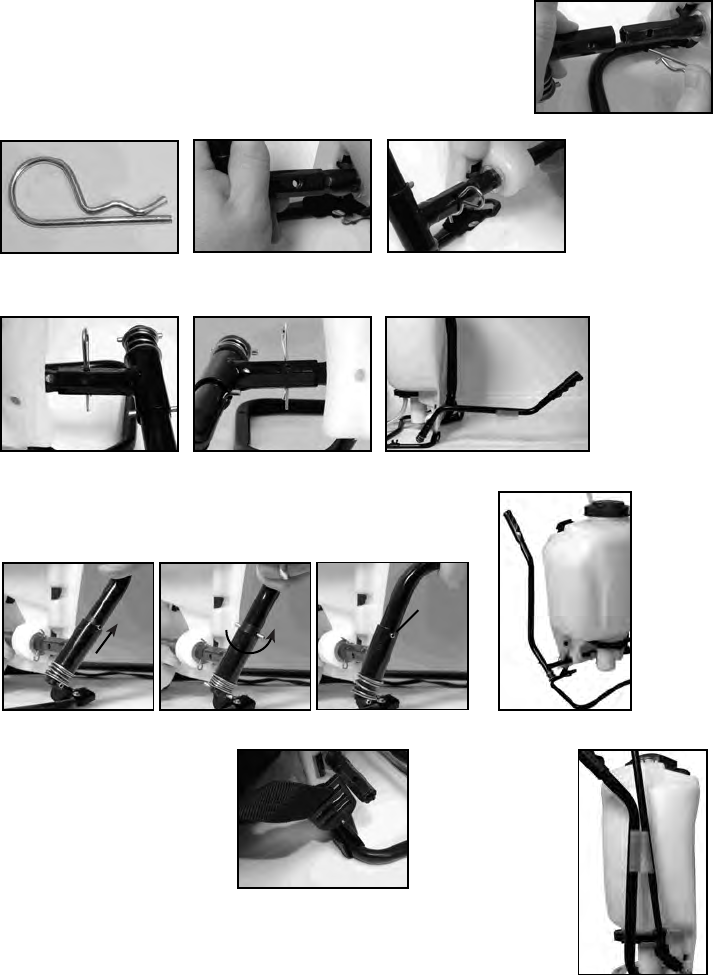
The pump handle can be mounted on either side of the pump shaft (A). To
install the pump handle
place the handle (C) over the shaft (A) aligning the
pump handle hole and shaft hole. Push the straight side of the cotter pin (B)
through the aligned hole as shown in figure 1 thru 3. There are holes in the
pump handle to allow for either left(fig.4) or right (fig.5) hand mounting.
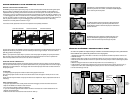
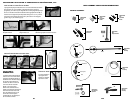
INSTALLING THE
SHOULDER STRAP
The top of the shoulder straps are
attached to the tank.
Attach the
lower end of the straps by
clipping the strap hooks to the
metal frame between where the
frame exits the tank and curves
around.
NOTE: If your straps become
contaminated with dirt or
chemicals, wash with mild soap
and water and let dry overnight.
If this does not remove the
contamination, replace with new
straps.
WAND CLIP
The wand can
be attached to
the pump
handle using
the wand clip.
Figure 1
Cotter Pin
Figure 2
Line up holes
Figure 3
Slide pin through holes.
SPRAYER COMPONENTS & USE INFORMATION, Continued
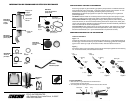
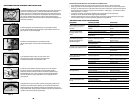
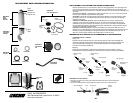
INFORMATION DE COMMANDE DE PIÈCES DE RECHANGE
10F
99944100477
Trousse de
réparation de
robinet d’arrêt
ASSEMBLAGE DE BUSE
99944100484
Buse en
éventail plat
99944100483
Buse poly
ajustable
99944100482
Buse de
laiton
ajustable
Bouchon
vissé
Joint
torique
99944100480
Assemblage
de tube
Tube
99944100478
Assemblage
d’arrêt
99944100481
Trousse de
remplacement
A
C
B
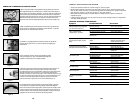
Pull
up
Rotate
180º
Set
into
slot
Pump Handle
Positioned For Use
(right hand shown)
Figure 5
Right Hand
Figure 4
Left Hand
STOWAWAY PUMP HANDLE
99944100479
Assemblage
du boy
au
Rondelle
de bo
y
au
Écrou de blocage
Boyau
99944100485
Trousse
de buse


