P
OWER
P
RUNER
TM
O
PERATOR
'
S
M
ANUAL
15
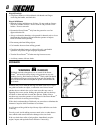
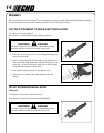
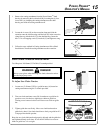
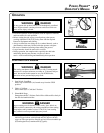
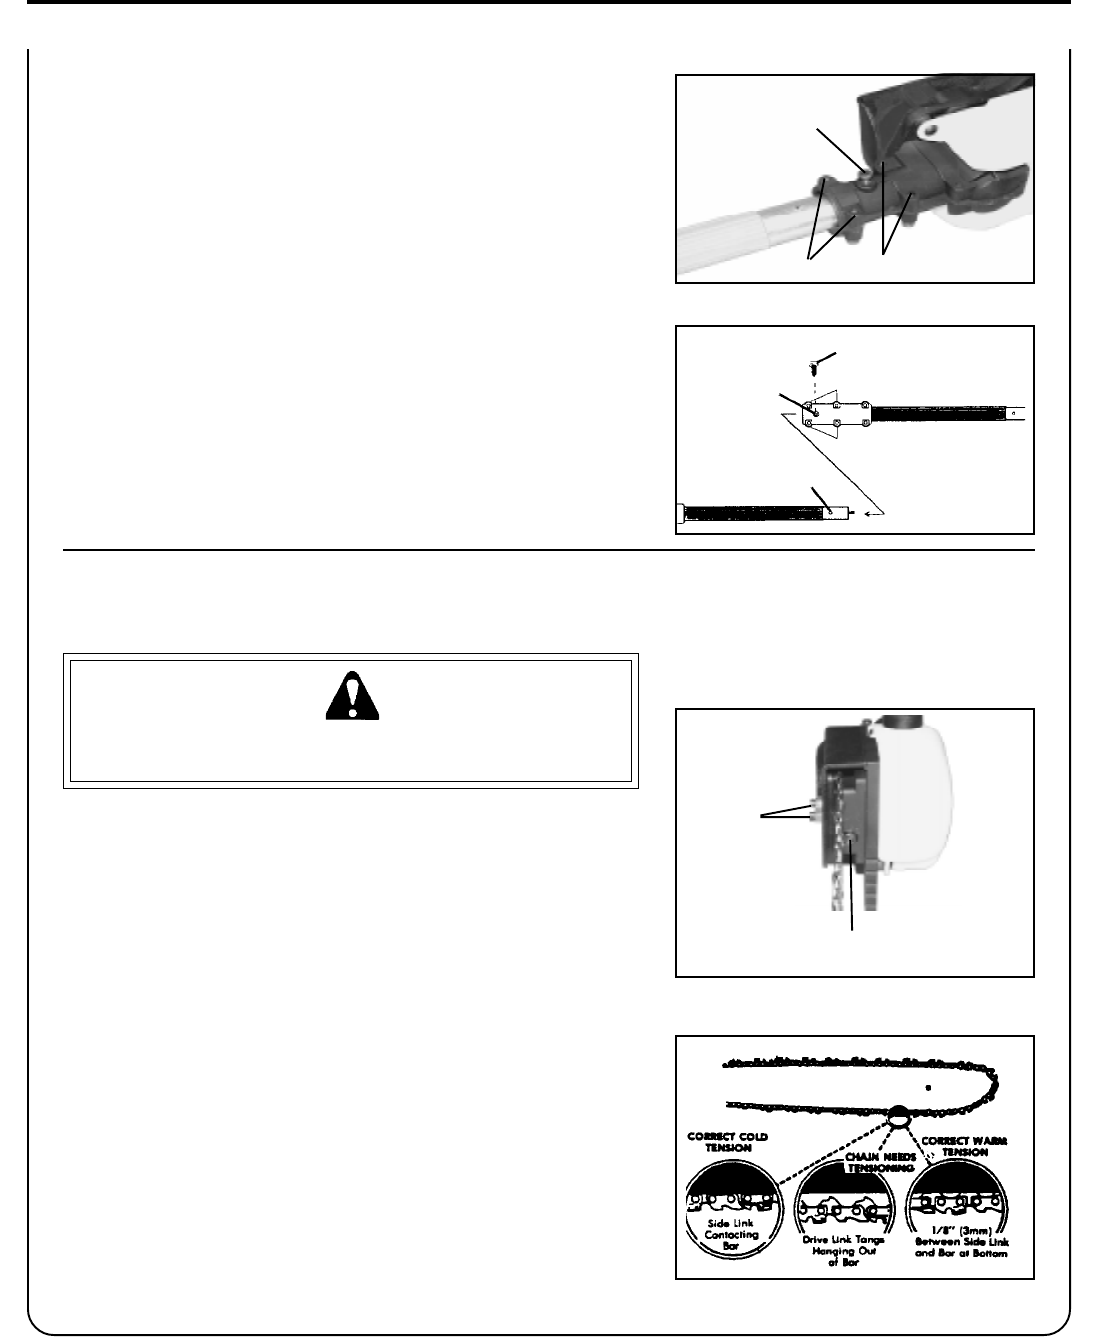
1. Remove the cutting attachment from the Power Pruner
TM
shaft
housing by removing the location bolt (B), loosening the (4) four
lower bolts (A) clamping the cutting attachment to the shaft
housing and slide the cutting attachment off.
2. Loosen the 4 screws (D) on the extension clamp and slide the
extension onto the shaft housing until the hole (E) in the extension
clamp lines up with the hole (C) in the shaft housing. Insert the
#8 x 1/2 in. self-tapping screw (F) into hole (C) and tighten to snug.
3. Follow the steps outlined in Cutting Attachment to Drive Shaft
Installation to install the cutting attachment to the extension.
SAW CHAIN TENSION ADJUSTMENT
Tools Required: 10x19mm (13/32x3/4in.) T-wrench provided
WARNING DANGER
Always wear gloves when handling saw chain, otherwise serious
personal injury may result.
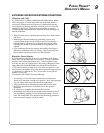
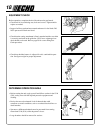
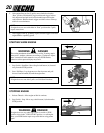
To Adjust Saw Chain Tension.
1. Loosen two (2) 10 mm (13/32 in.) guide bar nuts (A) located on
cutting attachment using the T-wrench provided.
2. Turn saw chain tensioner screw (B) (located next to guide bar in
sprocket cover) clockwise to tighten saw chain on guide bar.
Turning screw counter clockwise will loosen saw chain on guide
bar.
3. Tighten guide bar nuts firmly. Move saw chain backwards on
guide bar by hand. Saw chain should move freely on guide bar if it
is in proper mesh with sprocket.
Keep the saw chain lubricated and properly adjusted and the guide bar
nuts tightened firmly at all times. If saw chain is difficult to rotate or
binds on guide bar, it is too tight.
B
A
A
B
A
D
D
C
E
F


