24
SPARK PLUG
Level 2.
Tools Required: 10x19mm (13/32x3/4in.) T-wrench, Feeler gauge,
(preferably a wire gauge), Soft metal brush
Parts Required: Spark Plug, NGK BPMR-7A; P/N 15901010230
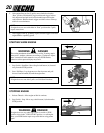
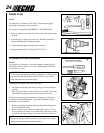
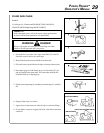
1. Remove spark plug and check for fouling, worn and rounded center
electrode.
2. Clean the plug or replace with a new one. DO NOT sand blast to
clean. Remaining sand will damage engine.
3. Adjust spark plug gap by bending outer electrode.
4. Tighten spark plug to 145-155 kg/cm (125-135 in. lb.).
COOLING SYSTEM CLEANING
Level 3.
Tools Required: Screwdriver, 3 mm and 4 mm Hex wrench, Pointed
Wood Stick, 25mm or 50mm (1 in. or 2 in.) medium bristle paint brush
Parts Required: None.
IMPORTANT
To maintain proper engine operating temperatures, cooling air must
pass freely through the cylinder fin area. This flow of air carries
combustion heat away from the engine.
Overheating and engine seizure can occur when:
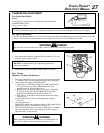
• Air intakes are blocked, preventing cooling air from reaching the
cylinder.
• Dust and grass build up on the outside of the cylinder. This build
up insulates the engine and prevents the heat from leaving.
Removal of cooling passage blockages or cleaning of cooling fins is
considered “Normal Maintenance”. Any failure attributed to lack of
maintenance is not warranted.
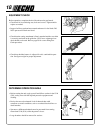
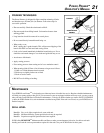
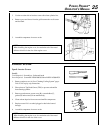
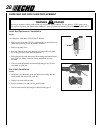
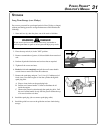
1. Remove spark plug lead from spark plug and throttle linkage end
from the carburetor swivel.
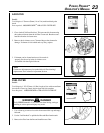
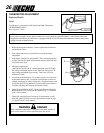
2. Remove the four screws that retain the engine cover (A). Two at
the top of the recoil starter, two on either side of the front. Lift the
cover from the engine and lay to the front of the Power Pruner
TM
.
NOTE
The throttle linkage remains assembled to the engine cover and the
spark plug lead and grommet remain installed.
0.65 mm
(0.026 in.)
A


