


POWER PRUNER
OPERATOR'S MANUAL
27
WARNING DANGER
When carburetor adjustment is completed, cutting attachment
should not move at idle, otherwise serious personal injury may
result.
CARBURETOR ADJUSTMENT
Non Emissions Models
NOTE
If carburetor has limiter caps follow "Carburetor Adjustment"
procedures for Emission models on previous page.
WARNING DANGER
Cutting attachment must not turn when unit is idling, otherwise
serious personal injury may result.
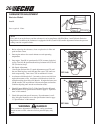
Basic Setting
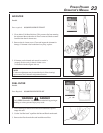
1. Stop engine and turn both LO (B) and HI (A) needles in, CW until
they stop and are lightly seated.
IMPORTANT
DO NOT over tighten needles. Forcing them to tighten will
damage the carburetor.
2. Turn needles out CCW
PPT-2100 LO (B) 1-3/8 turns; HI (A) 1-7/8 turns
PPT-2400 LO (B) 2-1/2 turns; HI (A) 2-1/4 turns
Fine Tuning
(Requires Accurate Tachometer)
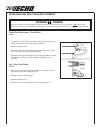
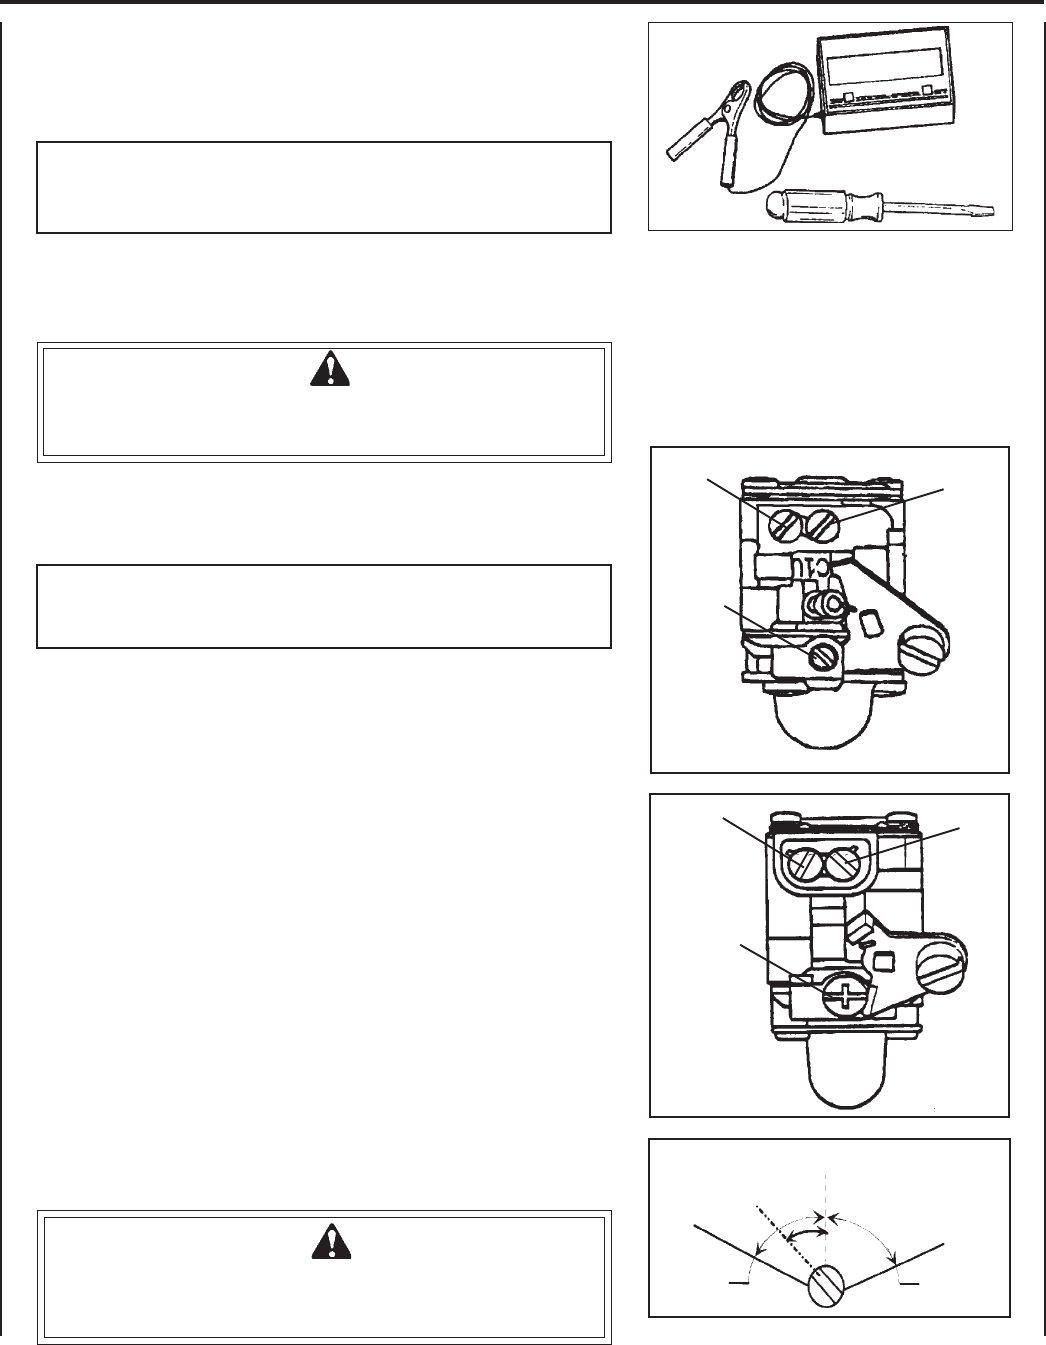
C
B
A
F
(1)
(2)
(3)
(4)
C
B
A
PPT-2100
PPT-2400
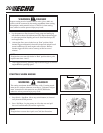
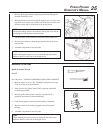
Idle Speed Adjustment
Turn "idle" speed adjustment screw (C) CW (clockwise) until saw chain begins to turn, then turn screw out CCW (counter
clockwise) until saw chain stops turning. Turn screw out, CCW an additional 1/4 turn.
1. Start engine and allow to warm to operating temperature (minimum
2 - 3 minutes) varying engine speed from idle to full throttle.
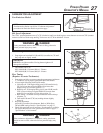
2. Always begin fine tuning with LO (B) needle.
a. Lean drop-off - With engine idling, turn LO (B) needle slowly
CW (in) to lean drop-off point. RPM will increase, then
abruptly drop-off. Note this position. (1)
b. Rich drop-off - With engine idling, slowly turn LO (B) needle
CCW (out) to rich drop-off point. RPM will increase then
gradually slow and drop-off. Note this position. (2)
c. Final setting - Set needle at mid point between lean rich drop-
off points. (3)
d. Turn needle 1/8 turn CCW (out) making mixture slightly
richer. (4)
3. HI speed adjustment.
Adjust HI (A) needle with tachometer. Refer to Wide Open
Throttle RPM settings listed in "Specifications" on page 13.
4. Check idle speed and reset if necessary. If tachometer is available,
idle speed should be set to the specifications found on page 13
"Specifications" of this manual.