


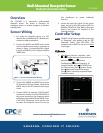
Wall-Mounted Dewpoint Sensor
Product Information Sheet
210-2002
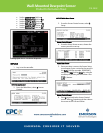
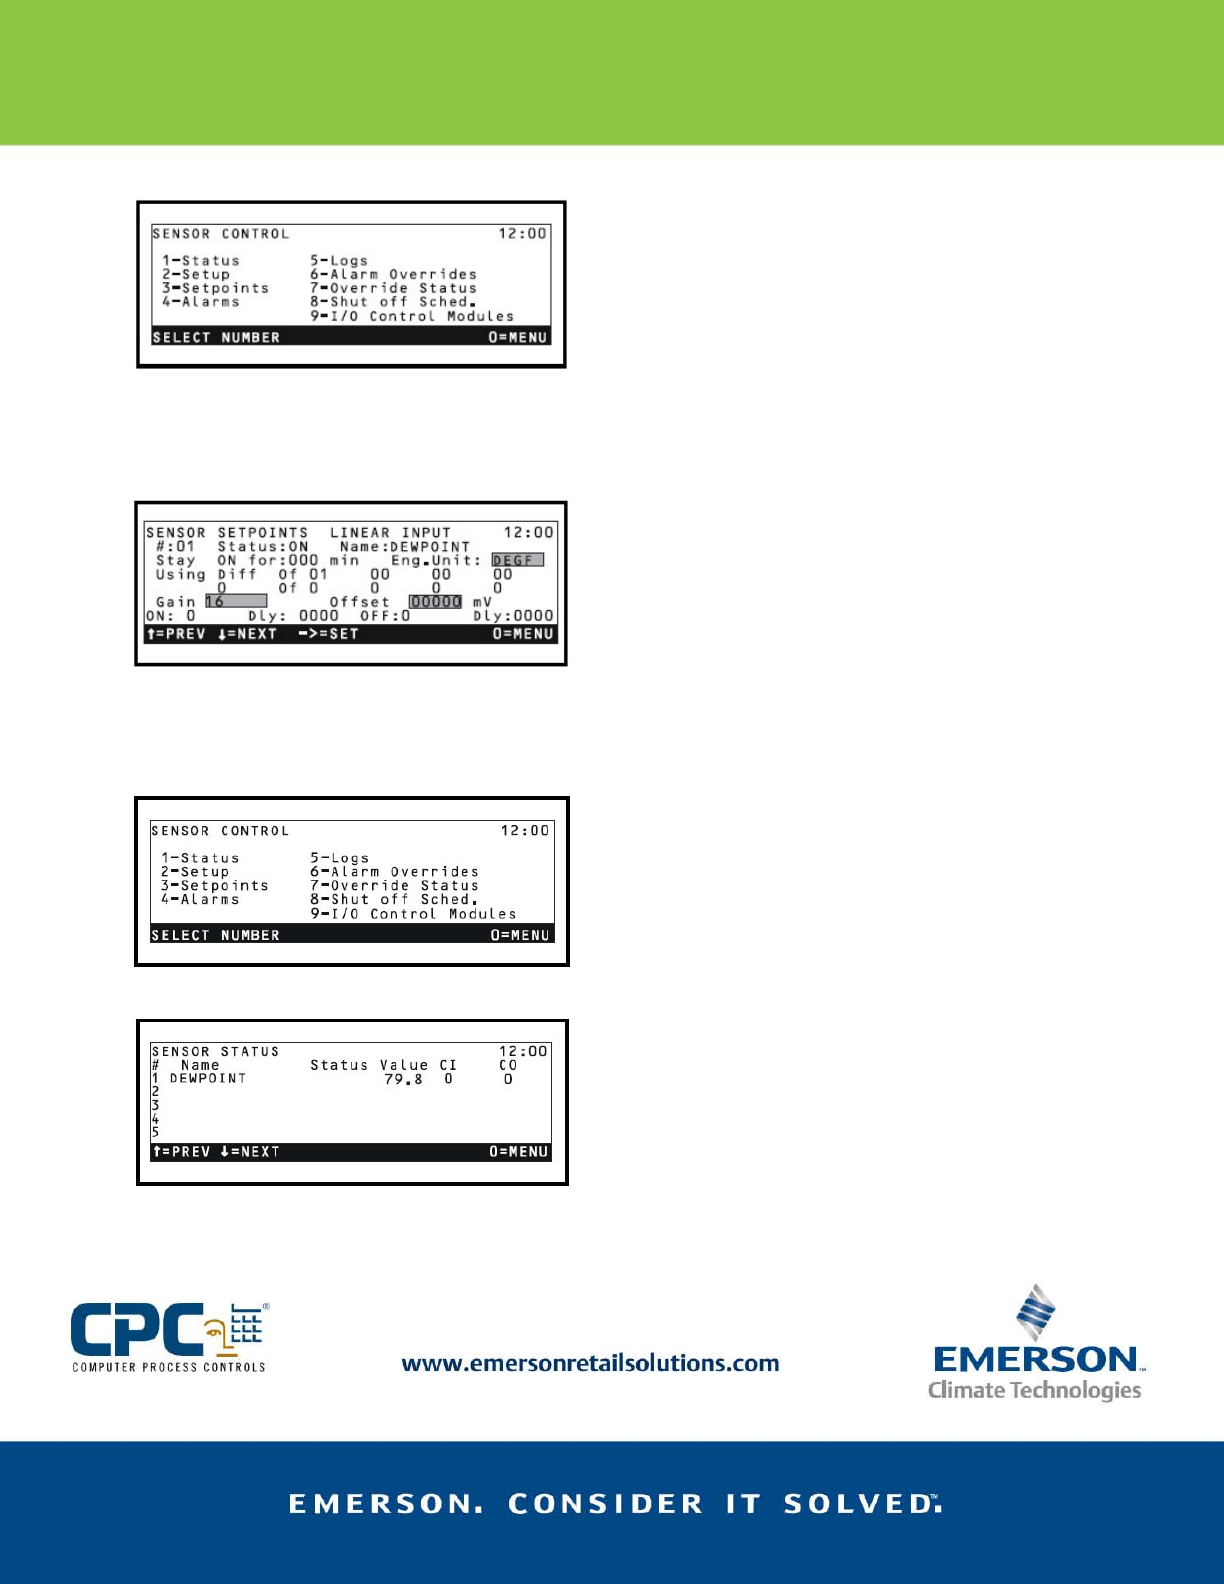
7. Set Gain to 16, Offset to 0 (the default) and
enter degrees fahrenheit units into the
Eng.
Unit field (for example, type DEGF).
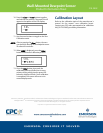
8. To check the sensor input value, press 0 to
go back to the Sensor Control screen and
select
1 -Status.
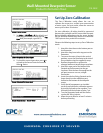
Set Up Zero Calibration
The Zero Calibration mode allows the user to
calibrate the sensor to a verified zero concentration
of water vapor. For best results, allow the sensor to
warm up for at least 10 minutes.
For zero calibration, all tubing should be connected
between the gas bottle and the sensor inlet flow port.
Before initiating calibration using the sensor keypad,
the gas should be flowed to the sensor at a rate of 80-
100 cc\minute for a period of five minutes.
Observe the following steps to set up Zero Calibration
mode.
1. Attach the short hose to the bottom port on
the flowmeter.
2. Attach the long hose to the top port on the
flowmeter.
3. To ensure the meter is kept in the vertical
position, secure the flowmeter to the side of
the gas bottle using the supplied tie wrap.
4. Remove the protective cap from the
nitrogen bottle and attach the gas regulator.
5. Attach the open end of the bottom hose
(located on the flowmeter) to the gas
regulator. Slide the hose far enough on the
gas port to ensure a secure, airtight
connection.
6. Insert the male luer fitting (located on the
longer hose) into the calibration port,
located on the bottom of the dewpoint
sensor.
7. Verify that all components are installed
correctly and initiate the calibration process
by turning the knob on the regulator. Turn
the knob until the indicator reaches 7 psi.
8. Turn the flowmeter knob until the floater
reaches 80-100 cc/minute.
9. Allow the gas to flow for at least 5 minutes
before proceeding.
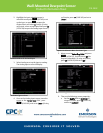
Sensor Control Screen
Sensor Setpoints for Linear Input
Sensor Setpoints for Linear Input
Sensor Status Screen – Sensor Value
50