


11
Operation
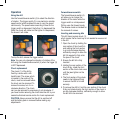
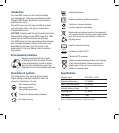
Using the drill
Use the forward/reverse switch (4) to select the direction
of rotation. The trigger switch (3) is an electronic variable
speed control which enables the user to vary the speed
continuously. The speed varies according to how far the
trigger switch is depressed, the further it is depressed the
faster the chuck will rotate and the lighter it is depressed,
the slower it will rotate.
To stop the drill, release the trigger switch.
Note. You can only change the direction of rotation of the
drill using the forward/reverse switch (4) when the trigger (3)
is NOT depressed.
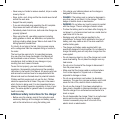
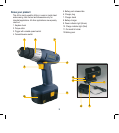
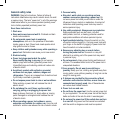
Chuck replacement
The chuck (1) of the drill is
fixed by a screw with a left-
hand thread. The screw, which
is located in the centre of the
chuck, must be removed before
the chuck can be removed. To
remove the screw, turn it in a
clockwise direction. The chuck
can now be removed by unscrewing it anti-clockwise. If
you have trouble removing the chuck take the drill to your
nearest authorised service centre for chuck replacement.
CAUTION. Always ensure that the drill is switched off
and the battery pack is removed before making any
adjustments.
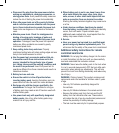
Forward/reverse switch
The forward/reverse switch (4)
will allow you to change the
direction of the motor while the
trigger switch is not depressed.
Drilling uses the forward mode.
The reverse mode is intended for
the removal of screws.
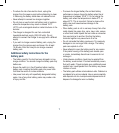
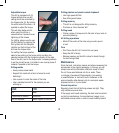
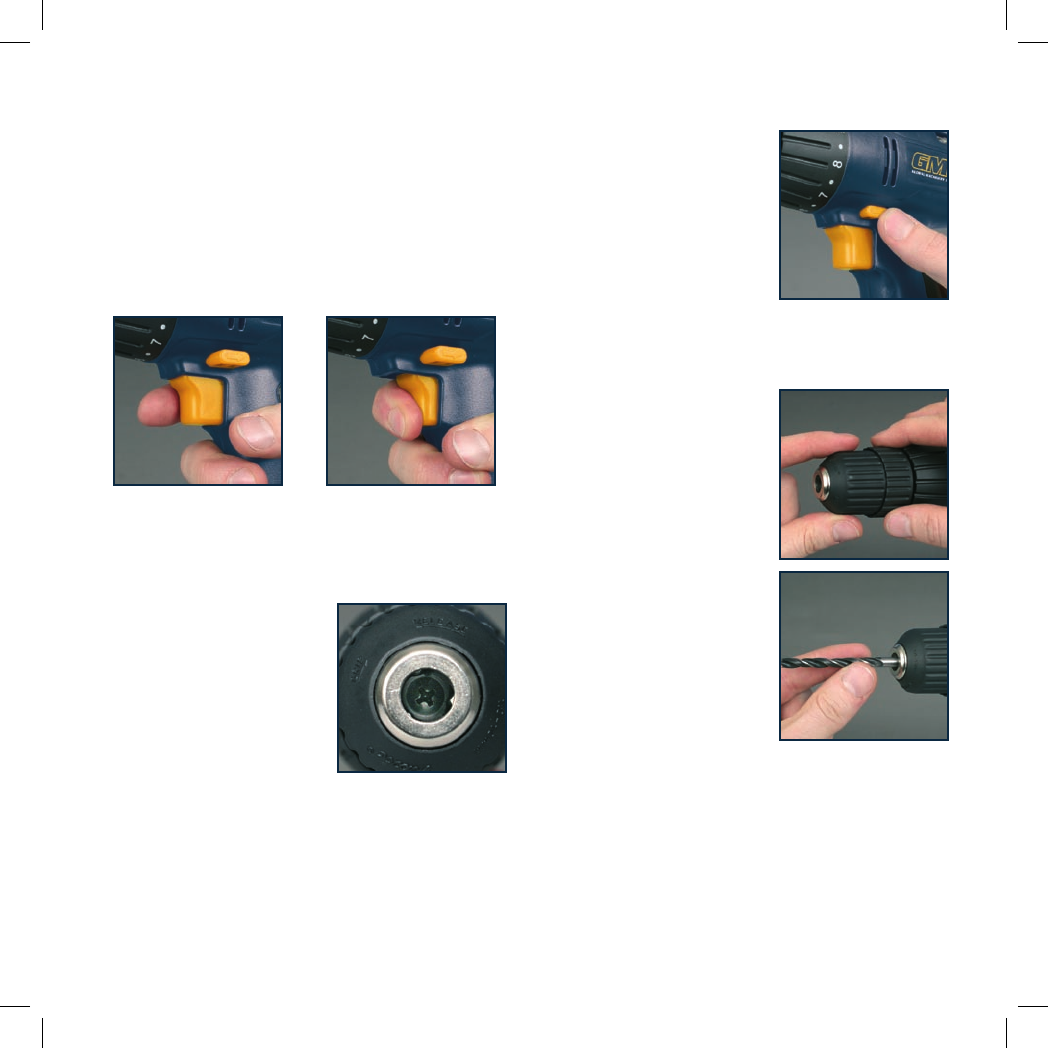
Inserting and removing bits
This drill has a keyless chuck (1),
which means that a chuck key is not needed to secure a bit
in the drill.
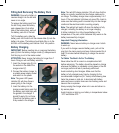
1. Open the chuck by holding the
rear section of the chuck firm
and rotating the front section
in an anti-clockwise direction,
sufficiently enough to allow the
drill bit required to fully enter
the jaws of the chuck.
2. Ensure the drill bit is fully
inserted.
3. Holding the rear section of the
chuck firmly, rotate the front
section of the chuck clock wise
until the jaws tighten on the
drill bit.
4. The front section of the chuck
needs to be tightened firmly
to ensure the drill bit is held
securely.
5. To remove the drill bit, hold the rear section of the chuck
firmly and rotate sharply the front section of the chuck in
an anti-clockwise direction, sufficiently enough to allow
the drill bit to be removed.