


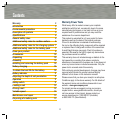


10
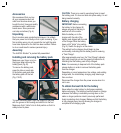
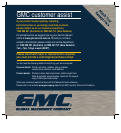
Accessories
We recommend that you buy
all your accessories such as
nails from the store where you
bought the tool. Use good quality
accessories with a well-known
brand name. Store personnel
can help and advise (Fig. A).
Unpacking
Due to modern mass production techniques, it is unlikely
that your power tool is faulty or that a part is missing. If you
find anything wrong, do not operate the tool until the parts
have been replaced or the fault has been rectified. Failure
to do so could result in serious personal injury.
Assembly
The ALN18V Allnailer
®
is packed fully assembled.
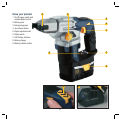
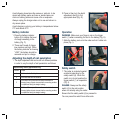
Installing and removing the battery pack
Make sure your finger is not on
the trigger when removing the
battery pack (Fig. B).
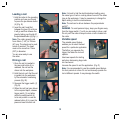
To remove the battery pack,
press the tabs on each side
of the battery pack and slide
the battery pack off the tool
(Fig. C & D).
To insert the battery pack, align the tongue on the pack
with the groove in the housing and slide it into the tool.
Make sure that it “clicks” into its final position so that it is
safely locked in place.
CAUTION. There is no need to use strong force to insert
the battery pack. If it does not slide into place easily, it is not
being inserted correctly.
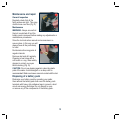
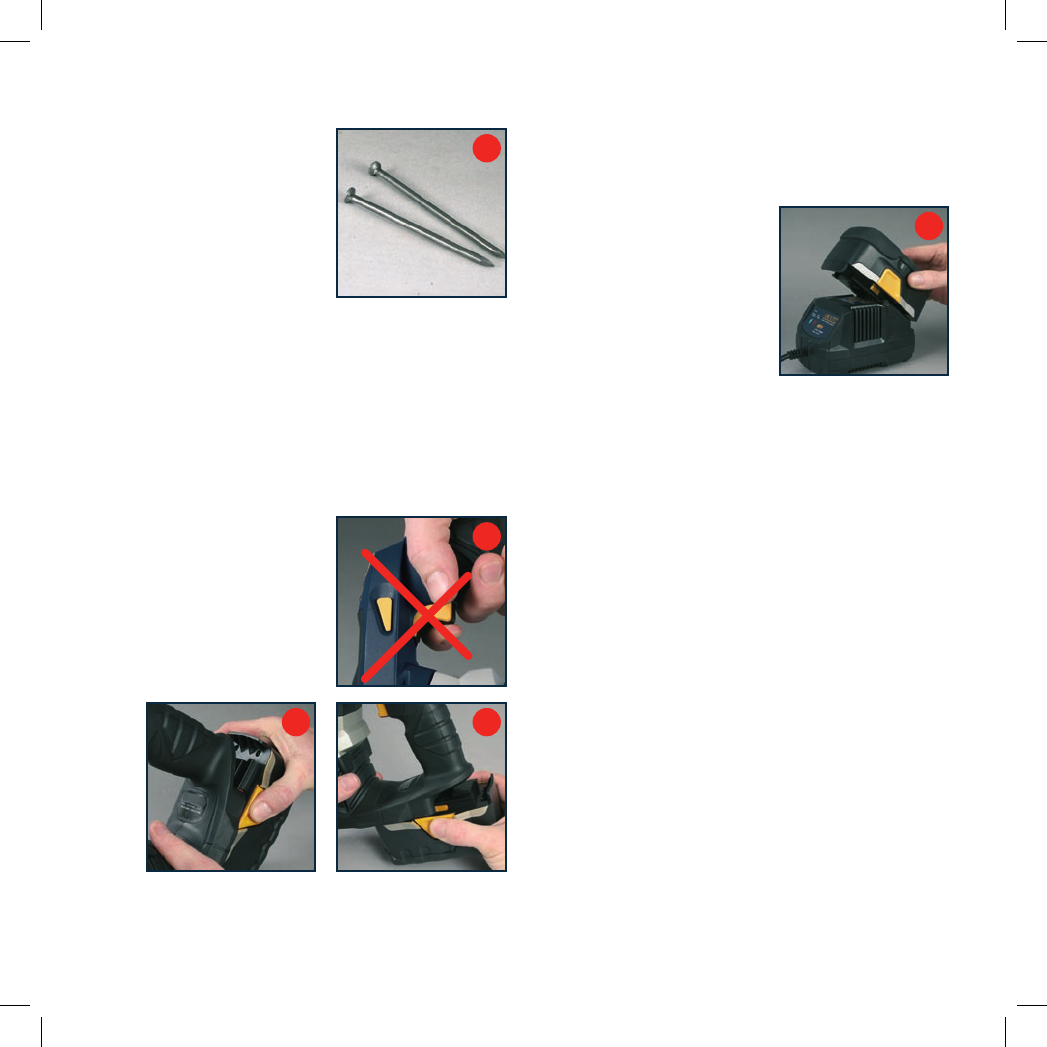
Battery charging
IMPORTANT. Before connecting
the battery to the charger (8)
always ensure that the plug is
switched off at the mains.
Slide the battery on to the
charger with the rails of the
battery pack aligned with the rails
of the charger. Slide the battery
down until it “clicks” into position
(Fig. E). Switch the plug on at the mains.
The red light on the charger should begin to glow
continuously, indicating that the battery pack is receiving
a “Fast Charge”.
After approximately one hour, the “Fast Charge” indicator
light (red) should go out and the green light should be lit,
indicating that the battery pack is fully charged.
Note. It is necessary to depress both of the battery pack
release buttons in order to remove the battery pack
from the charger.
Depending on room temperature, line voltage, and existing
charge level, the initial battery charging may take longer
than one hour.
Disconnect the charger from the power source when it is
not in use.
To obtain the best life for the battery
Never allow the nailer battery to discharge completely
before recharging. The battery should be placed on charge
whenever the battery is noticeably running down or the
nailer no longer performs a task it previously performed.
Avoid conducting short charges. Make sure that the battery
is fully charged every time by allowing the charger to
complete its full charging cycle.
A
B
D
E
C