12
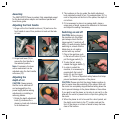
2. Remove the damaged belt by pulling it sideways off the
top pulley and turning the bottom pulley by hand. Use a
soft brush to clean the pulleys and the surrounding area
Note. Wear eye protection when cleaning out the pulley area.
3. With the six continuous “v” profiles on the inside, place
the new belt over the bottom pulley. Half fit the other end
of the belt on the top pulley then roll the belt in place
whilst turning the pulley.
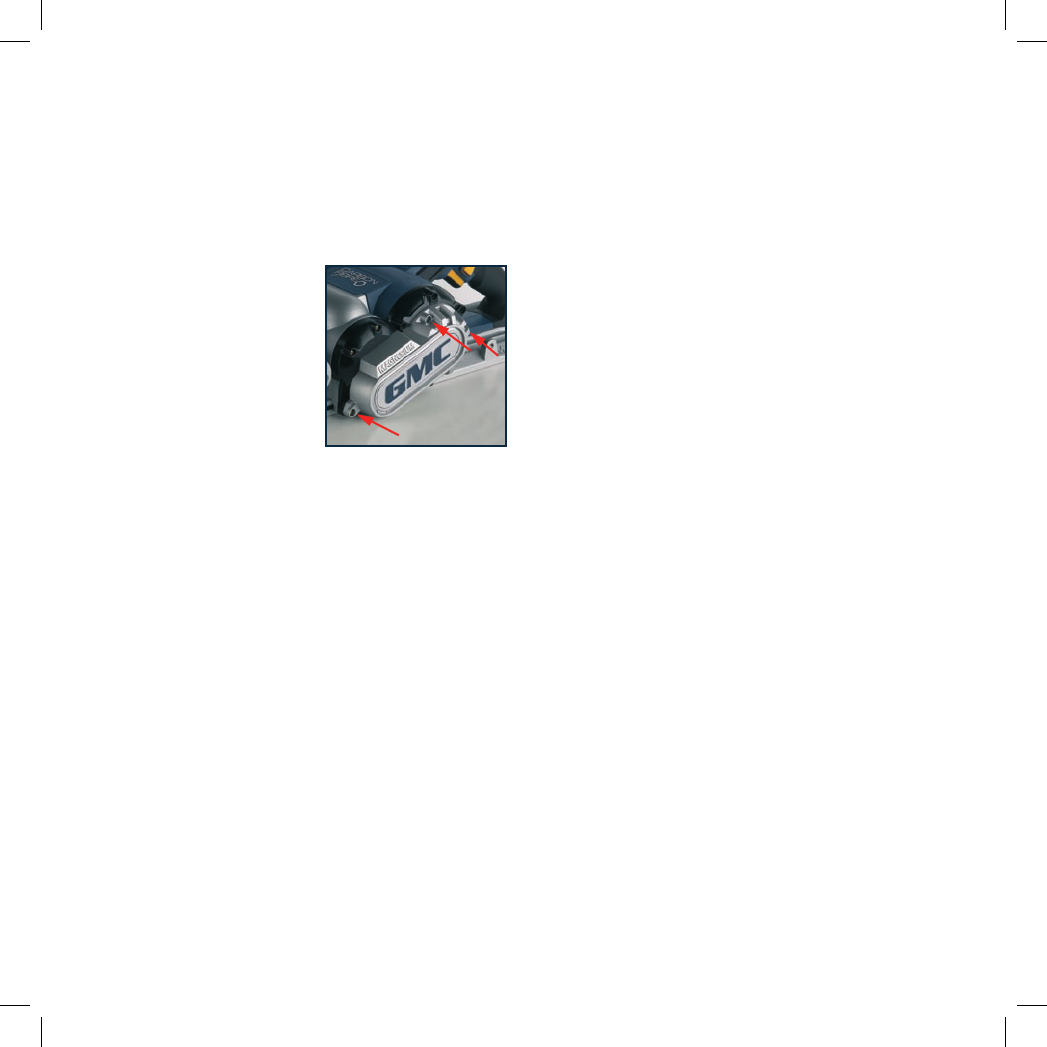
4. Check that the belt runs
evenly by manually turning
the belt.
5. Replace the cover and the
three fixing screws ensuring
that the longer screw is
located in the hole at the
front of the cover.
6. Plug the machine back into the power outlet and switch
the tool on and run for a minute to make sure that the
motor and belt are operating correctly.
Maintenance
WARNING. Always ensure that the tool is switched off and
the plug is removed from the power point before making any
adjustments or maintenance procedures.
Regularly check that all the fixing screws are tight. They
may vibrate loose over time.
Cleaning
1. Keep the tool’s air vents unclogged and clean at all times.
2. Remove dust and dirt regularly. Cleaning is best done
with compressed air or a dry, soft to medium brush like a
paint brush.
CAUTION. Wear protective goggles when cleaning the tool.
3. Re-lubricate all moving parts at regular intervals.
4. Never use caustic agents to clean plastic parts.
CAUTION. Do not use cleaning agents to clean the plastic
parts of the tool. A mild detergent on a damp cloth is
recommended. Water must never come into contact with
the tool. Ensure the tool is thoroughly dry before using it.
Power cord maintenance
If the supply cord needs replacing, the task must be
carried out by the manufacturer, the manufacturer’s agent,
or a qualified electric service repairer in order to avoid a
safety hazard.


