


11
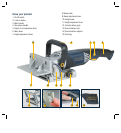
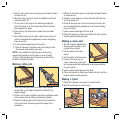
Operation overview
A biscuit joiner is ideal for making a variety of strong
and accurate joints, the most common are:
Edge to Edge Mitre Joints
Butt Joints T Joints
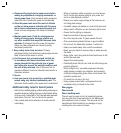
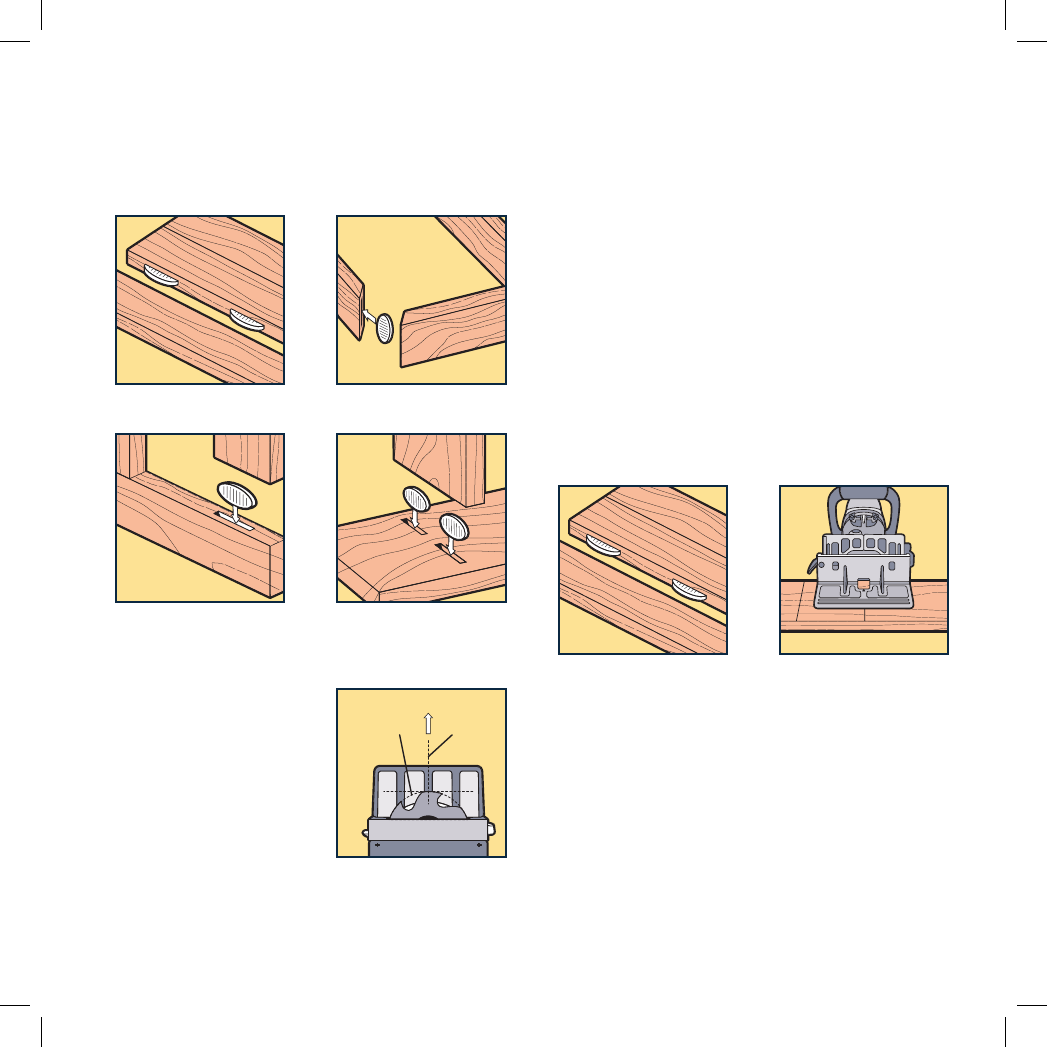
To cut the biscuit slot, the body of the joiner is moved
toward the material. By utilising the various features of the
tool you can create a wide range of different types of joints.
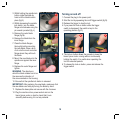
Always make a reference line
to line up the machine with
the centre of the material to
be plunged to ensure accurate
biscuit placement.
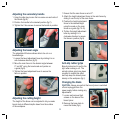
Operation – Making a cut
1. Adjust the height of the fence as required for
the application.
2. Adjust the bevel angle of the fence as required
for the application.
3. Mark the cutting line on the workpiece.
4. Line up the cutting guide located at the front of the fence
with the cutting line on the workpiece and place the
biscuit joiner against the workpiece.
5. Turn on the biscuit joiner using the on/off switch.
6. Whilst holding the rear handle push the biscuit joiner
forward so that the blade plunges into the workpiece.
7. Allow the return spring to retract the blade from the slot
and then switch off.
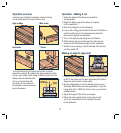
Making an edge to edge joint
Centreline Mark(s)
1. Position the 2 pieces together and draw a reference mark
at 90º to the centre point of each proposed joint location.
Space the joints about 4 inches apart.
2. Set the cutting depth to suit the biscuits you are using.
Generally, #20 biscuits suit most applications. If you are
using stock that is 19/32 inch thick or less, you will need
smaller biscuits.
3. Adjust the height of the fence as required.
4. Place the cutting guide at the centre point of each
slot in turn and press the fence against the edge
of the workpiece.
Direction of PlungeDirection of Plunge
Centre line of
work and machine
Centre line of
work and machine
Crescent
shape cut
Crescent
shape cut