


8
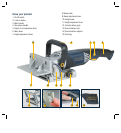
Overview
The biscuit joiner is designed for the cutting and joining of
timber. It provides an accurate, effective and convenient
alternative to other means of jointing such as dowelling and
can be particularly useful for edge jointing long boards of
either natural wood or manufactured sheeting.
The 100mm TCT blade is plunged into the wood to the
required depth, which is pre-set depending on the biscuit to
be used.
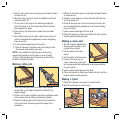
Biscuit No. Width Length
#0 16mm 48mm
#10 20mm 52mm
#20 24mm 60mm
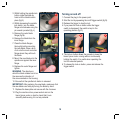
Glue is applied and the biscuit is inserted into the elliptical
slot that is left by the blade. As the glue sets, it expands the
biscuit, resulting in an extremely strong joint.
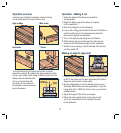
The adjustable fence allows the height and angle of the
blade to be positioned to suit different joint requirements.
The depth of cut can be set on the depth of cut control dial,
depending on the biscuit to be used. The joiner can also be
used to create a continuous groove, the width of which can
be increased simply by adjusting the fence up or down and
carrying out several passes.
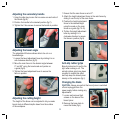
Adjusting the cutting depth
The depth of cut can be set to match the dimensions of the
particular size biscuit being used.
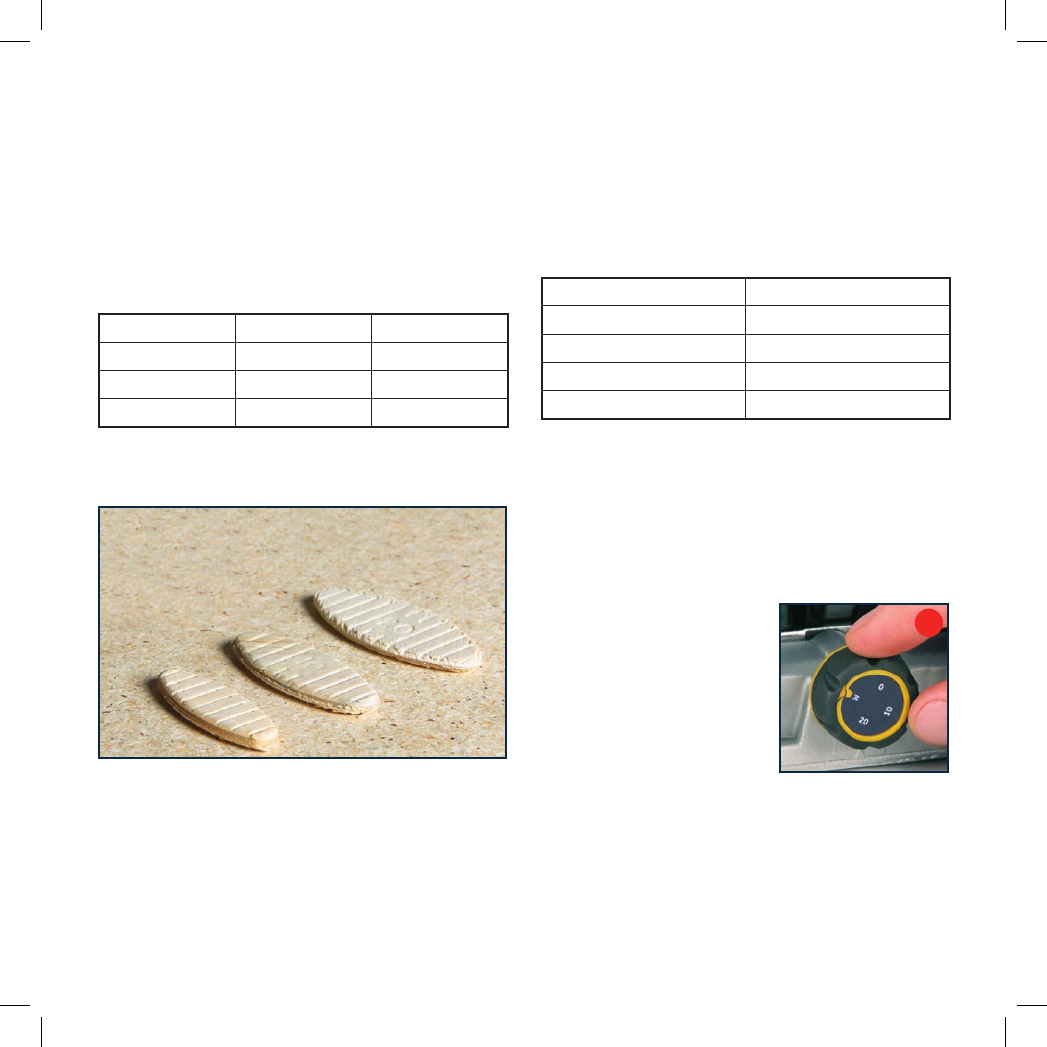
The numbers on the depth adjustment dial (0, 10 & 20)
coincide with the three most common biscuit sizes. The
letter ‘M’ stands for maximum depth capacity of the tool.
The table below indicates the cutting depth for each setting.
Depth Setting Depth of Cut
0 8mm
10 10.5mm
20 12mm
Max 13.5mm
The width of a biscuit may vary due to variances in
manufacture. The blade has been designed to allow fitment
of the largest biscuits in the slot cut. Sometimes you may
need to sort out the correct sizes, or even moisten the
biscuits slightly to achieve a tight fit where required.
Glue is applied and the biscuit inserted into the semicircular
slot that is left by the blade, and the biscuit swells up taking
away any looseness in the joint.
1. To select a depth, align the
appropriate number with the
mark on the tool’s housing.
2. Rotate the depth adjustment
dial to the desired position until
it “clicks” into place (fig A).
A
#0 = 16mm x 48mm
#10 = 20mm x 52mm
#20 = 24mm x 60mm
#0
#10
#20