


10
WARNING. Over tightening the band saw will cause
premature failure. Under tightening can cause the band to
disengage whilst it is in use.
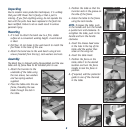
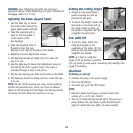
Adjusting the blade support heads
1. Use the Allen key to loosen
the screw either side of the
upper blade guide assembly.
2. Slide the assembly left or
right so that the blade is
in the centre of the
two bearings.
3. Slide the assembly back or
forward so that the rear
bearing is just clear of the back of the blade.
4. Retighten the two adjustment screws.
5. The bearings should run freely and turn when the
saw is in use.
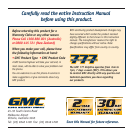
6. Use the Allen key to loosen the adjustment screw on
the side of the lower support head. This screw is
accessed through a hole in the frame.
7. Set the rear bearing just clear of the back of the blade.
8. The bearings should run freely and turn when the saw
is in use.
NOTE. Do not set the bearing too close, as the resulting
friction will generate heat, which can have an adverse
affect on the bearings and the blade. The bearing should
run freely and turn when the machine is in use.
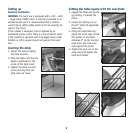
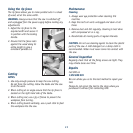
Setting the cutting height
1. Always set the upper blade
guide assembly as close as
practical to the work.
2. To adjust the height, loosen the
lock knob on the lamp side of
the upper wheel housing, set
the guide as required and then
re-tighten the lock knob.
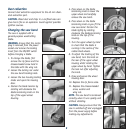
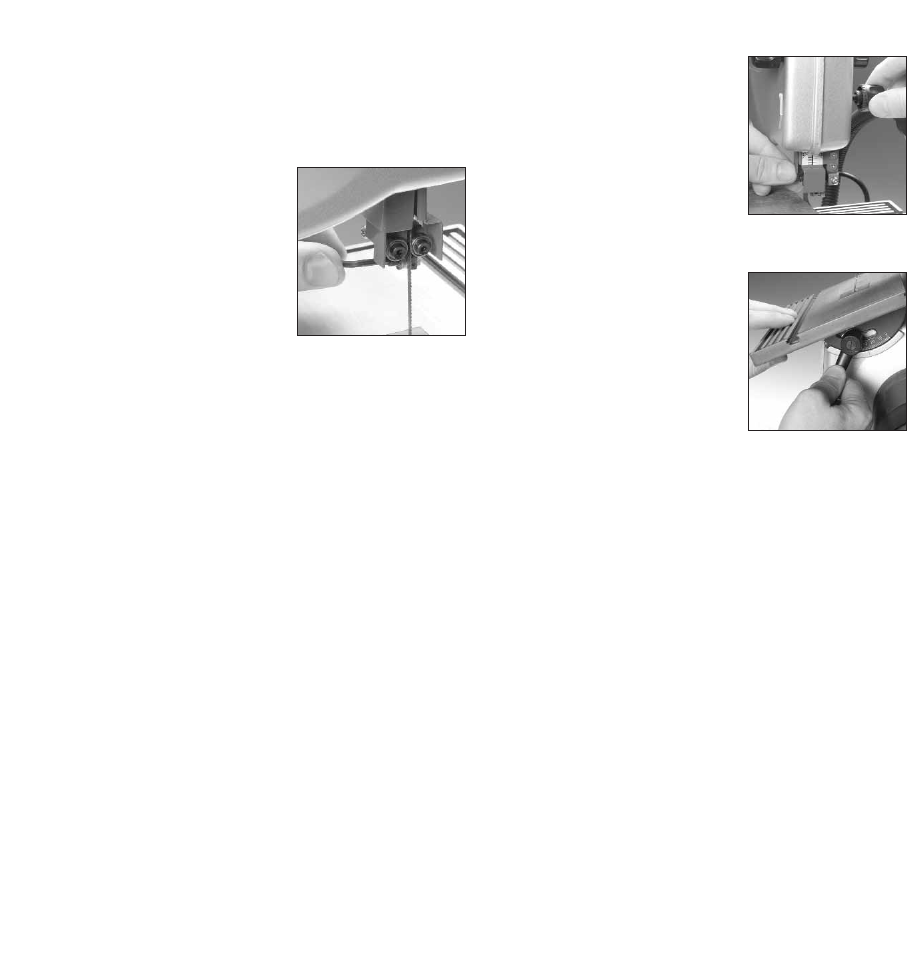
Saw table tilt
1. To tilt the table, loosen the
table lock handle on the
underside of the table, tilt the
table to the required angle and
retighten the handle.
NOTE. It is best to verify the
angle of tilt by making a practice
cut in a piece of scrap wood, measuring and resetting the
angle if necessary.
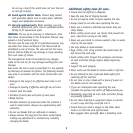
Operation
Switching on and off
1. Connect the plug to the power supply.
2. Push the ON button.
3. To switch off, push the OFF button.
NOTE.
1. Extension leads must have a minimum lead cross
section of 3 x 0.75 mm
2
(240V).
2. The saw is automatically turned off in the event of a
power failure. You will need to press the ON button
again to restart the saw. (Only on some models)