purchase good quality belts.
Note. After sanding with a belt sander, an orbital sander
should be used to give a better surface finish.
Sanding
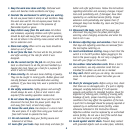
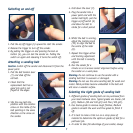
1. The sander is designed for sanding wood, metal, plastic
and similar materials. It is used mainly for quickly
removing a large amount of material. Do not use this
sander for sanding magnesium.
2. Ensure that the belt is in good condition.
3. Plug in the tool to the power socket.
4. Bring down the sander
onto the work piece and
apply light pressure.
5. Pull up the trigger and
allow the belt to reach full
speed before moving it
across the work.
6. Press the lock on button
(4) if you require
continuous operation.
7. Sand with the grain, in parallel overlapping strokes.
8. To remove paint or smooth very rough wood, sand
across the grain at 45º in two directions, and then
finish parallel with the grain.
9. Use the front roller (8) only to sand corners or irregular
shapes.
10. Lift the sander off the work before switching off.
11. Remember to keep your hands away from the moving
belt, as it will continue to move for a short time after
the machine is switched off.
12. Wear safety goggles, a dust mask and earmuffs.
Dust extraction
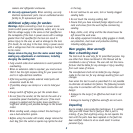
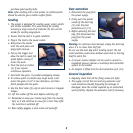
1. Disconnect the plug from
the power supply.
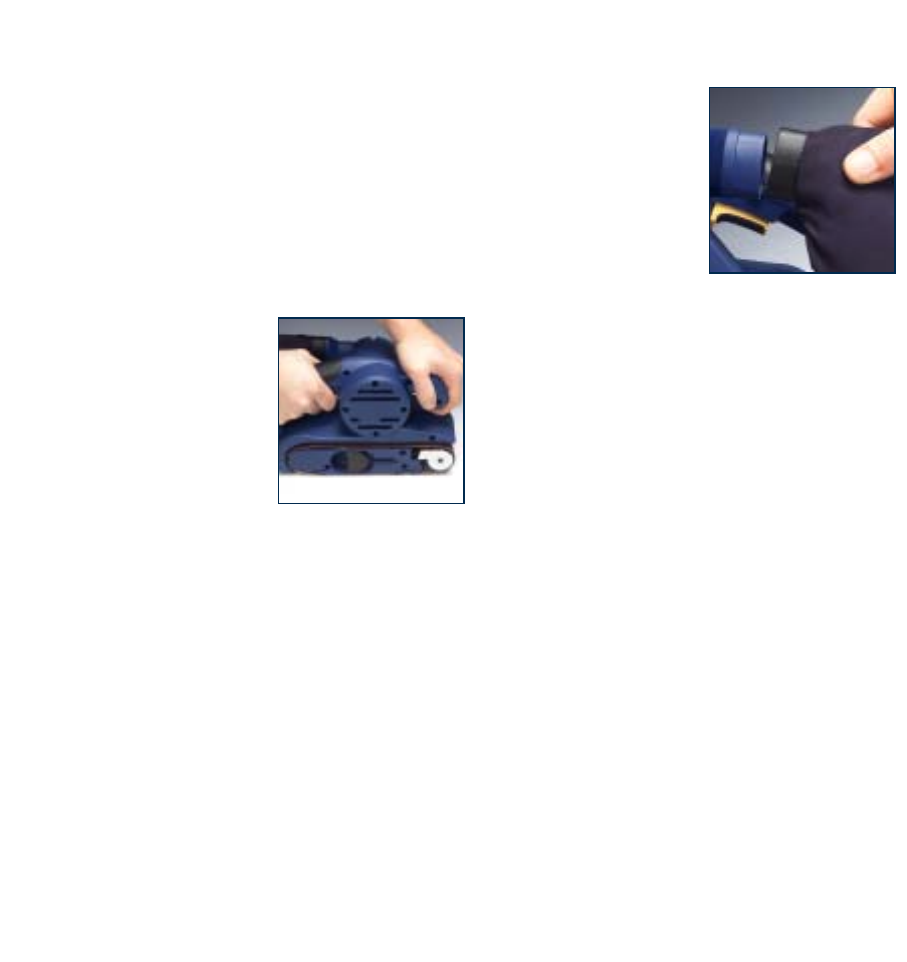
2. Firmly push the plastic
nozzle of the dust bag
(3) onto the dust
extraction port (11).
3. Before removing the dust
bag, first disconnect the
plug from the power
supply.
Warning. For optimum dust removal, empty the dust bag
when it is no more than half full.
Do not use the dust bag when sanding metal. The hot
metal particles could cause residual wood dust or the bag
itself to catch fire.
4. A vacuum cleaner adaptor can be used to connect a
household vacuum cleaner or workshop dust extraction
system to the sander.
5. An adaptor is fitted into the dust extraction port (11).
General inspection
1. Regularly check that all the fixing screws are tight.
2. The supply cord of the tool and any extension cord
used should be checked frequently for damage. It
damaged, have the cordset replaced by an authorised
service facility. Replace the extension cord if necessary.
8


