


10
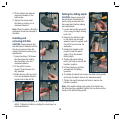
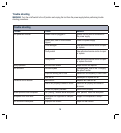
2. Tilt the table to the desired
angle as indicated on the
bevel scale.
3. Tighten the screw under
the table by rotating it in a
clockwise direction.
Note. When the table is tilted the
workpiece should be clamped to
the table.
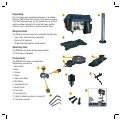
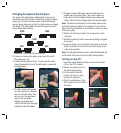
Installing and
removing drill bits
CAUTION. Always ensure that
the drill press is switched off and
the plug is removed from the
power point before making any
adjustments.
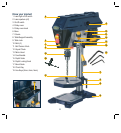
1. Using chuck key (18) loosen
the chuck jaws by rotating
the chuck key in an anti-
clockwise direction.
2. Fit the drill bit into the
chuck (12) and ensure it is
fully inserted.
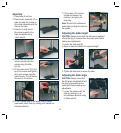
3. Rotate the top collar by hand
in an anti-clockwise direction
to grab hold of the drill bit.
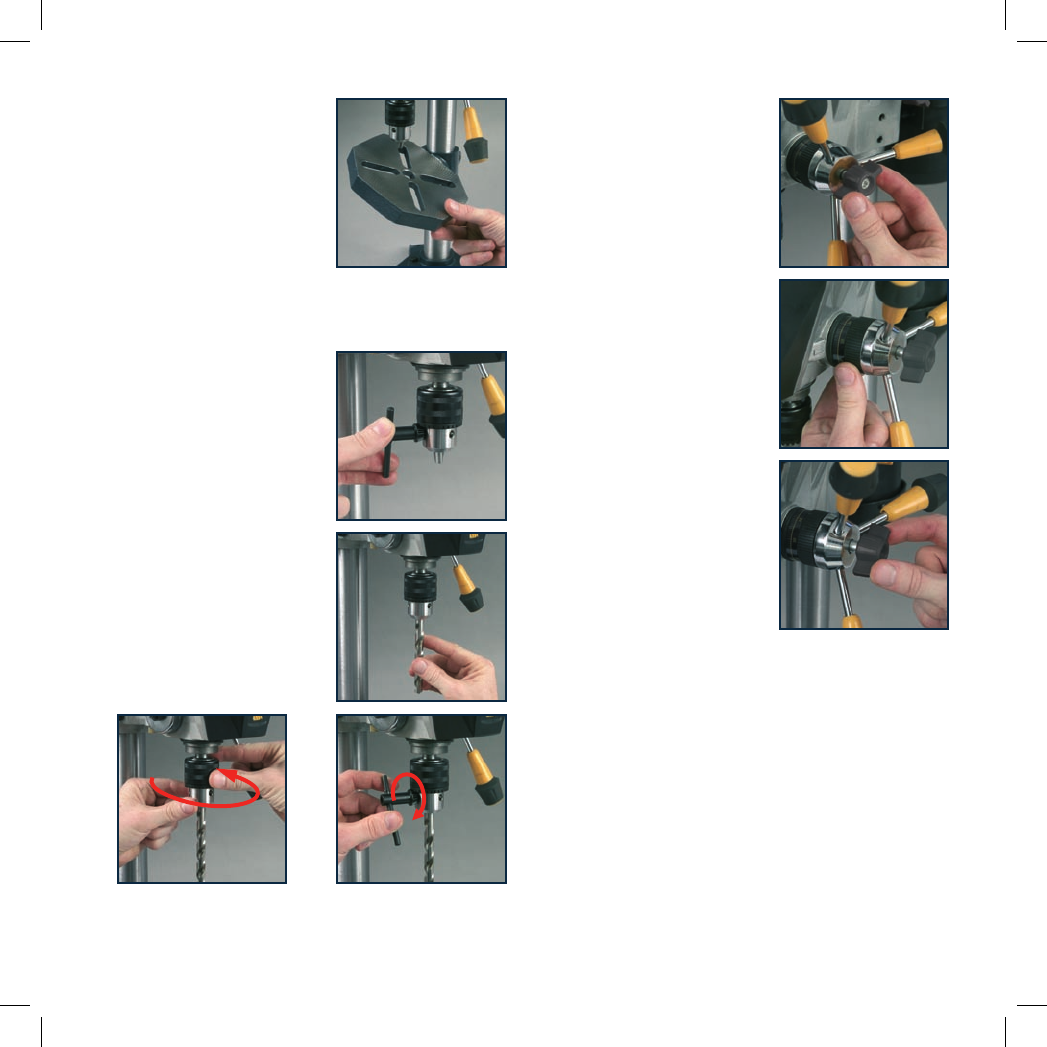
4. Using the chuck key tighten all 3 holes to secure the
drill bit. Tighten the holes by rotating the chuck key in a
clockwise direction.
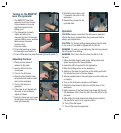
Setting the drilling depth
CAUTION. Always ensure that
the drill press is switched off
and the plug is removed from
the power point before making
any adjustments.
1. Loosen the handle screw half
a turn using the depth locking
knob (16).
2. Ensuring the drill bit is tight
in the chuck use the feed
wheel to lower the spindle until
the drill bit just touches the
workpiece.
3. Holding the handle in that
position rotate the depth
scale (15) to the desired
drilling depth.
4. Tighten the depth locking
knob (16) firmly to secure the
handle in position.
5. Lift the handle up and then
proceed with the drilling
operation.
6. To disable the depth lock loosen the depth locking knob
and rotate the depth scale to the maximum depth.
7. Tighten the depth locking knob firmly to secure the
handle in position.
Note. If the depth locking knob needs to be tighter use
the 5mm hex key supplied to tighten the hex screw on the
inside of the depth locking knob.