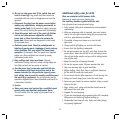
Rotation only mode of operation
Set the selector knob (4) to the
position and the
hammer function switch (7) to the right
position.
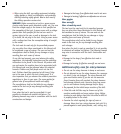
Rotary hammer mode of operation
Set the selector knob (4) to the
position and the
hammer function switch (7) to the left
position.
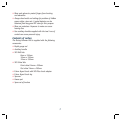
Hammer only mode of operation
Set the selector knob (4) to the position and the hammer
function switch (7) to the left
position.
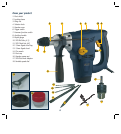
Fitting a keyed chuck
WARNING. Always ensure that
the drill is switched off and plug
is removed from the power point
before making any adjustments.
The keyed chuck (13) can be
fitted to the SDS chuck with the
use of the in-built SDS chuck
adaptor (17). The keyed chuck
allows bits with a straight shank
to be used with the tool.
1. Grip and pull back the locking
sleeve (2) and insert the SDS
chuck adaptor (17).
2. It may be necessary to turn
the SDS chuck adaptor in
order for it to locate properly.
3. Release the locking sleeve (2)
to lock the adaptor in place.
Ensure the chuck is secure.
WARNING. The keyed chuck (13) is only to be used when
drilling into wood and metal. It must not be used in the
hammer mode of operation.
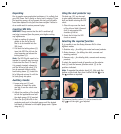
Setting the speed
The variable speed dial (18)
allows you to change the
operating speed of the tool.
It is used to set the speed of
drilling to suit different materials
and applications.
Use your finger or thumb to turn
the dial forwards to decrease
the speed and and backwards to
increase the speed.
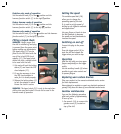
Switching on and off
Connect the plug to the power
point.
Press the trigger switch (6) to
start the drill and release the
trigger when you wish to stop.
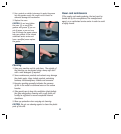
Operation
Hold the drill with your two upper
fingers comfortably on the trigger
switch.
Use the auxiliary handle (8) where
possible to gain extra control and
to prevent fatigue.
Replacing worn carbon brushes
Take your product to the nearest authorised service centre
for brush replacement.
Never attempt to maintain or repair any electrical equipment
yourself. Only have this done by an authorised service centre.
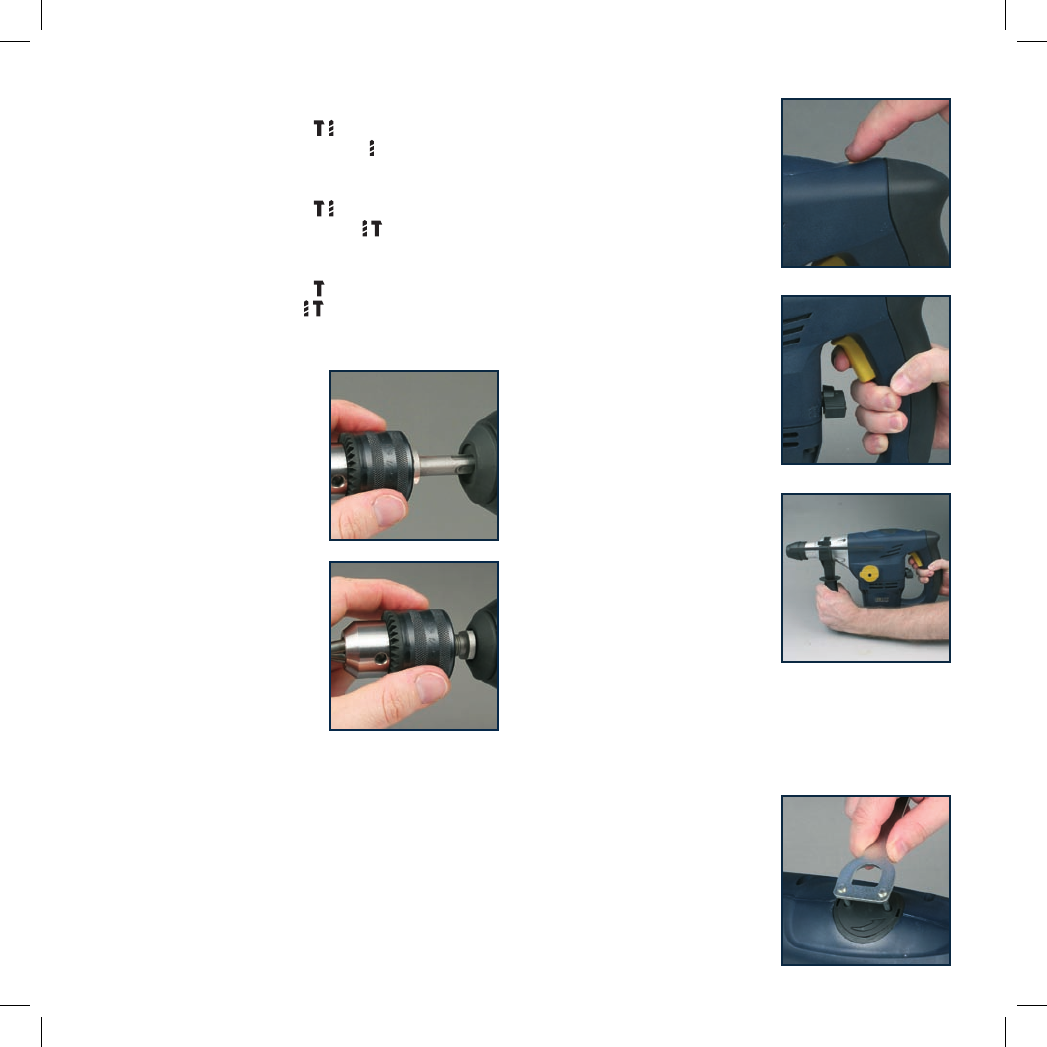
Gearbox maintenance
Carry out the following procedure
after each period of approximately
6 hours of use.
1. Use wrench (14) to unscrew the
gearbox cover (5) located on
top of the drill.
10


