10
Dust extraction
WARNING. Always ensure that the tool is switched
off and the plug is removed from the power point before
making any adjustments or maintenance procedures.
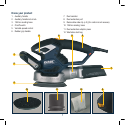
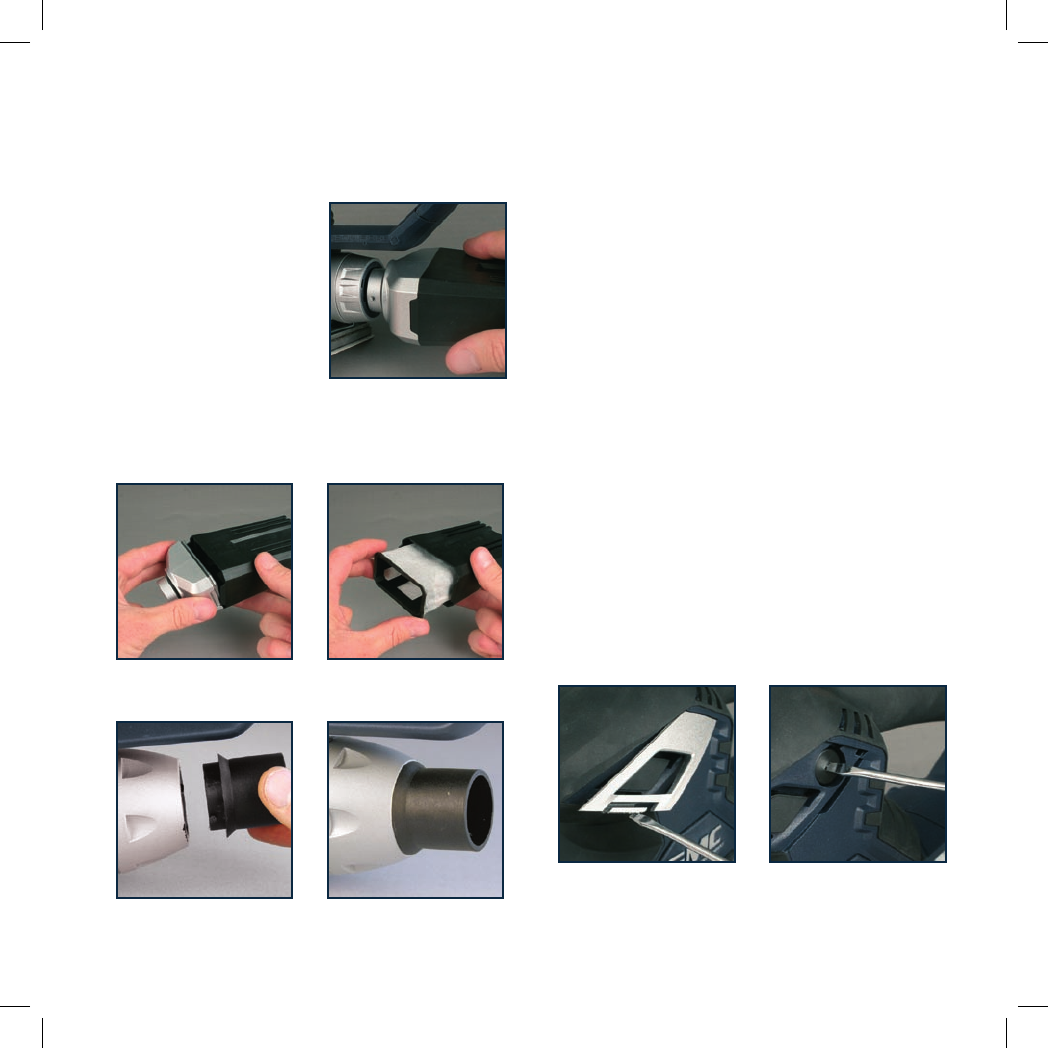
1. Attach the dust canister (7)
to the dust extraction port
(8) of the sander by pushing
and twisting the bayonet
fitting.
WARNING. For optimum dust
extraction, remove and empty
the canister (7) when it is no
more than half full.
2. Remove the cap from the end of the canister (7) to
access the internal dust bag (12) when you wish to
replace or clean the bag. The bag (12) can be washed.
Make sure the bag is completely dry before replacing it.
3. The dust extraction adaptor piece (11) can be fitted into the
dust extraction port (8) in place of the dust canister (7).
4. The sander can then be connected to a household
vacuum cleaner or workshop dust extraction system.
Maintenance
WARNING. Always ensure that the tool is switched
off and the plug is removed from the power point before
making any adjustments or maintenance procedures.
1. Keep the tool’s air vents unclogged and clean at
all times.
2. Regularly check to see if any dust or foreign matter has
entered the grills near the motor and around the
on/off switch. Use a soft brush to remove any
accumulated dust. Wear safety glasses to protect
your eyes whilst cleaning.
3. If the body of the tool needs cleaning, wipe it with a soft
damp cloth. A mild detergent can be used but nothing
like alcohol, petrol or other cleaning agent.
4. Never use caustic agents to clean plastic parts.
CAUTION. Water must never come into contact with
the tool.
General inspection
Regularly check that all the fixing screws are tight. They
may vibrate loose over time.
Replacing the carbon brushes
1. To access a carbon brush, first prise open a side clip (9)
using a flat screwdriver then removing the clip.
2. Use a small flat screwdriver to unscrew the brush cap
and remove the carbon brush assembly.


