11
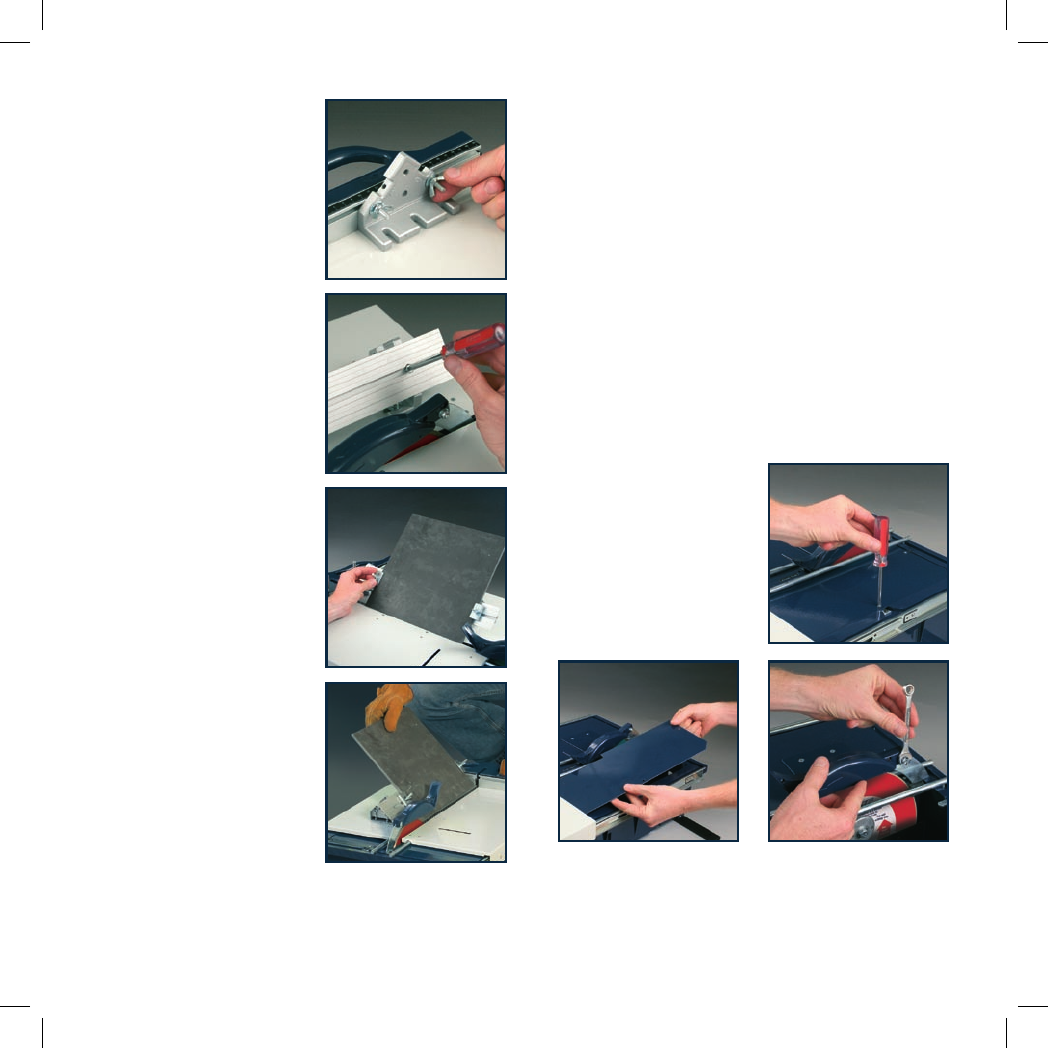
Bevel cutting
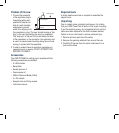
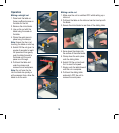
1. Secure the mitre blocks into
the sliding table and handle
bracket.
2. The fixing screws in the
middle and nearest slots
for ease of assembly and
tightening the wing nuts later.
3. Secure bevel plate to the
mitre blocks using the
counter sunk machine
screws.
4. Slide tile clamps into the
bevel plate. Clamp the work
piece down so it resting on
the sliding table surface.
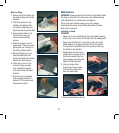
5. Move the plate so in line
with the blade and then
clamp and tighten the screw
holding the mitre blocks.
6. Once set up turn on the
unit wait a few seconds
until reached full speed
then slowly slide the table
forward.
7. Once the cut is complete
slide the table back and
switch OFF the motor and
remove work piece.
Maintenance
WARNING. Always ensure that the tool is switched off and
the plug is removed from the power point before making
and adjustments or maintenance procedures.
When you have finished cutting your tiles, always
disconnect the power, empty the water and fully clean
and dry the machine.
Installing a blade
DANGER.
• Never try to use a blade larger than the stated capacity
of the saw. It will come into contact with the blade guard.
• Never use a blade that is too thick to allow the outer
blade washer to engage with the flats on the spindle.
It will prevent the blade screw from properly securing
the blade on the spindle.
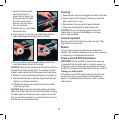
1. Adjustments are only to be
made with the power off, the
tool disconnected from the
mains supply and when the
blade has fully stopped.
2. Using a screw driver
remove the three screws
that hold the metal plate
over the water tank.
3. Remove the blade cover (3).


