308491 11
Service
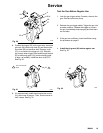
Fig. 10
1
22
15
04736
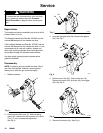
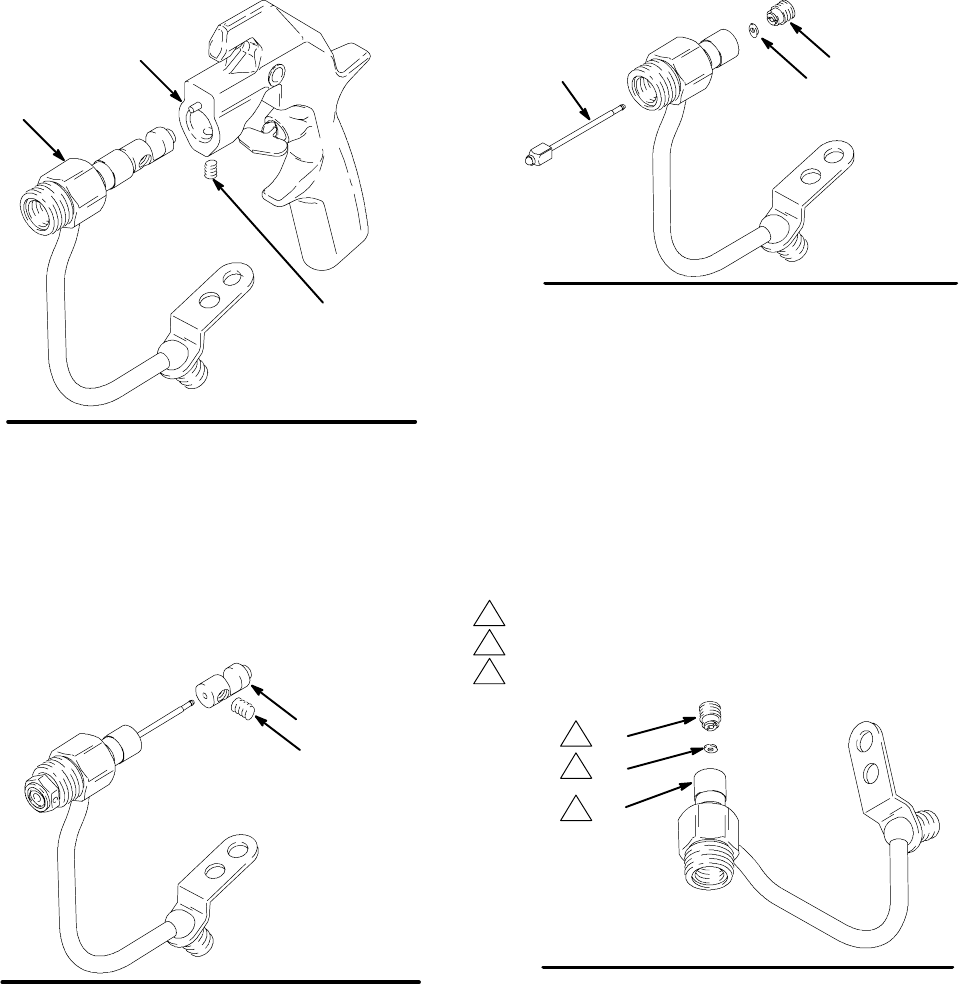
6. Loosen the setscrew (15). Pull the fluid housing (22)
away from th e gun body (1). See Fig. 10.
04734
Fig. 11
16
17
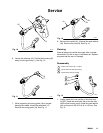
7. While supporting the spring guide (16) to prevent
bending the needle, loosen the setscrews (17).
Remove the spring guide (16). See Fig. 11.
Fig. 12
2c
2d
2e
03974
8. Remove the needle (2c). Unscrew th e seal retainer
(2d). Remove the seal (2e). See Fig. 12.
Cleaning
Clean all parts and ca vities thoroughly with a compat-
ible solvent. Dry with a rag or compressed air. Replace
any parts that are worn or damage.
Reassembly
Fig. 13
1
3
2
Lips of seal must face into housing
Grease inner cavity of housing
Torque to 30--40 in-lb (3.4--4.5 N.m)
22
2e
2d
1
2
3
03975
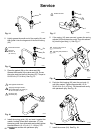
1. Lightly grease the inner cavities of the fluid hous-
ing (22). Install the small seal (2e) so the lips face
into the fluid housing cavity. Install the seal reta iner
(2d) and torque to 30--40 in-lb (3.4--4.5 N.m). See
Fig. 13.


