Operation
312414D 9
Operation
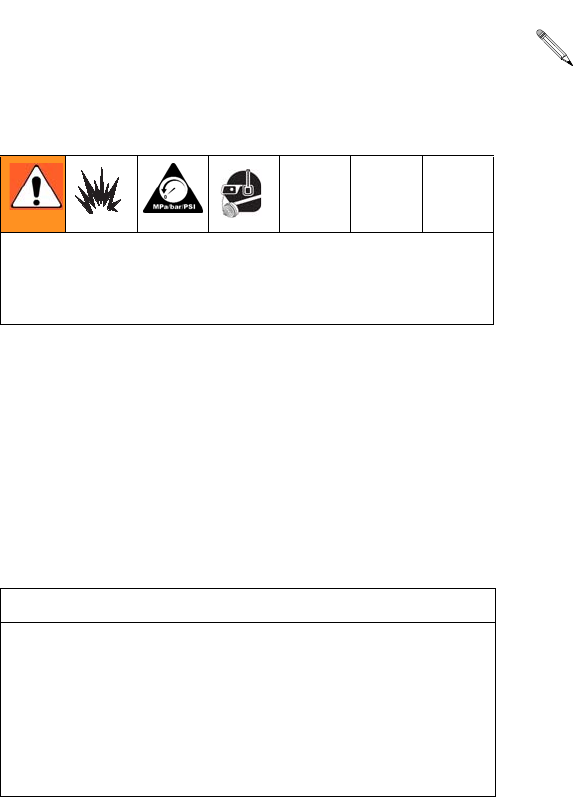
Pressure Relief Procedure
1. Turn off air and fluid supply.
2. Hold a metal part of the gun firmly to a
grounded metal pail. Trigger the gun to
relieve pressure.
Apply Fluid
1. Turn on shop air and fluid supply to the
gun. Set atomizing pressure and fluid pres-
sure with the gun fully triggered.
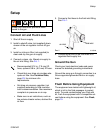
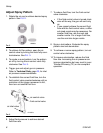
2. Adjust the pattern size and shape. See
page 8.
3. To achieve the best results when applying
fluid:
• Keep the gun perpendicular and
6 to 8 inches (150 to 200 mm) from object
being sprayed.
• Use smooth, parallel strokes across the
surface to be sprayed with 50% overlap.
When using the HVLP spray gun, instead of a
conventional airspray gun, you may need to
use a slightly slower hand movement and
make fewer passes with the gun to coat a part.
This is due to the reduced spray velocity pro-
duced by lower HVLP air pressures, along with
a larger fluid particle size because there is less
air to blow off solvents than is produced by
conventional airspray. Take care to avoid runs
or sags as you spray.
Volatile Organic Compounds
(VOC) Regulation
In certain states, spraying solvents that release
VOCs into the atmosphere when cleaning a
spray gun is prohibited. To comply with these
air quality laws, you must use a cleaning
method that prevents the escape of VOC
vapors into the atmosphere. See Compliant
Cleaning Methods, page 11.
Trapped air can cause the pump to cycle
unexpectedly, which could result in serious
injury from splashing or moving parts.
CAUTION
Excessive atomizing air pressure can
increase overspray, reduce transfer effi-
ciency, and result in a poor quality finish.
Regulatory agencies in some states prohibit
the operation of a spray gun above 10 psi
(69 kPa, 0.7 bar) atomizing air cap pressure.
See Troubleshooting, page 12, if you
experience an irregular pattern.


