G0561 7" x 12" Metal-Cutting Bandsaw
-21-
Starting the machine:
1. Read the entire instruction manual.
2. Make sure all tools and foreign objects have
been removed from the m
achine.
3. Put on safety glasses and secure loose
clothing o
r long hair.
4. Connect the bandsaw to power.
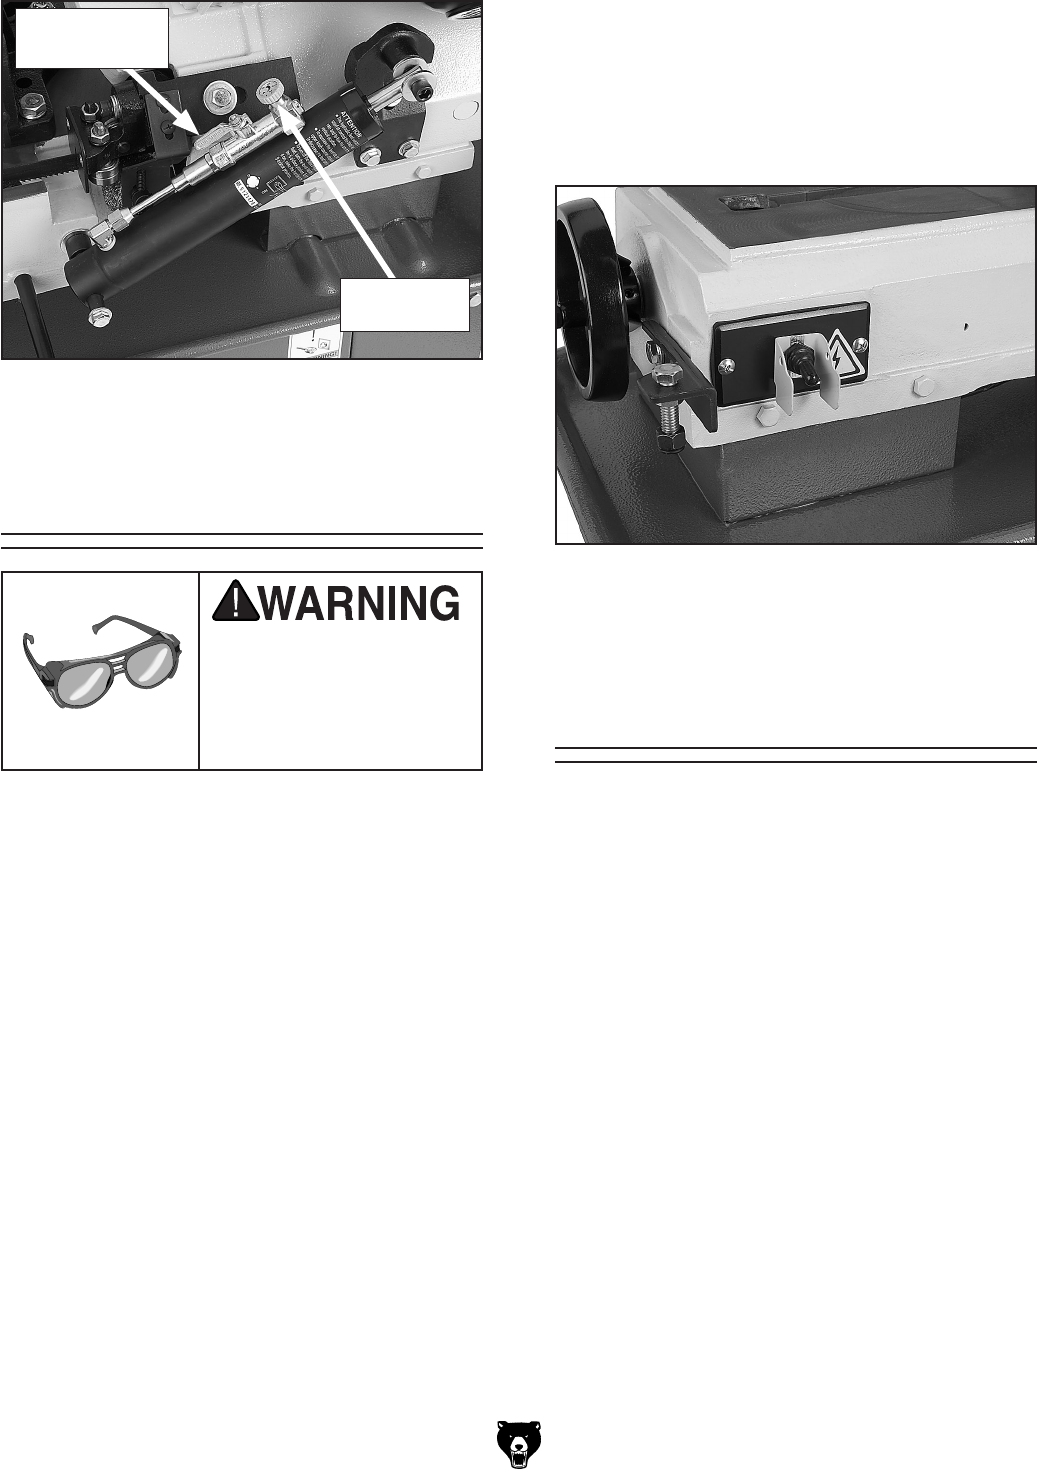
5. Raise the bandsaw and close the feed ON/
OFF valve to keep the saw in place
(see
Figure 20).
6. Start the bandsaw while keeping your finger
near the
ON/OFF switch at all times dur-
ing the test run (
Figure 21). The bandsaw
should run smoothly with little or no vibra-
tion.
Metal chips thrown from
the machine could cause
serious eye injury. Wear
safety glasses during
assembly and operation.
The adjustments listed below have been per-
formed at the factory. However, because of the
many variables involved with shipping, we recom
-
mend that you at least verify the following adjust
-
ments to ensure accurate cutting results.
Step-by-step instructions on verifying these adjust-
ments can be found in SECTION 7: SERVICE
ADJUSTMENTS.
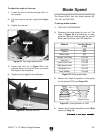
Factory adjustments that should be verified:
1. Blade Tension &Tracking (Page 34).
2. Squaring the Blade (Page 35).
3. Blade Guide Bearings (Page 36).
Recommended
Adjustments
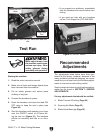
Figure 21. ON/OFF switch.
Test Run
Figure 20. Feed ON/OFF valve and feed rate
dial.
Feed ON/OFF
Valve
Feed Rate
Dial
— If you suspect any problems, immediately
stop the bandsaw and correct before con
-
tinuing.
—If you need any help with your bandsaw
call our Tech Support at (570) 546-9663.


